
OK-12L66″ GEN1 Teflon Belt Change
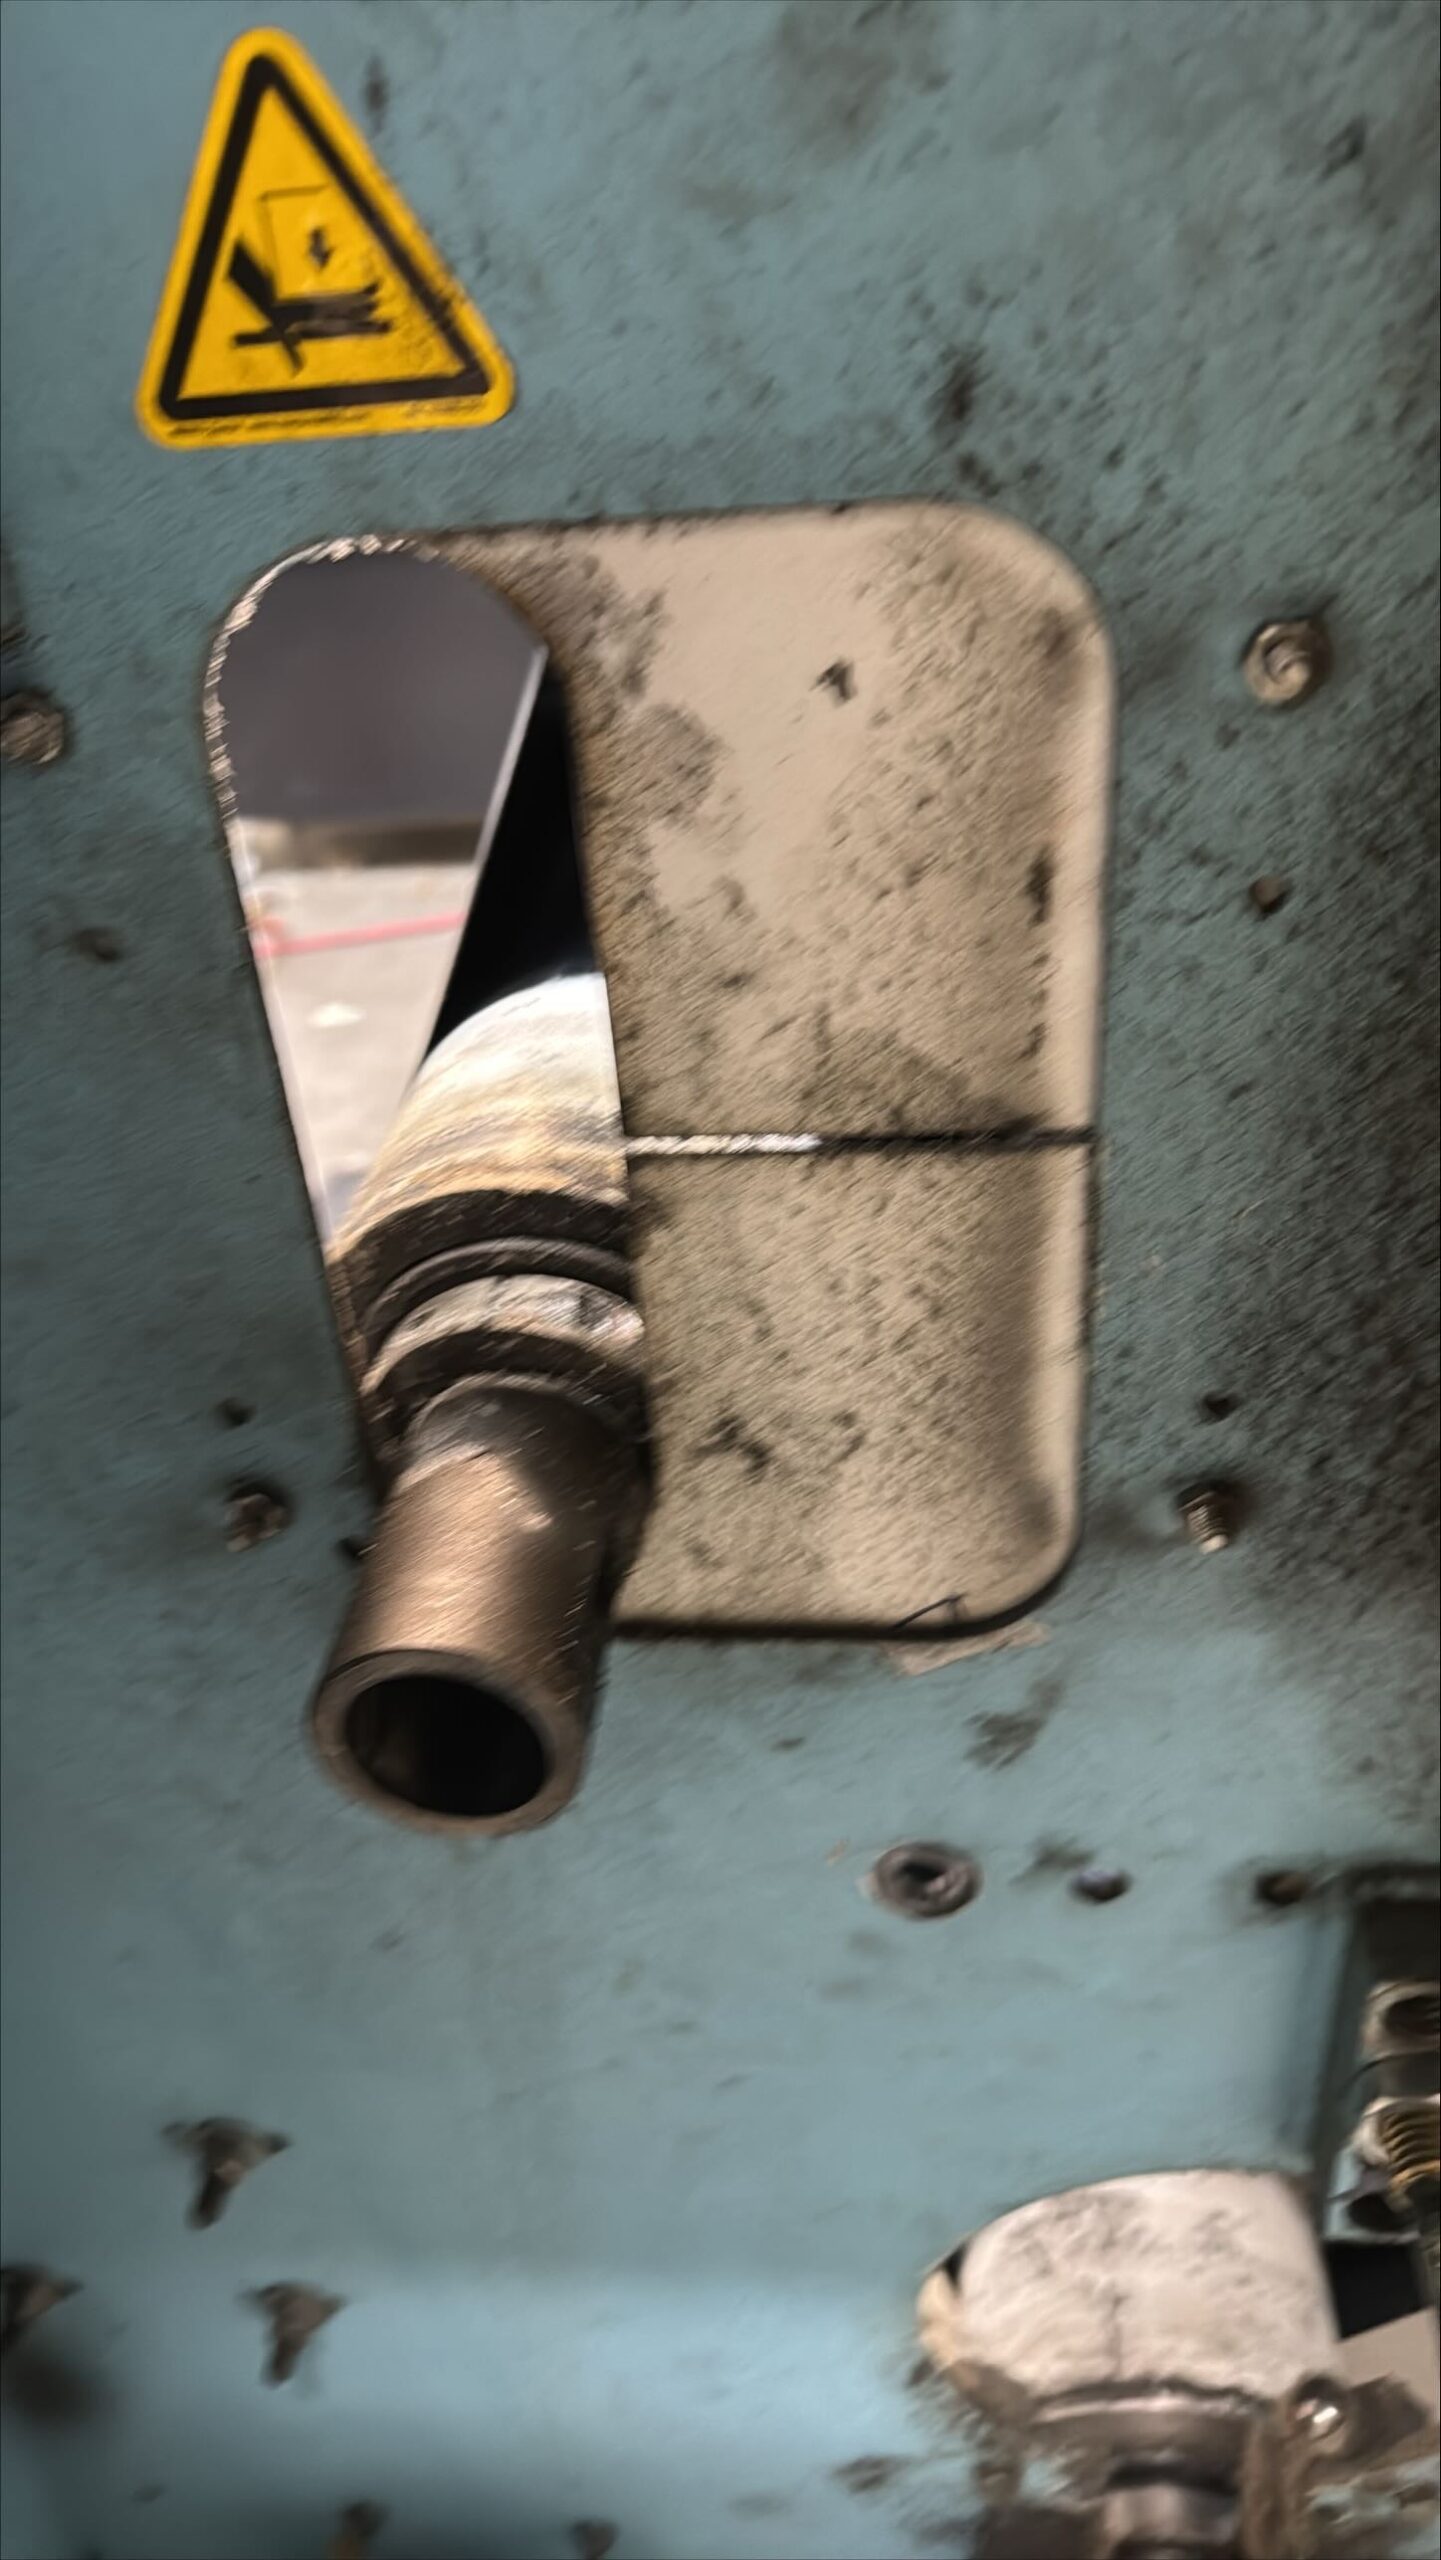
 Remove shaft collar from end of cylinder. Remove shaft collar from 2″ shaft on the left side of machine.
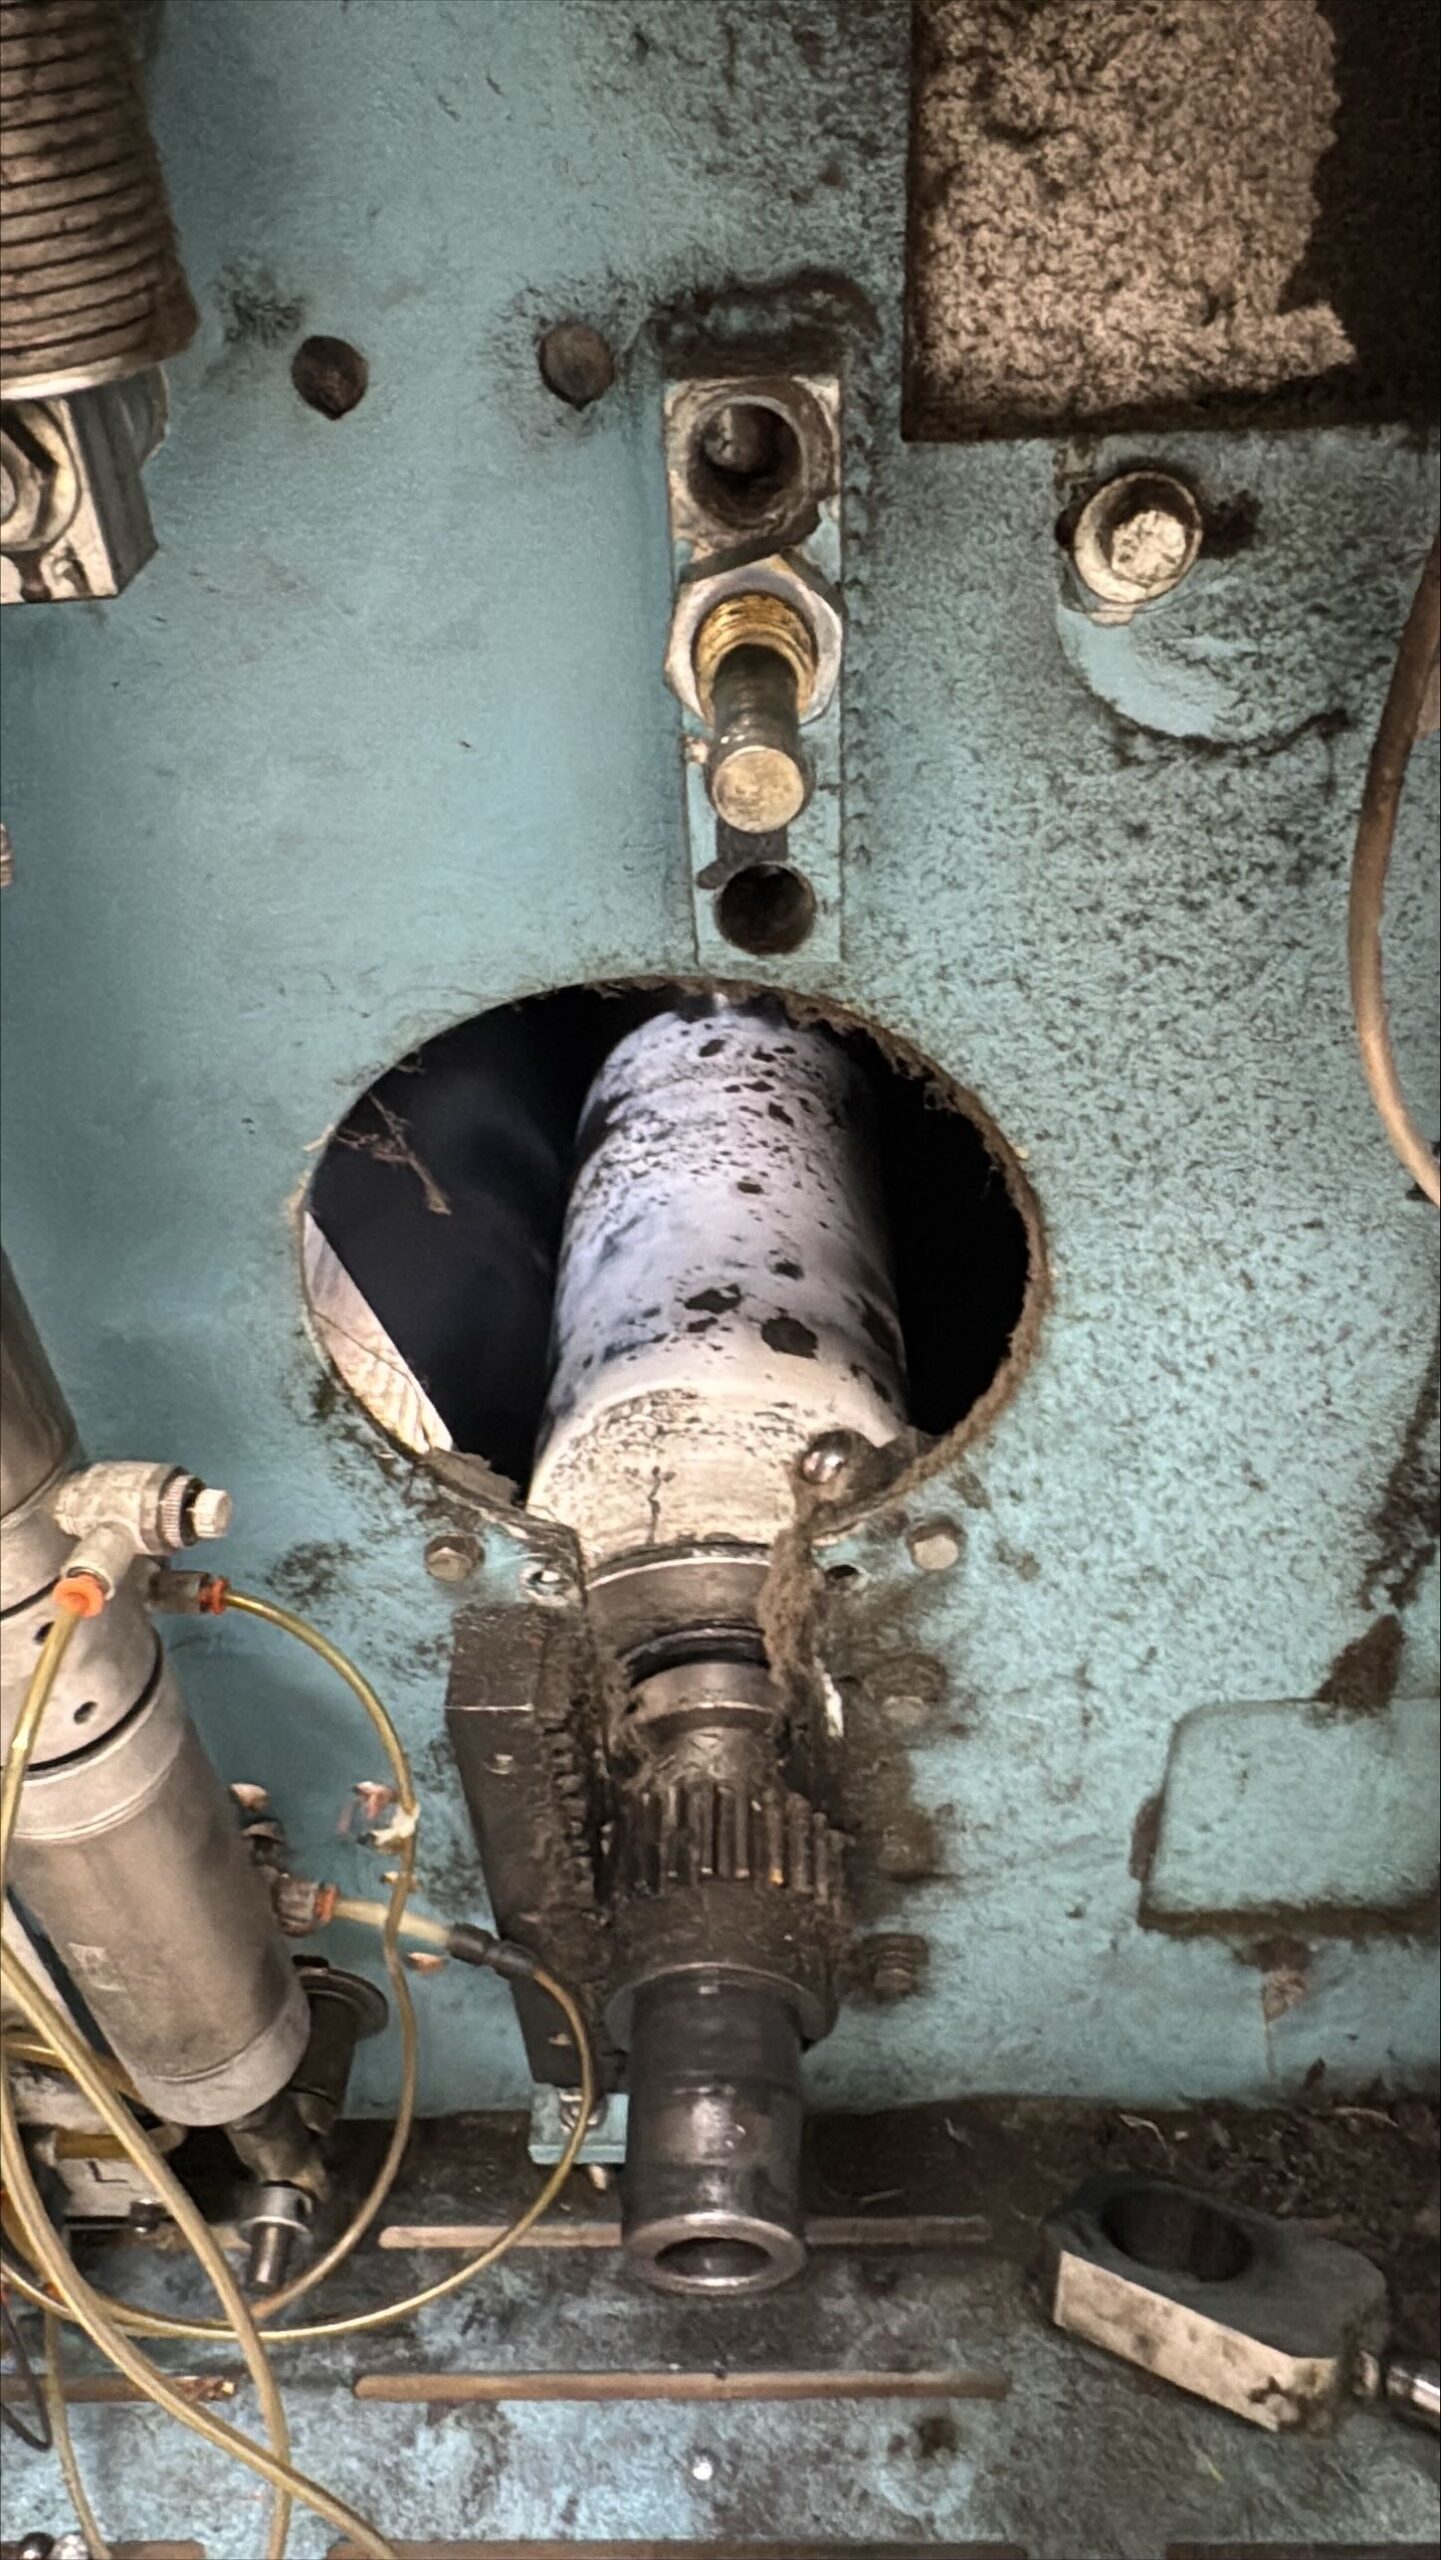 Remove cylinder.
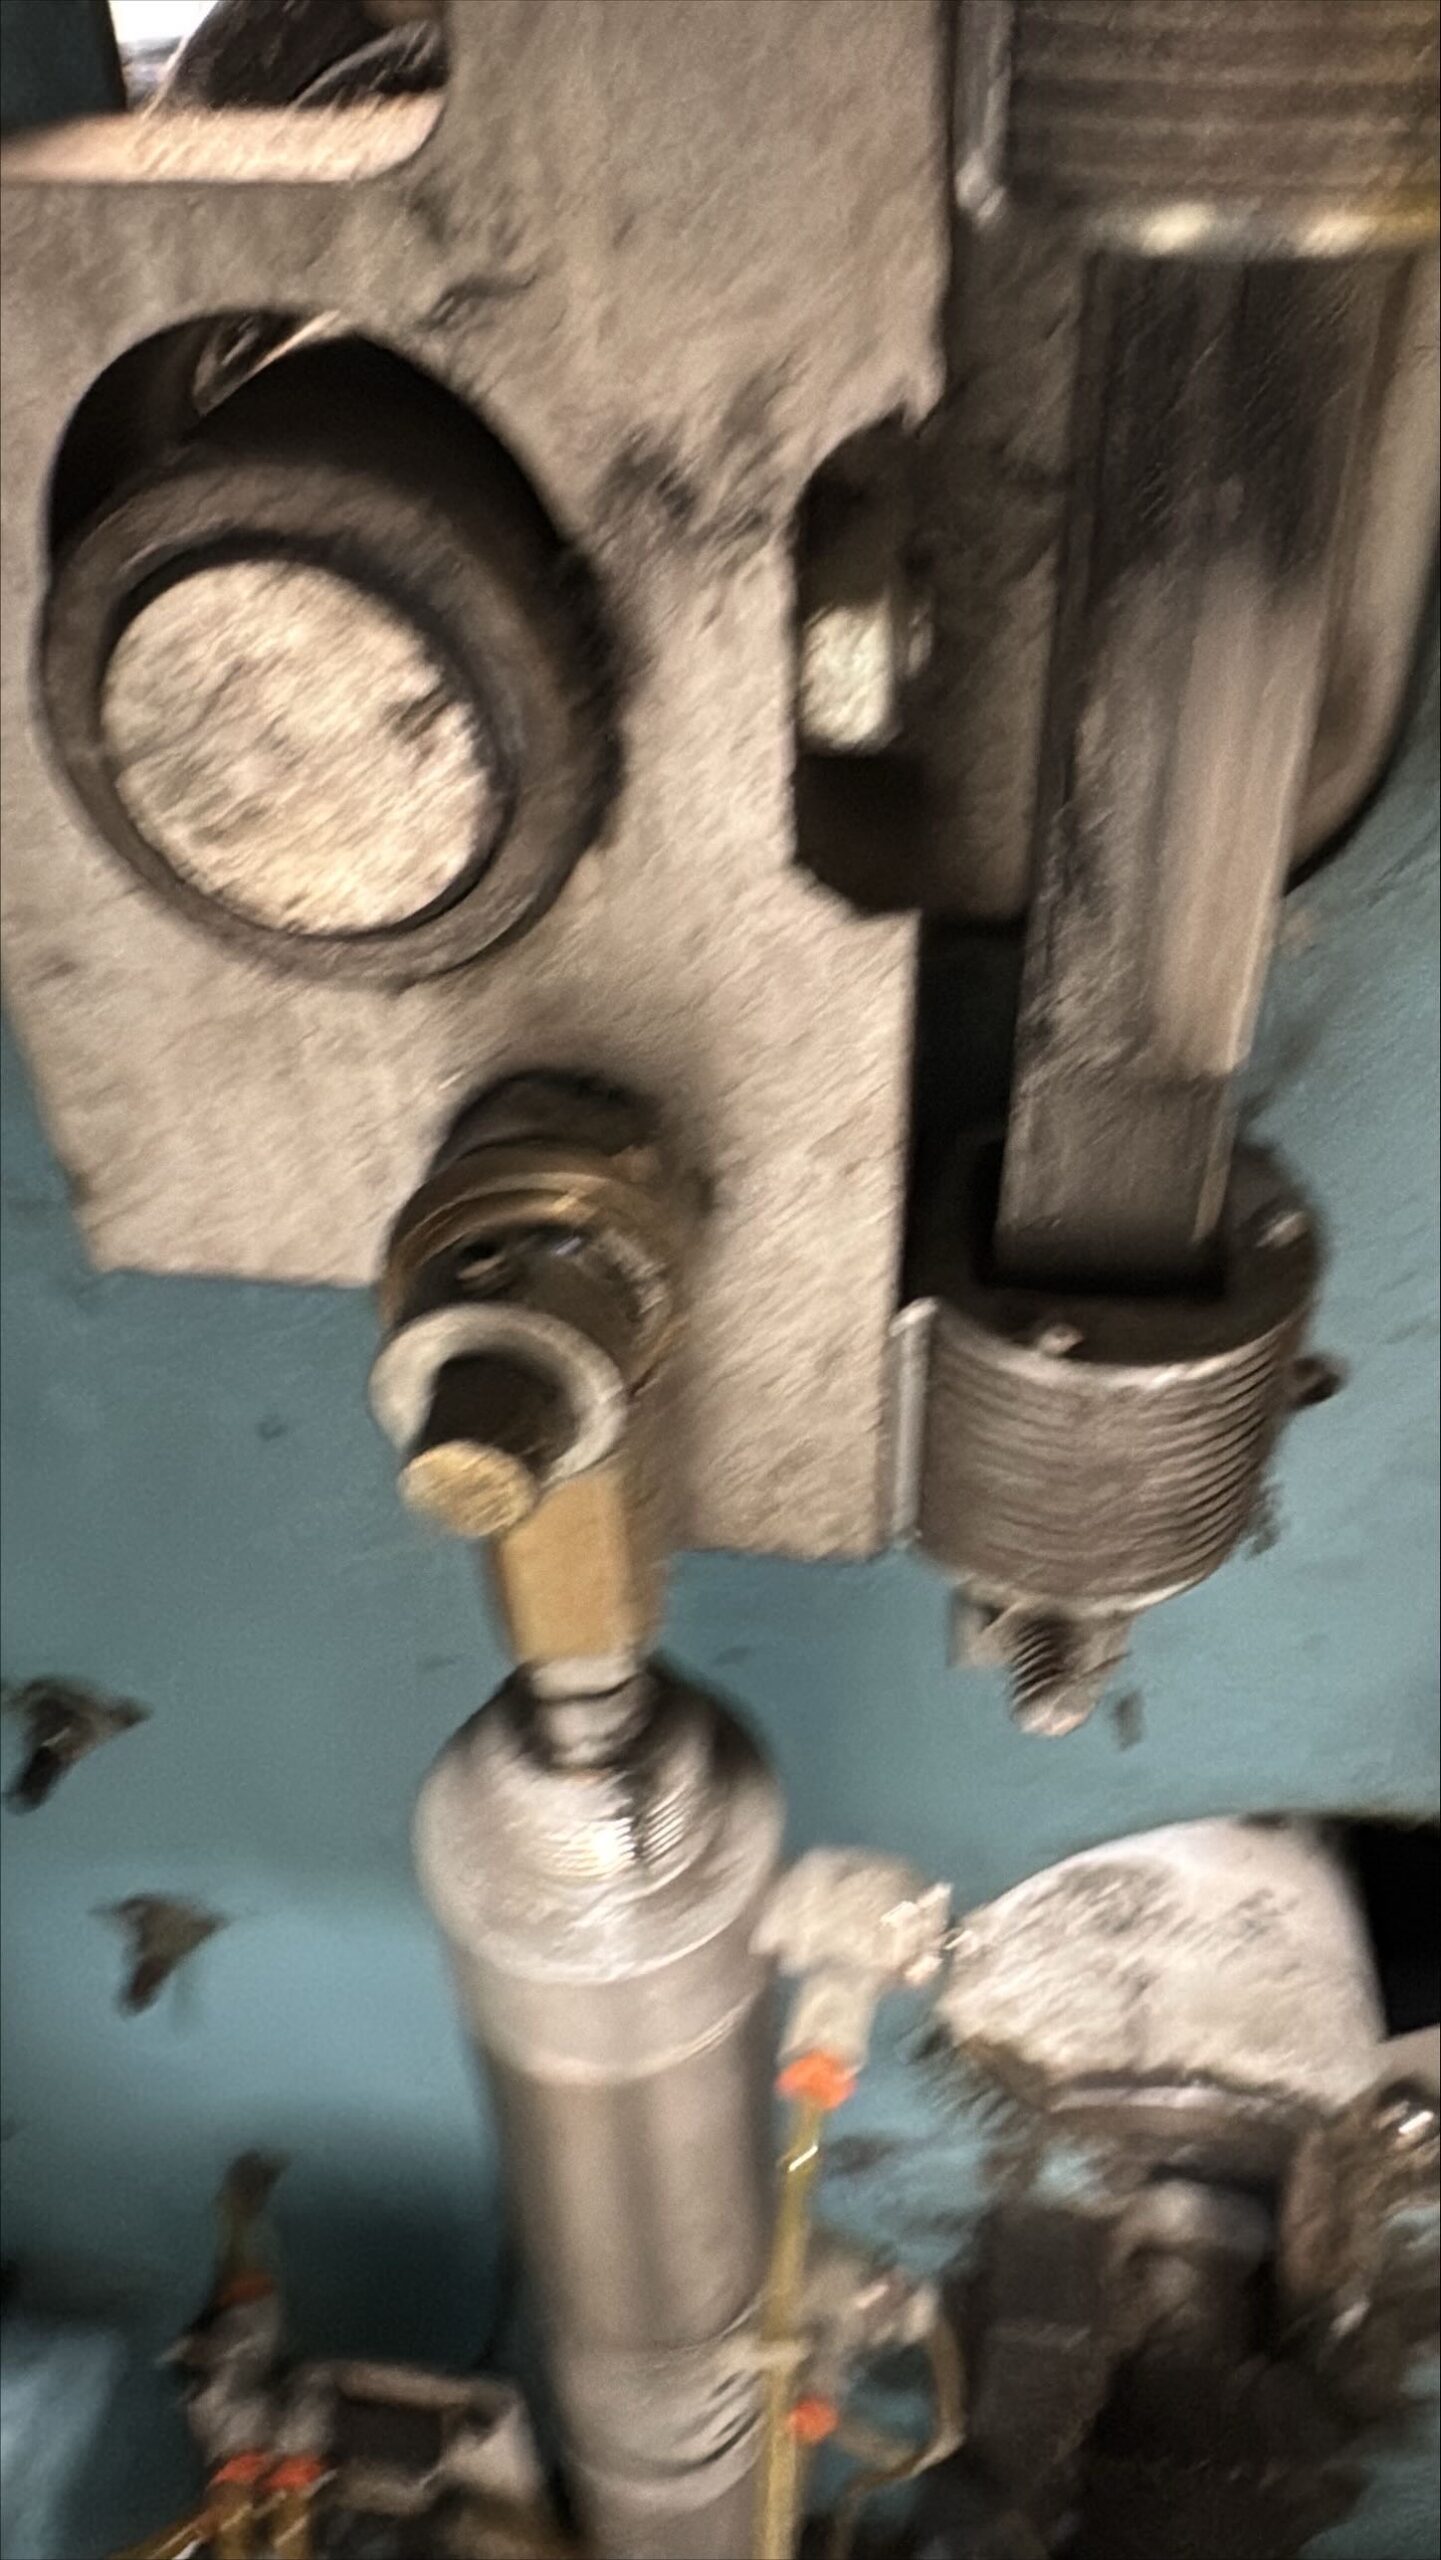 Remove shaft collars from tracking cylinder assembly.
 Remove tracking cylinder assembly.
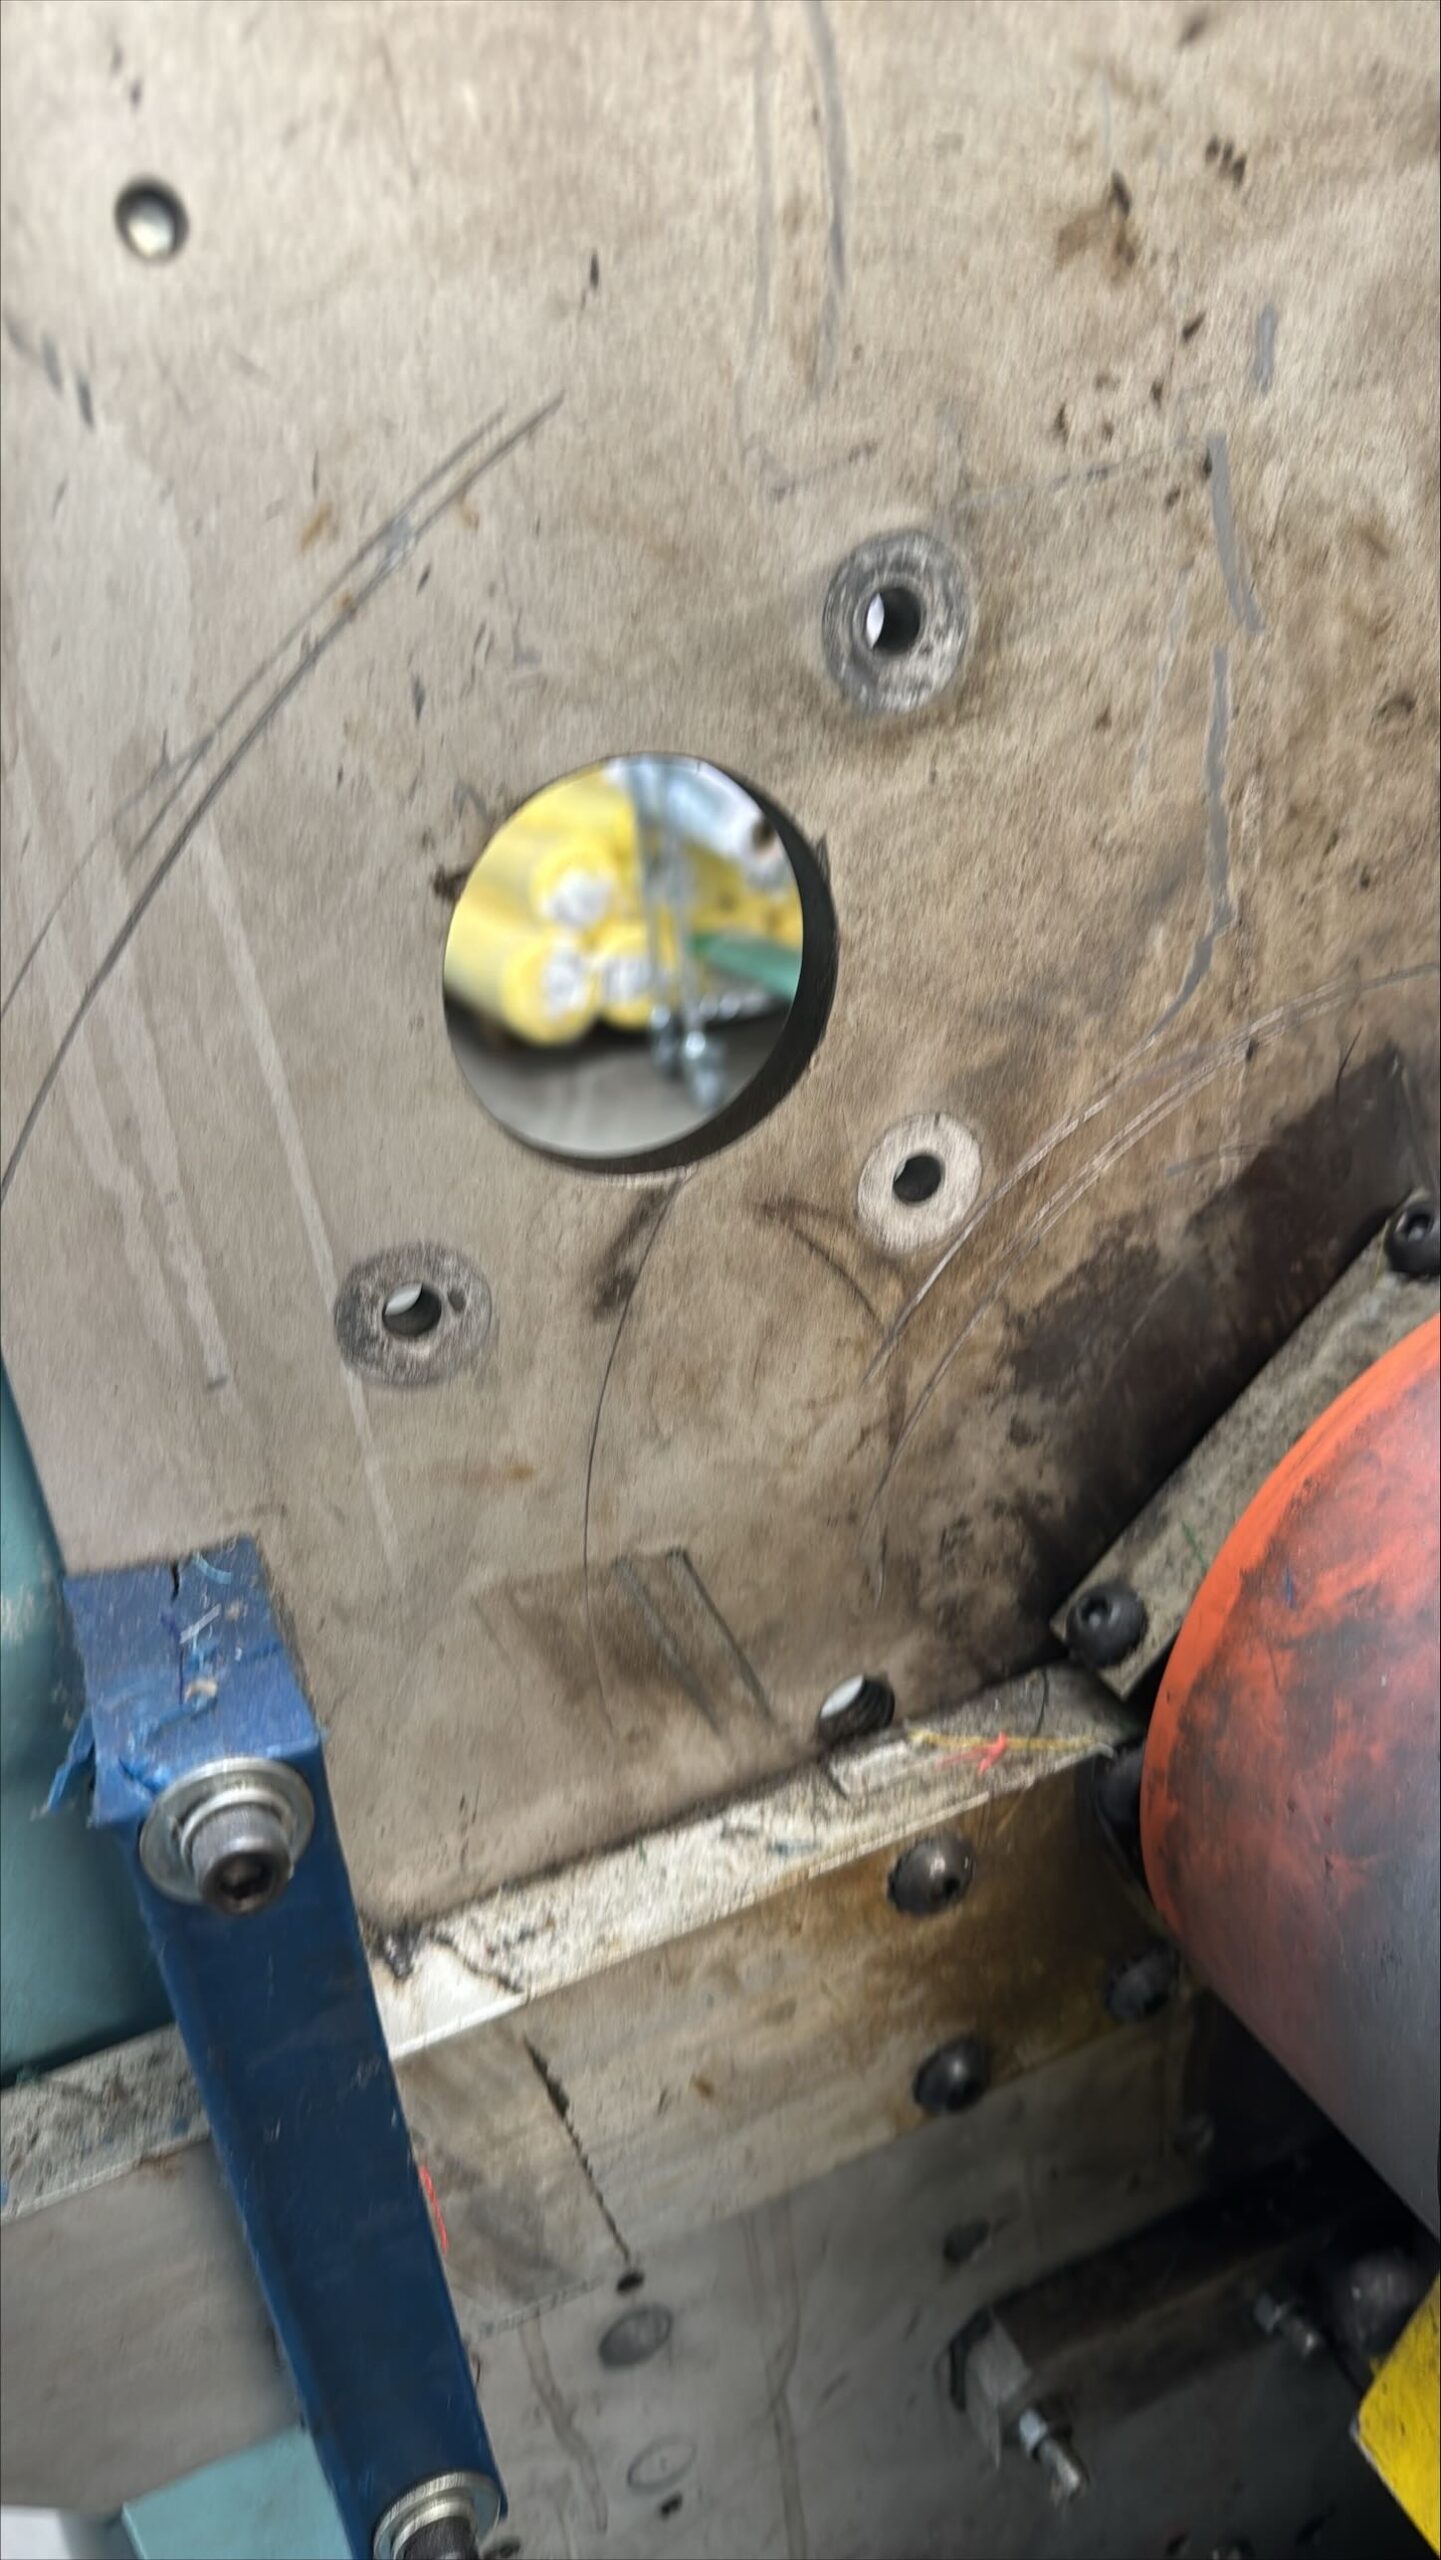
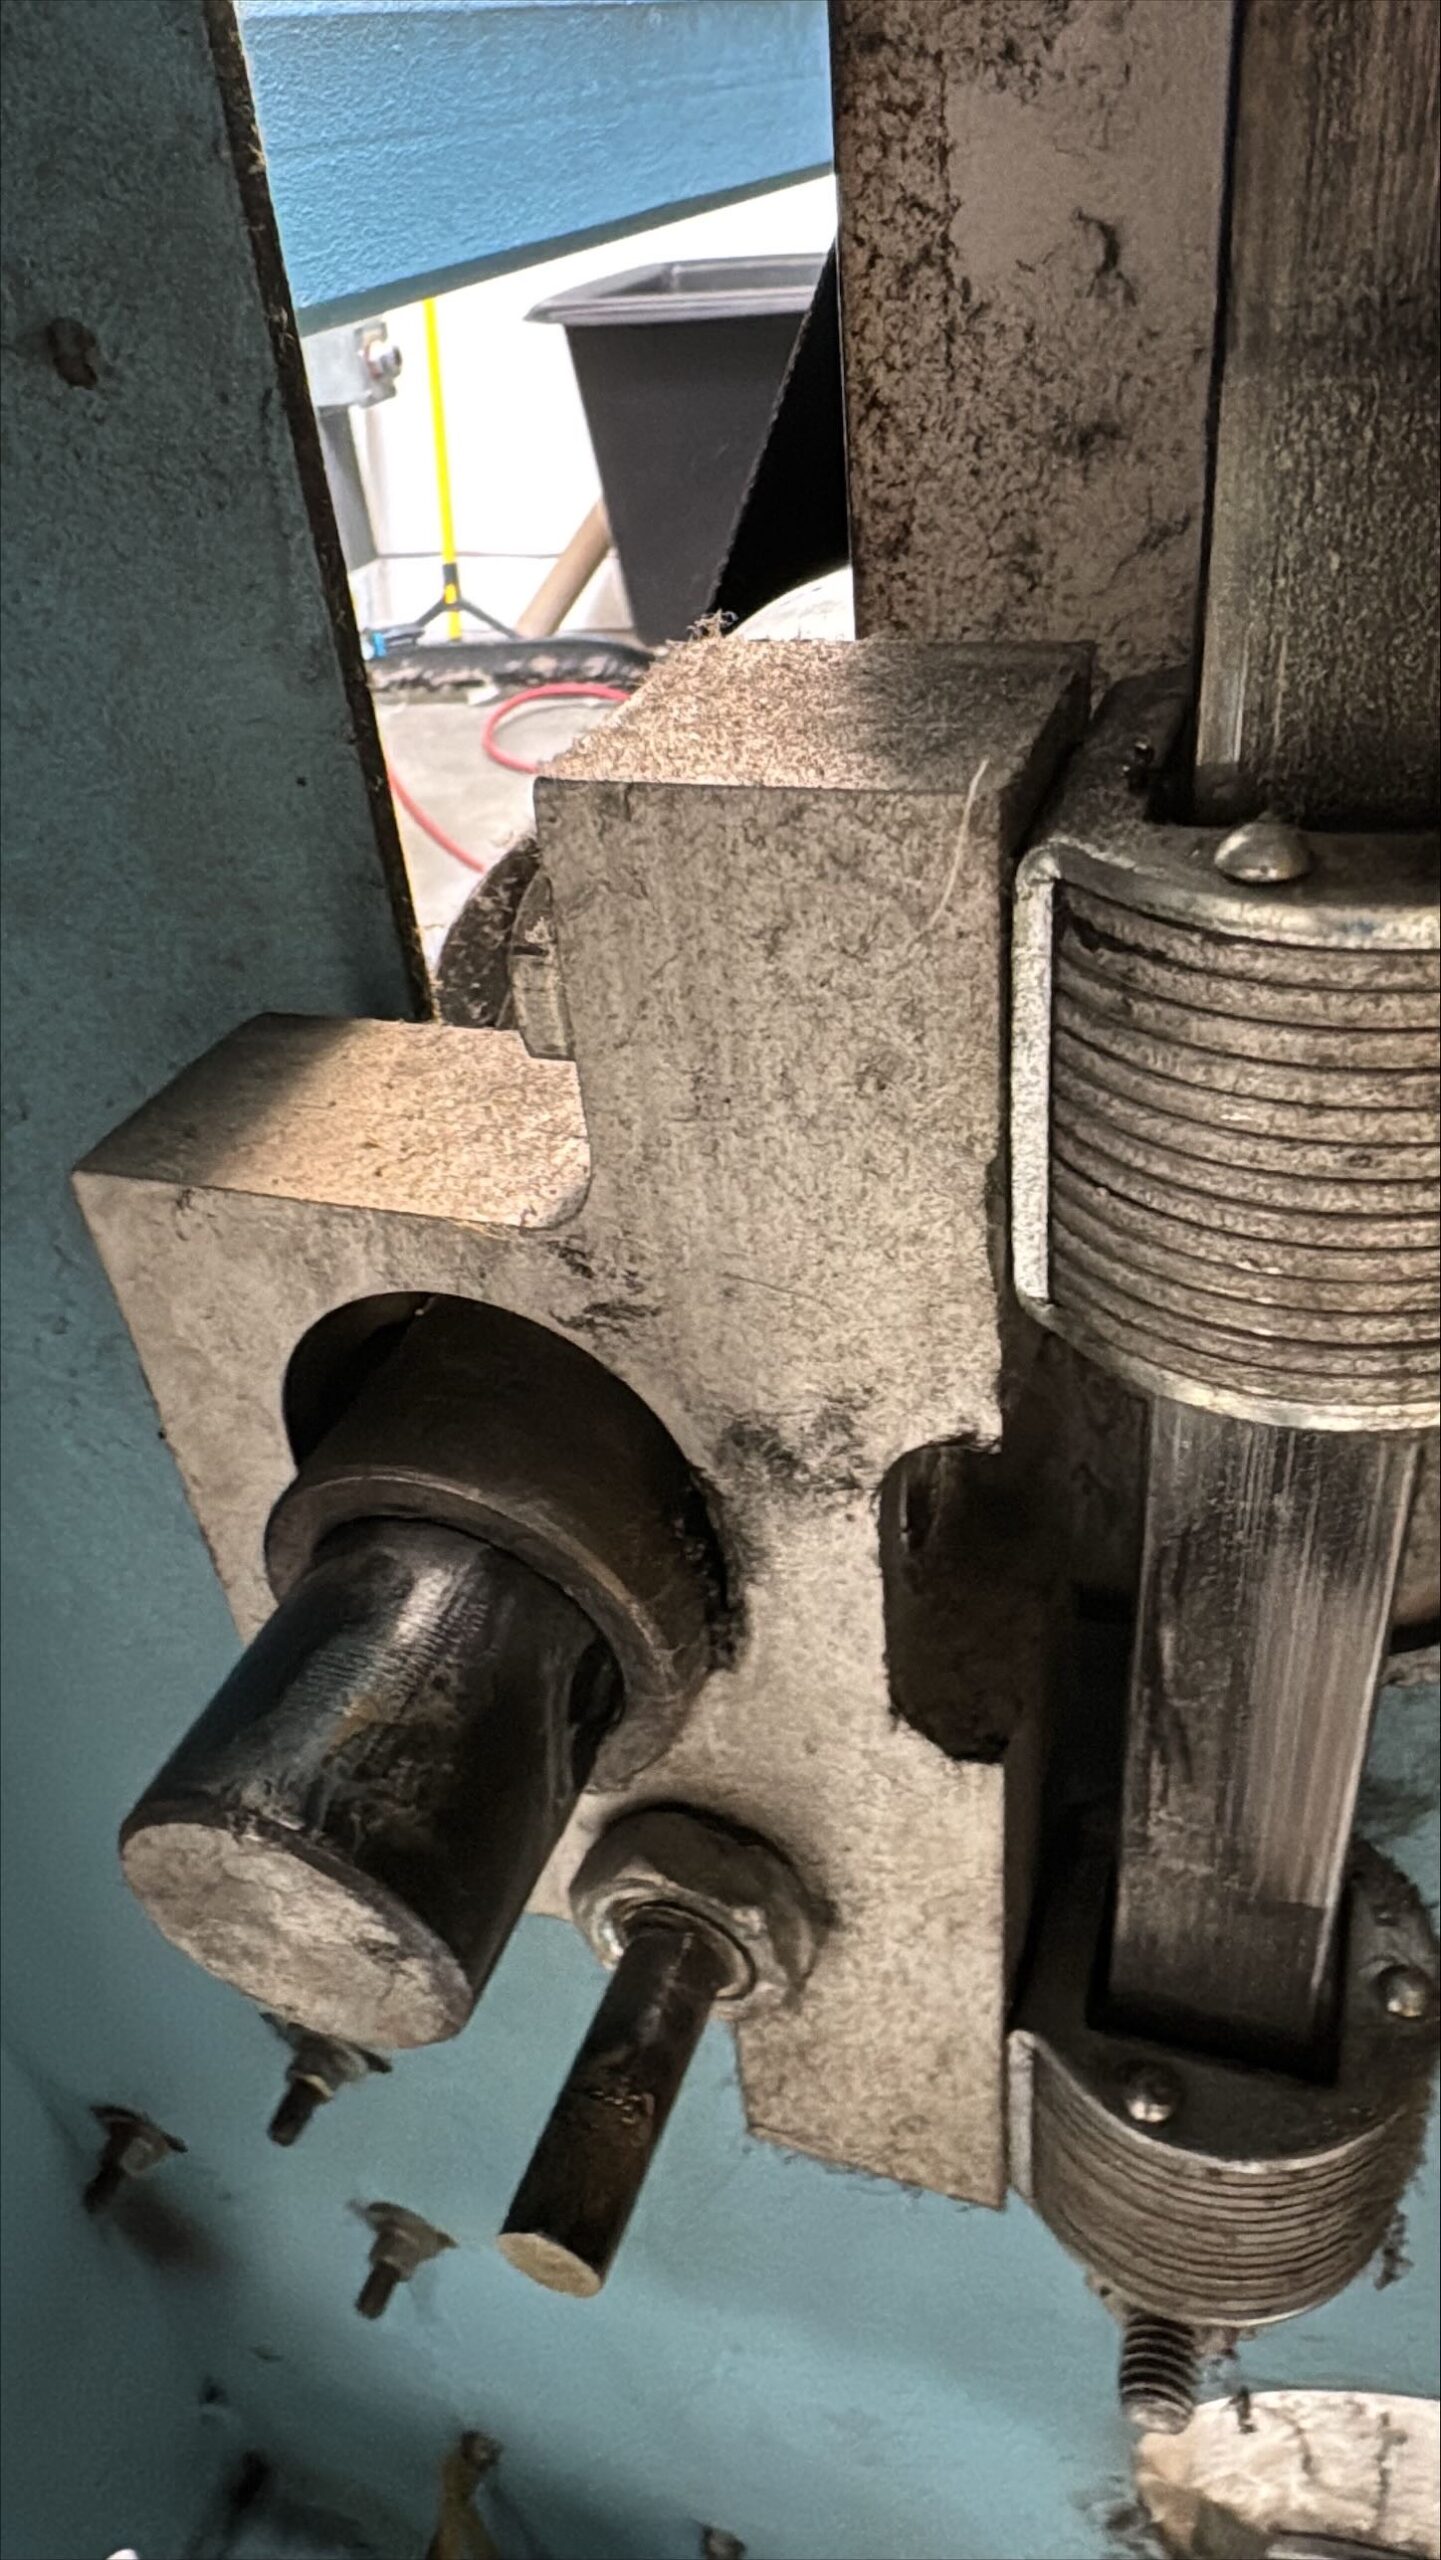 Remove large pivot bolt. Be careful not to lose the pivot plug.
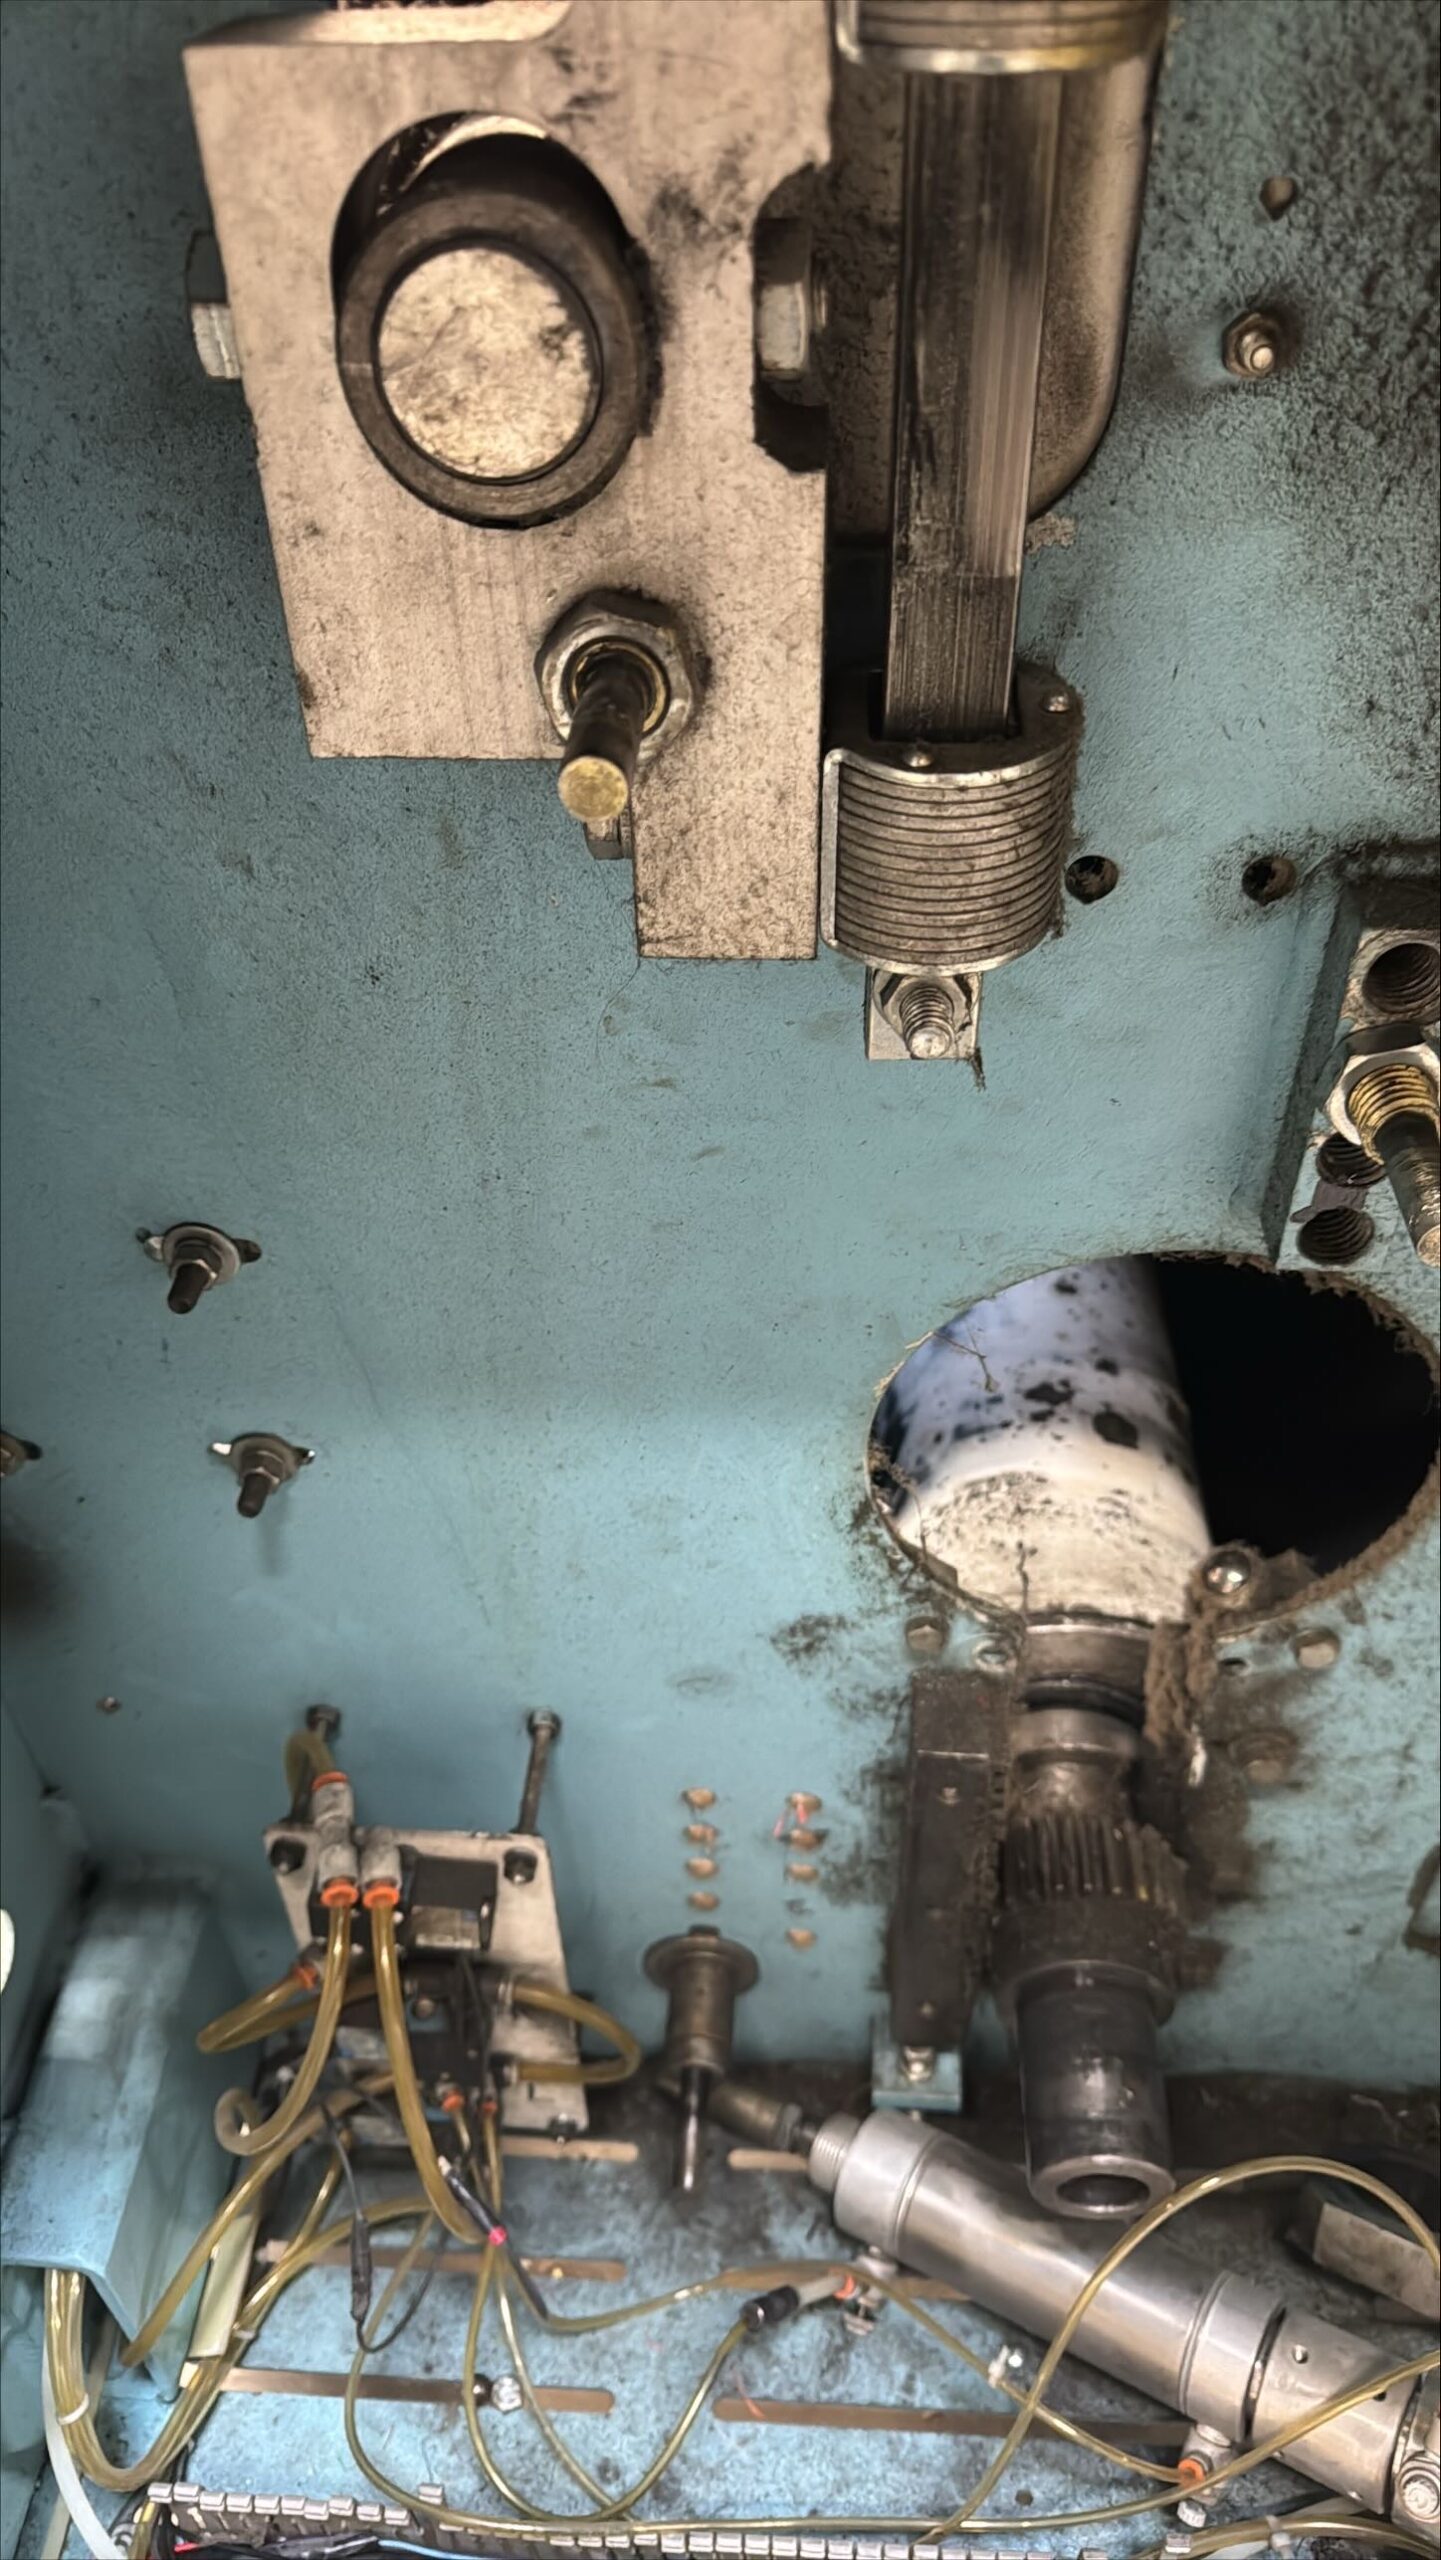
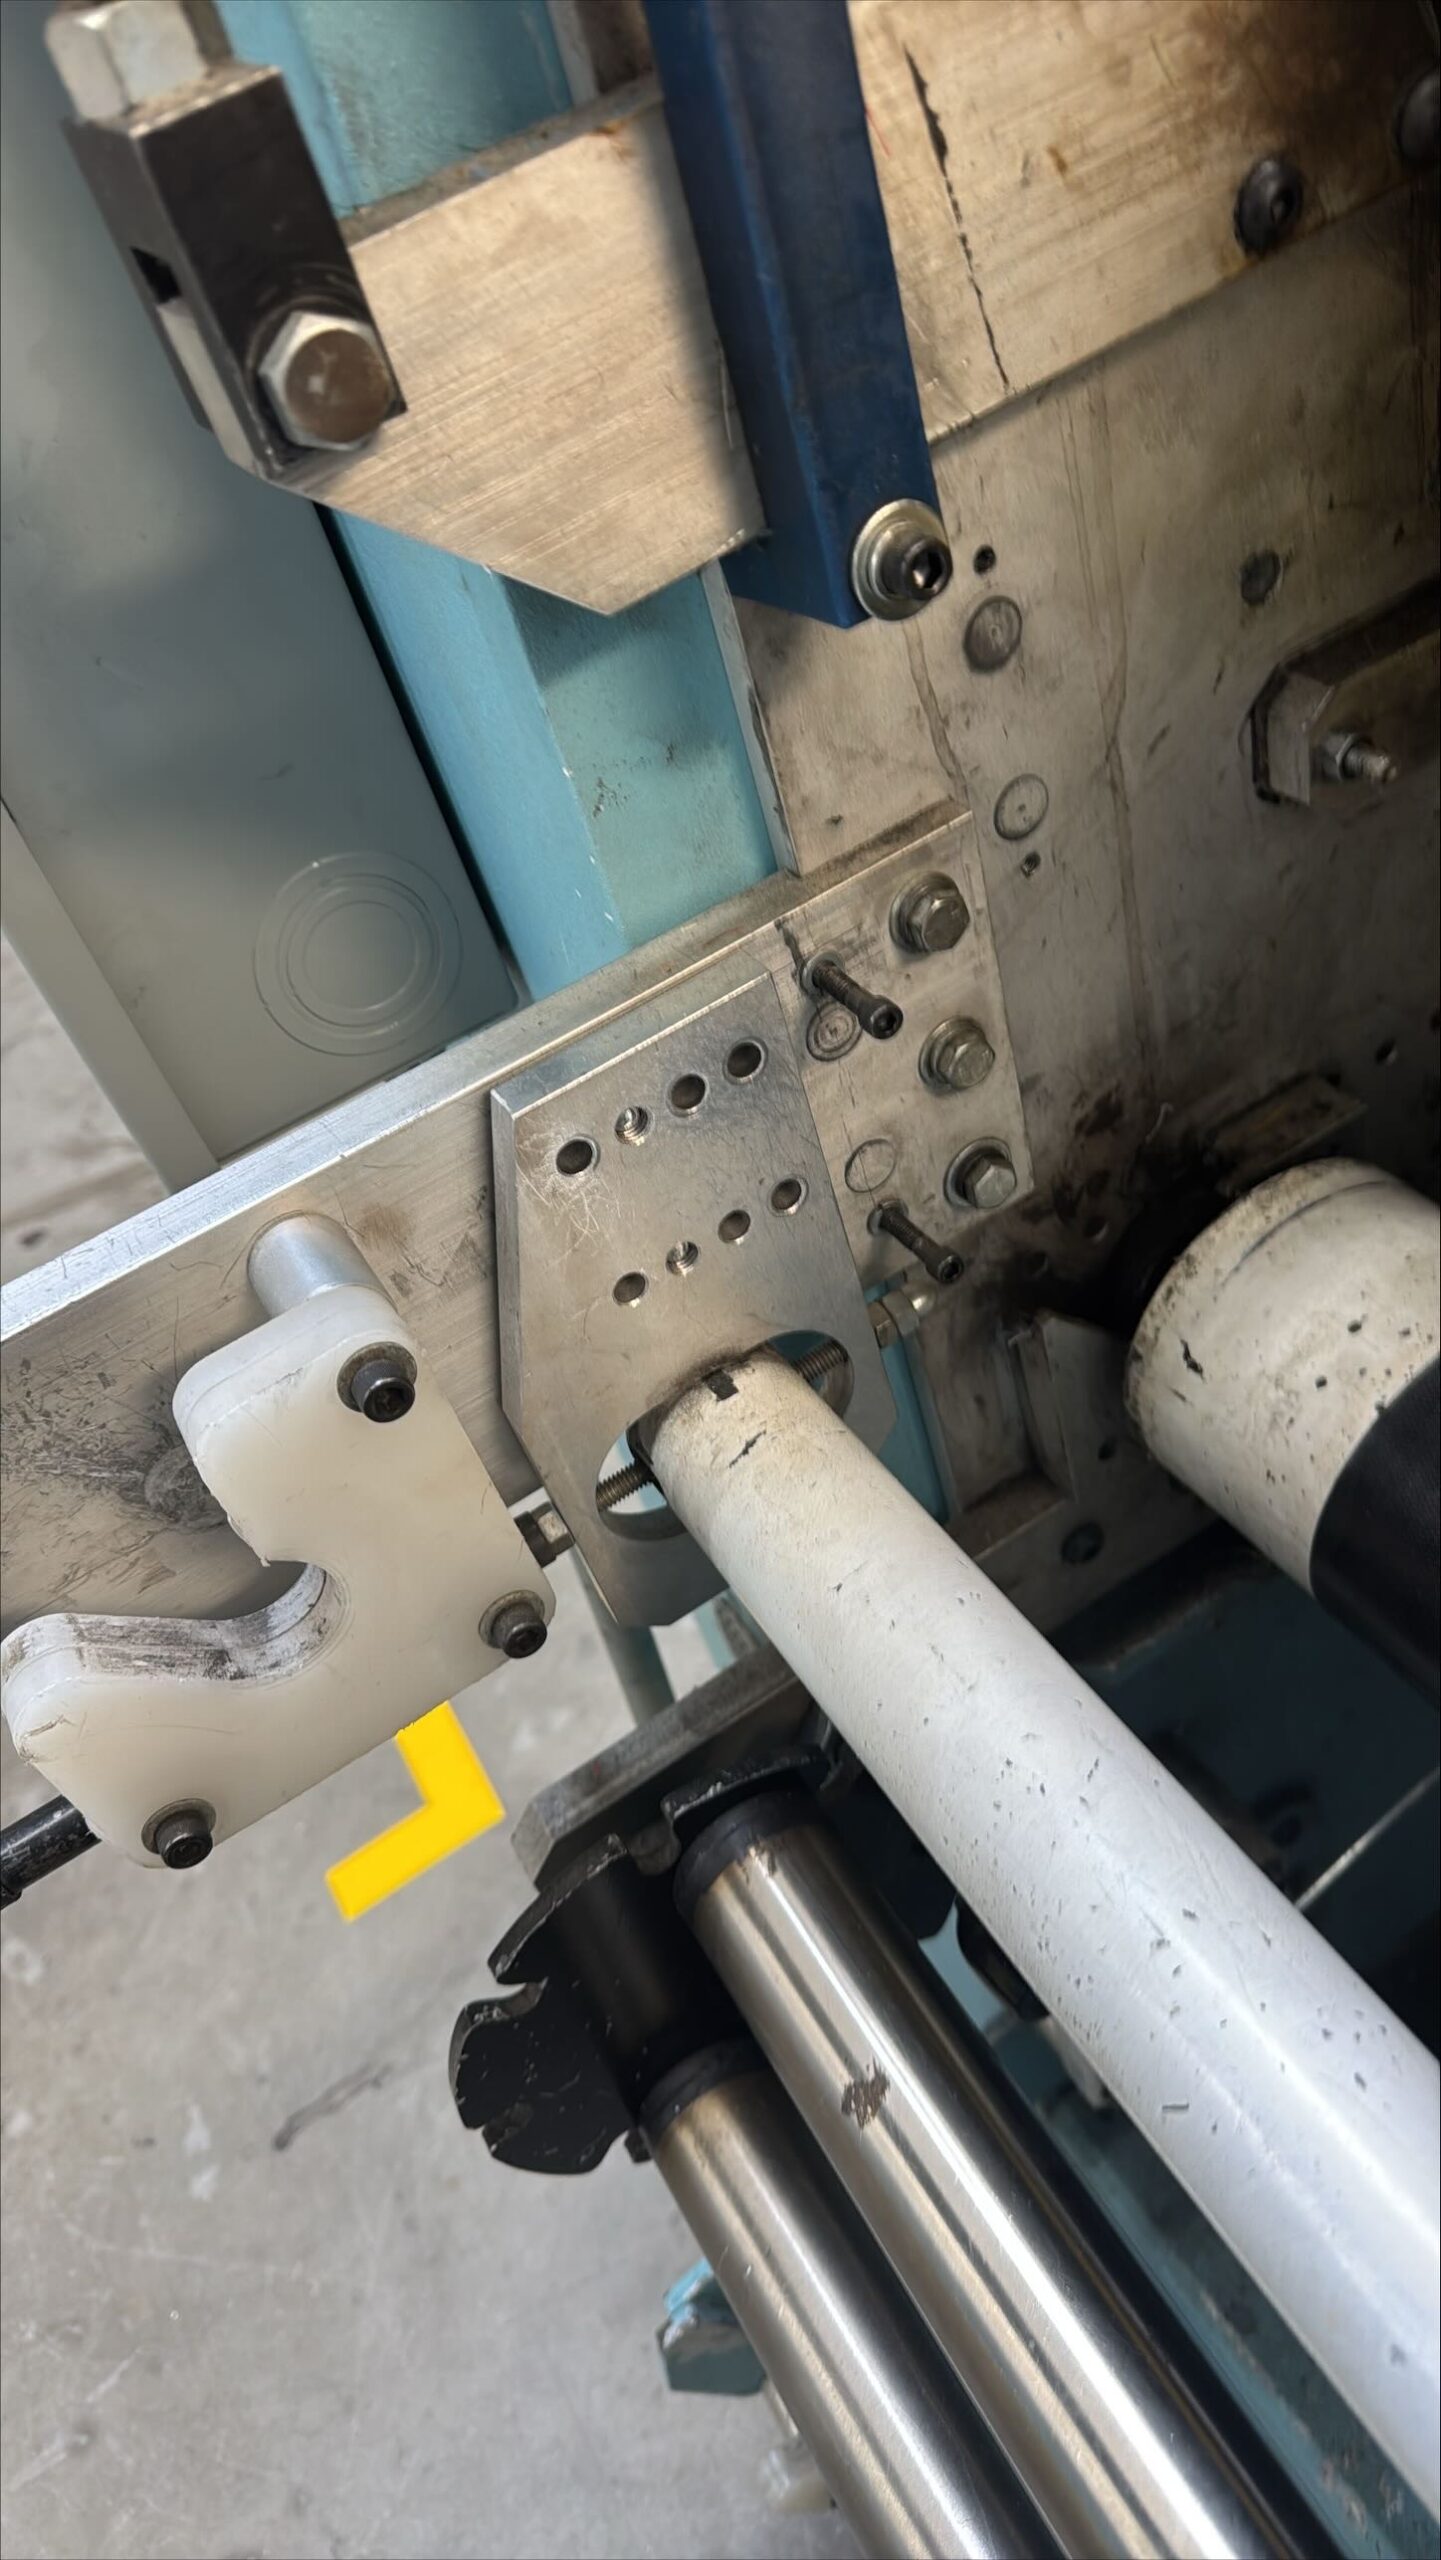
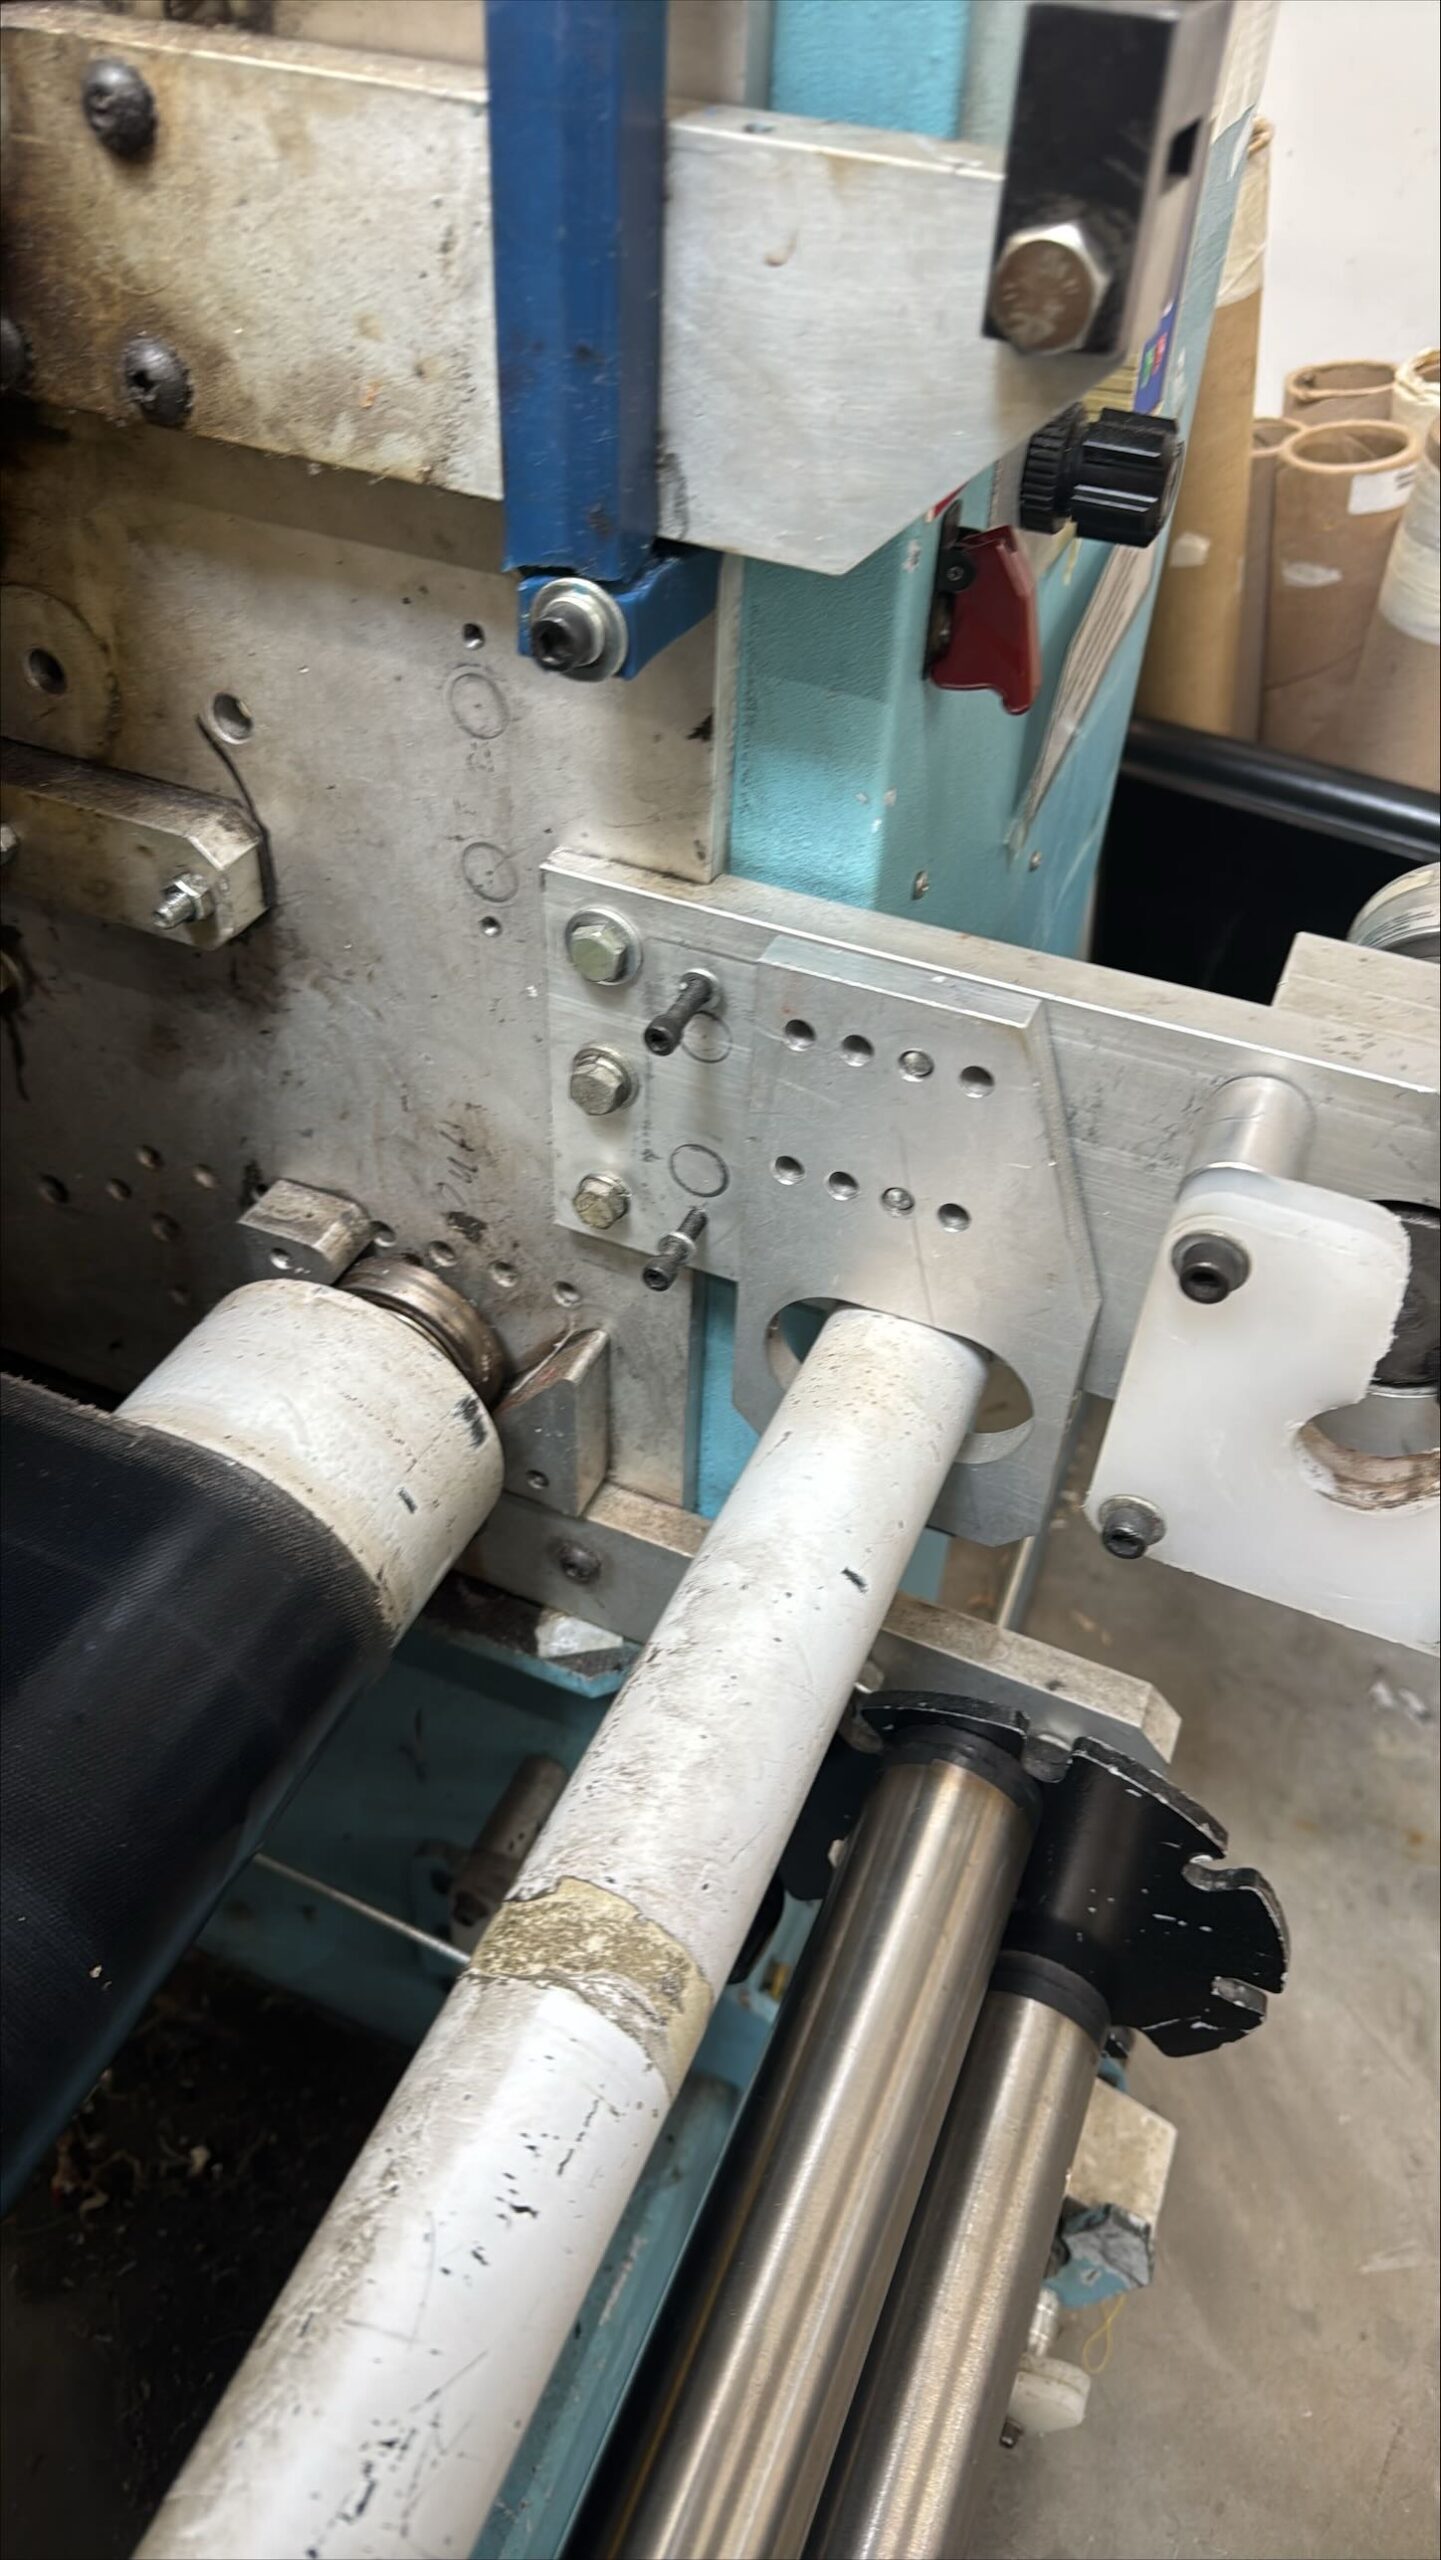
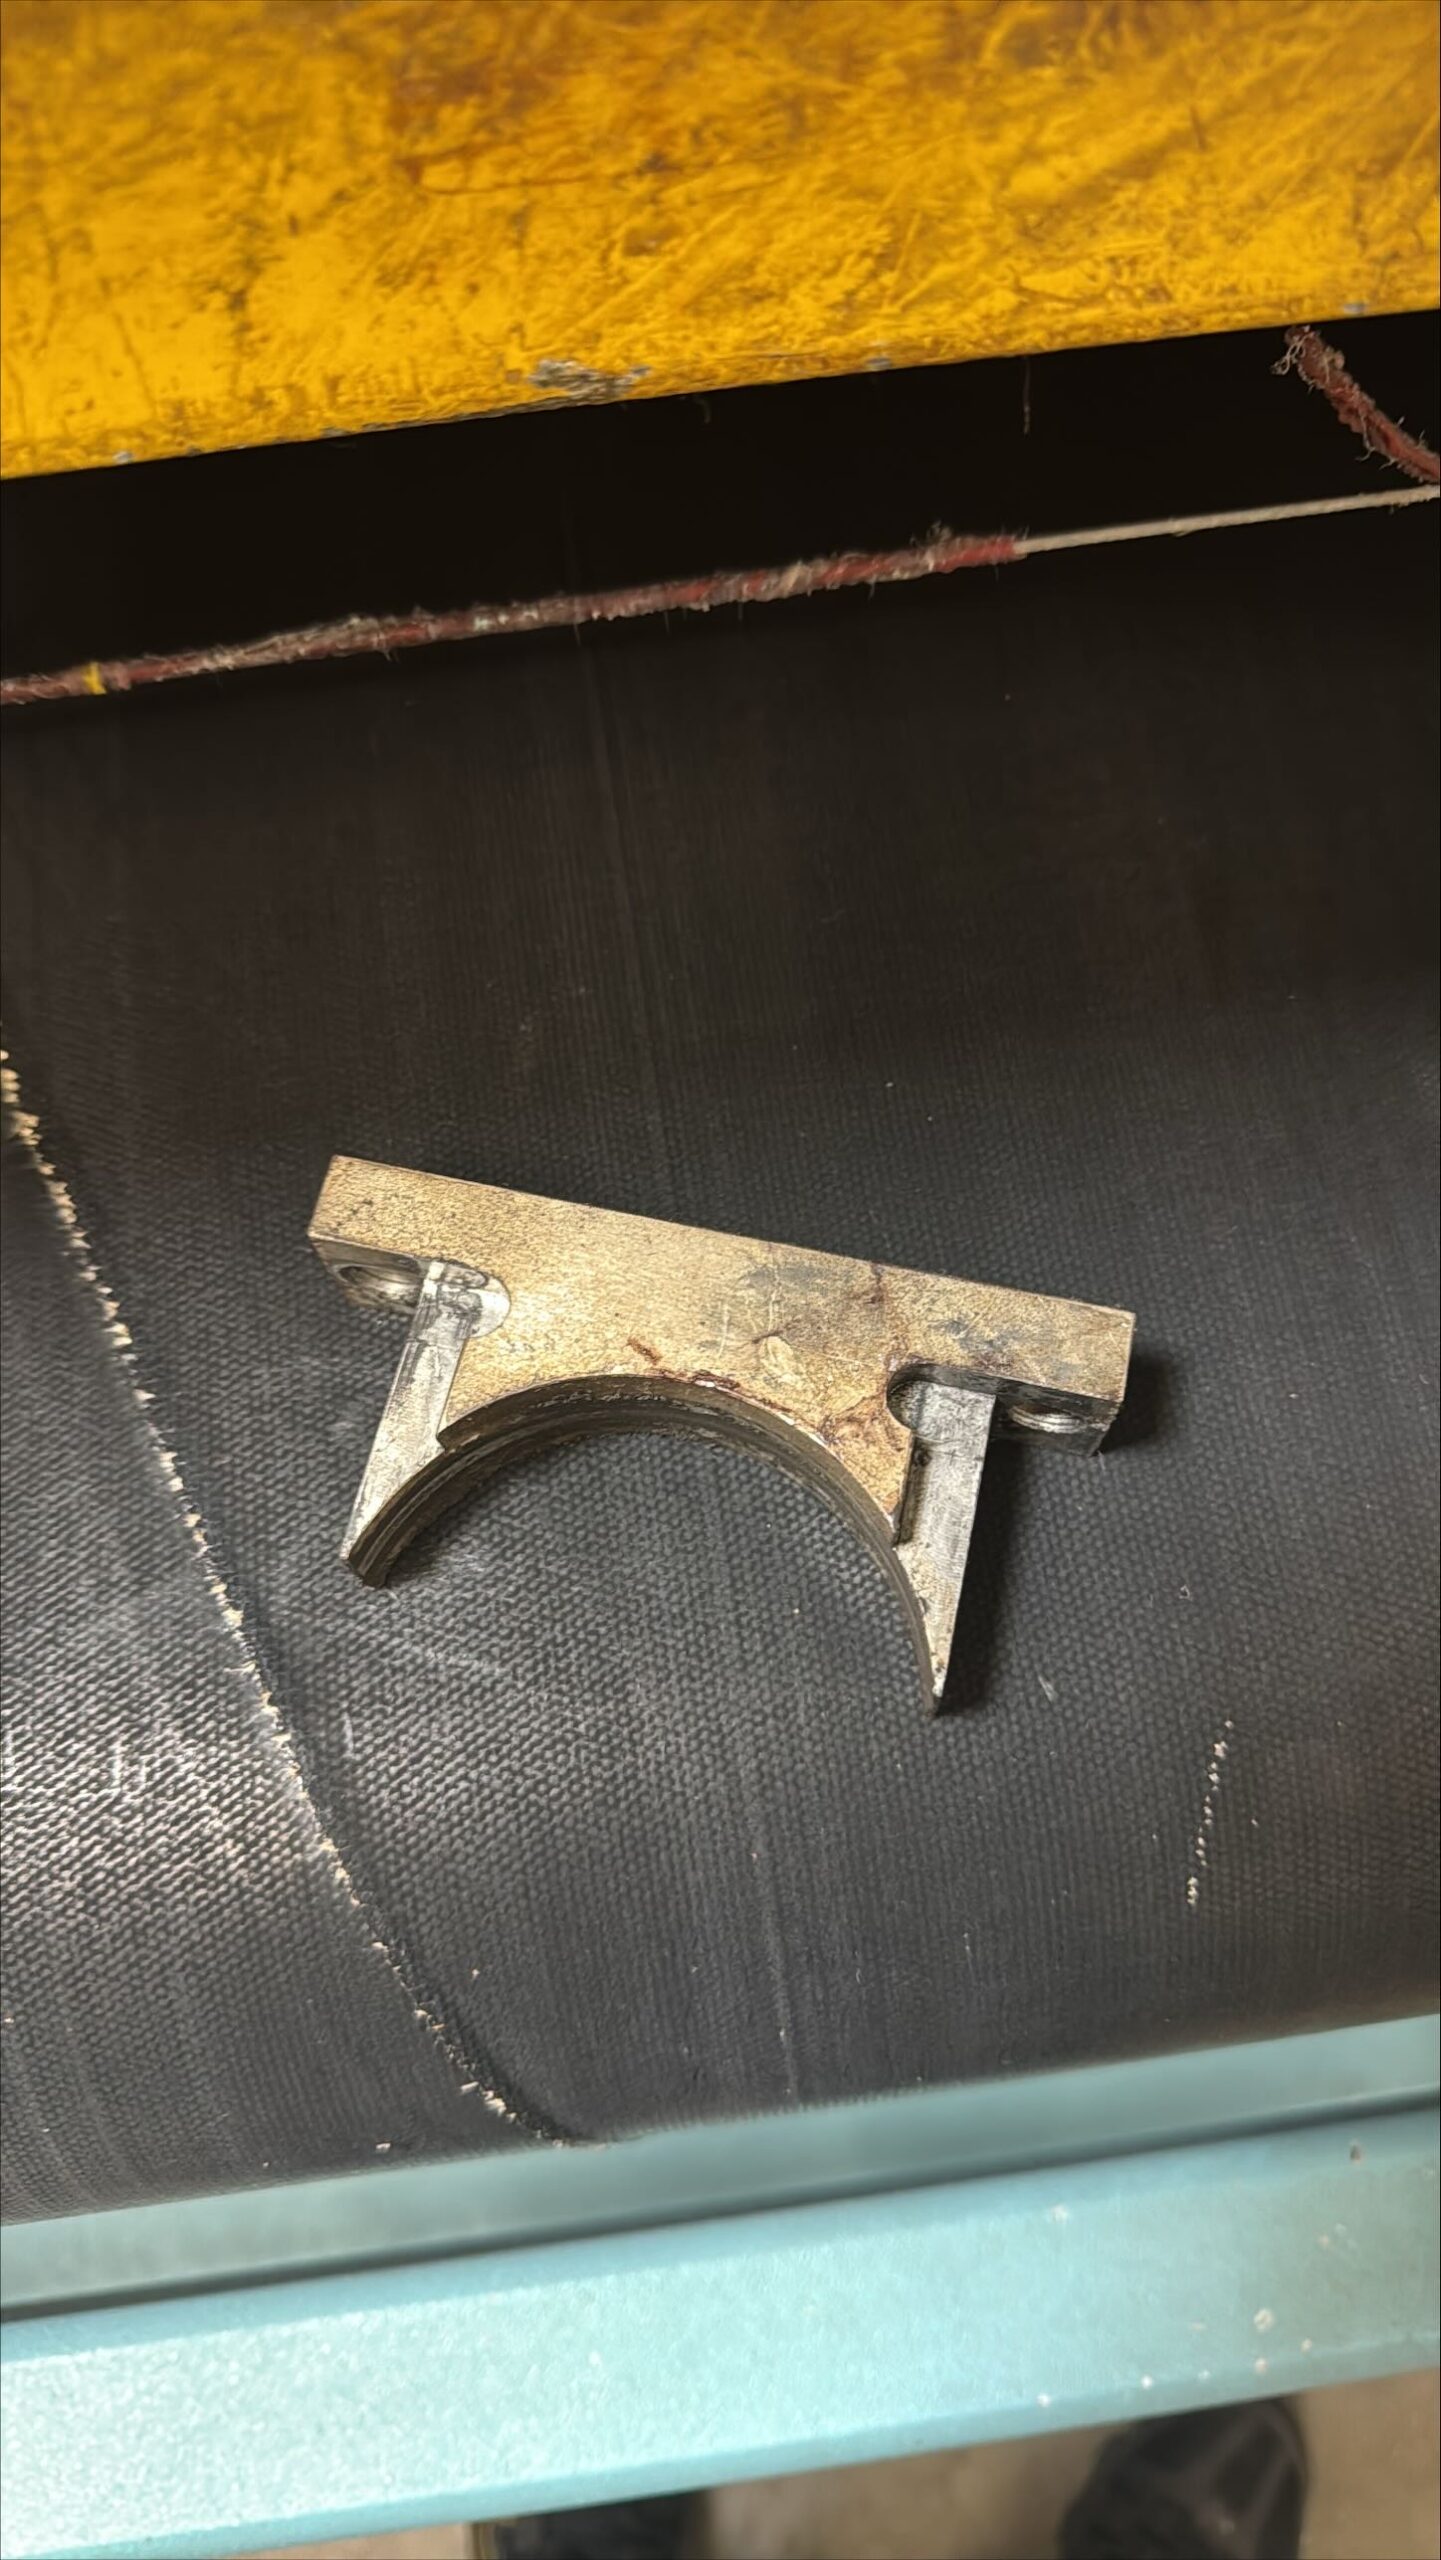
 Remove tracking slide assembly. Two 7/16 hex head bolts hold this up onto frame.
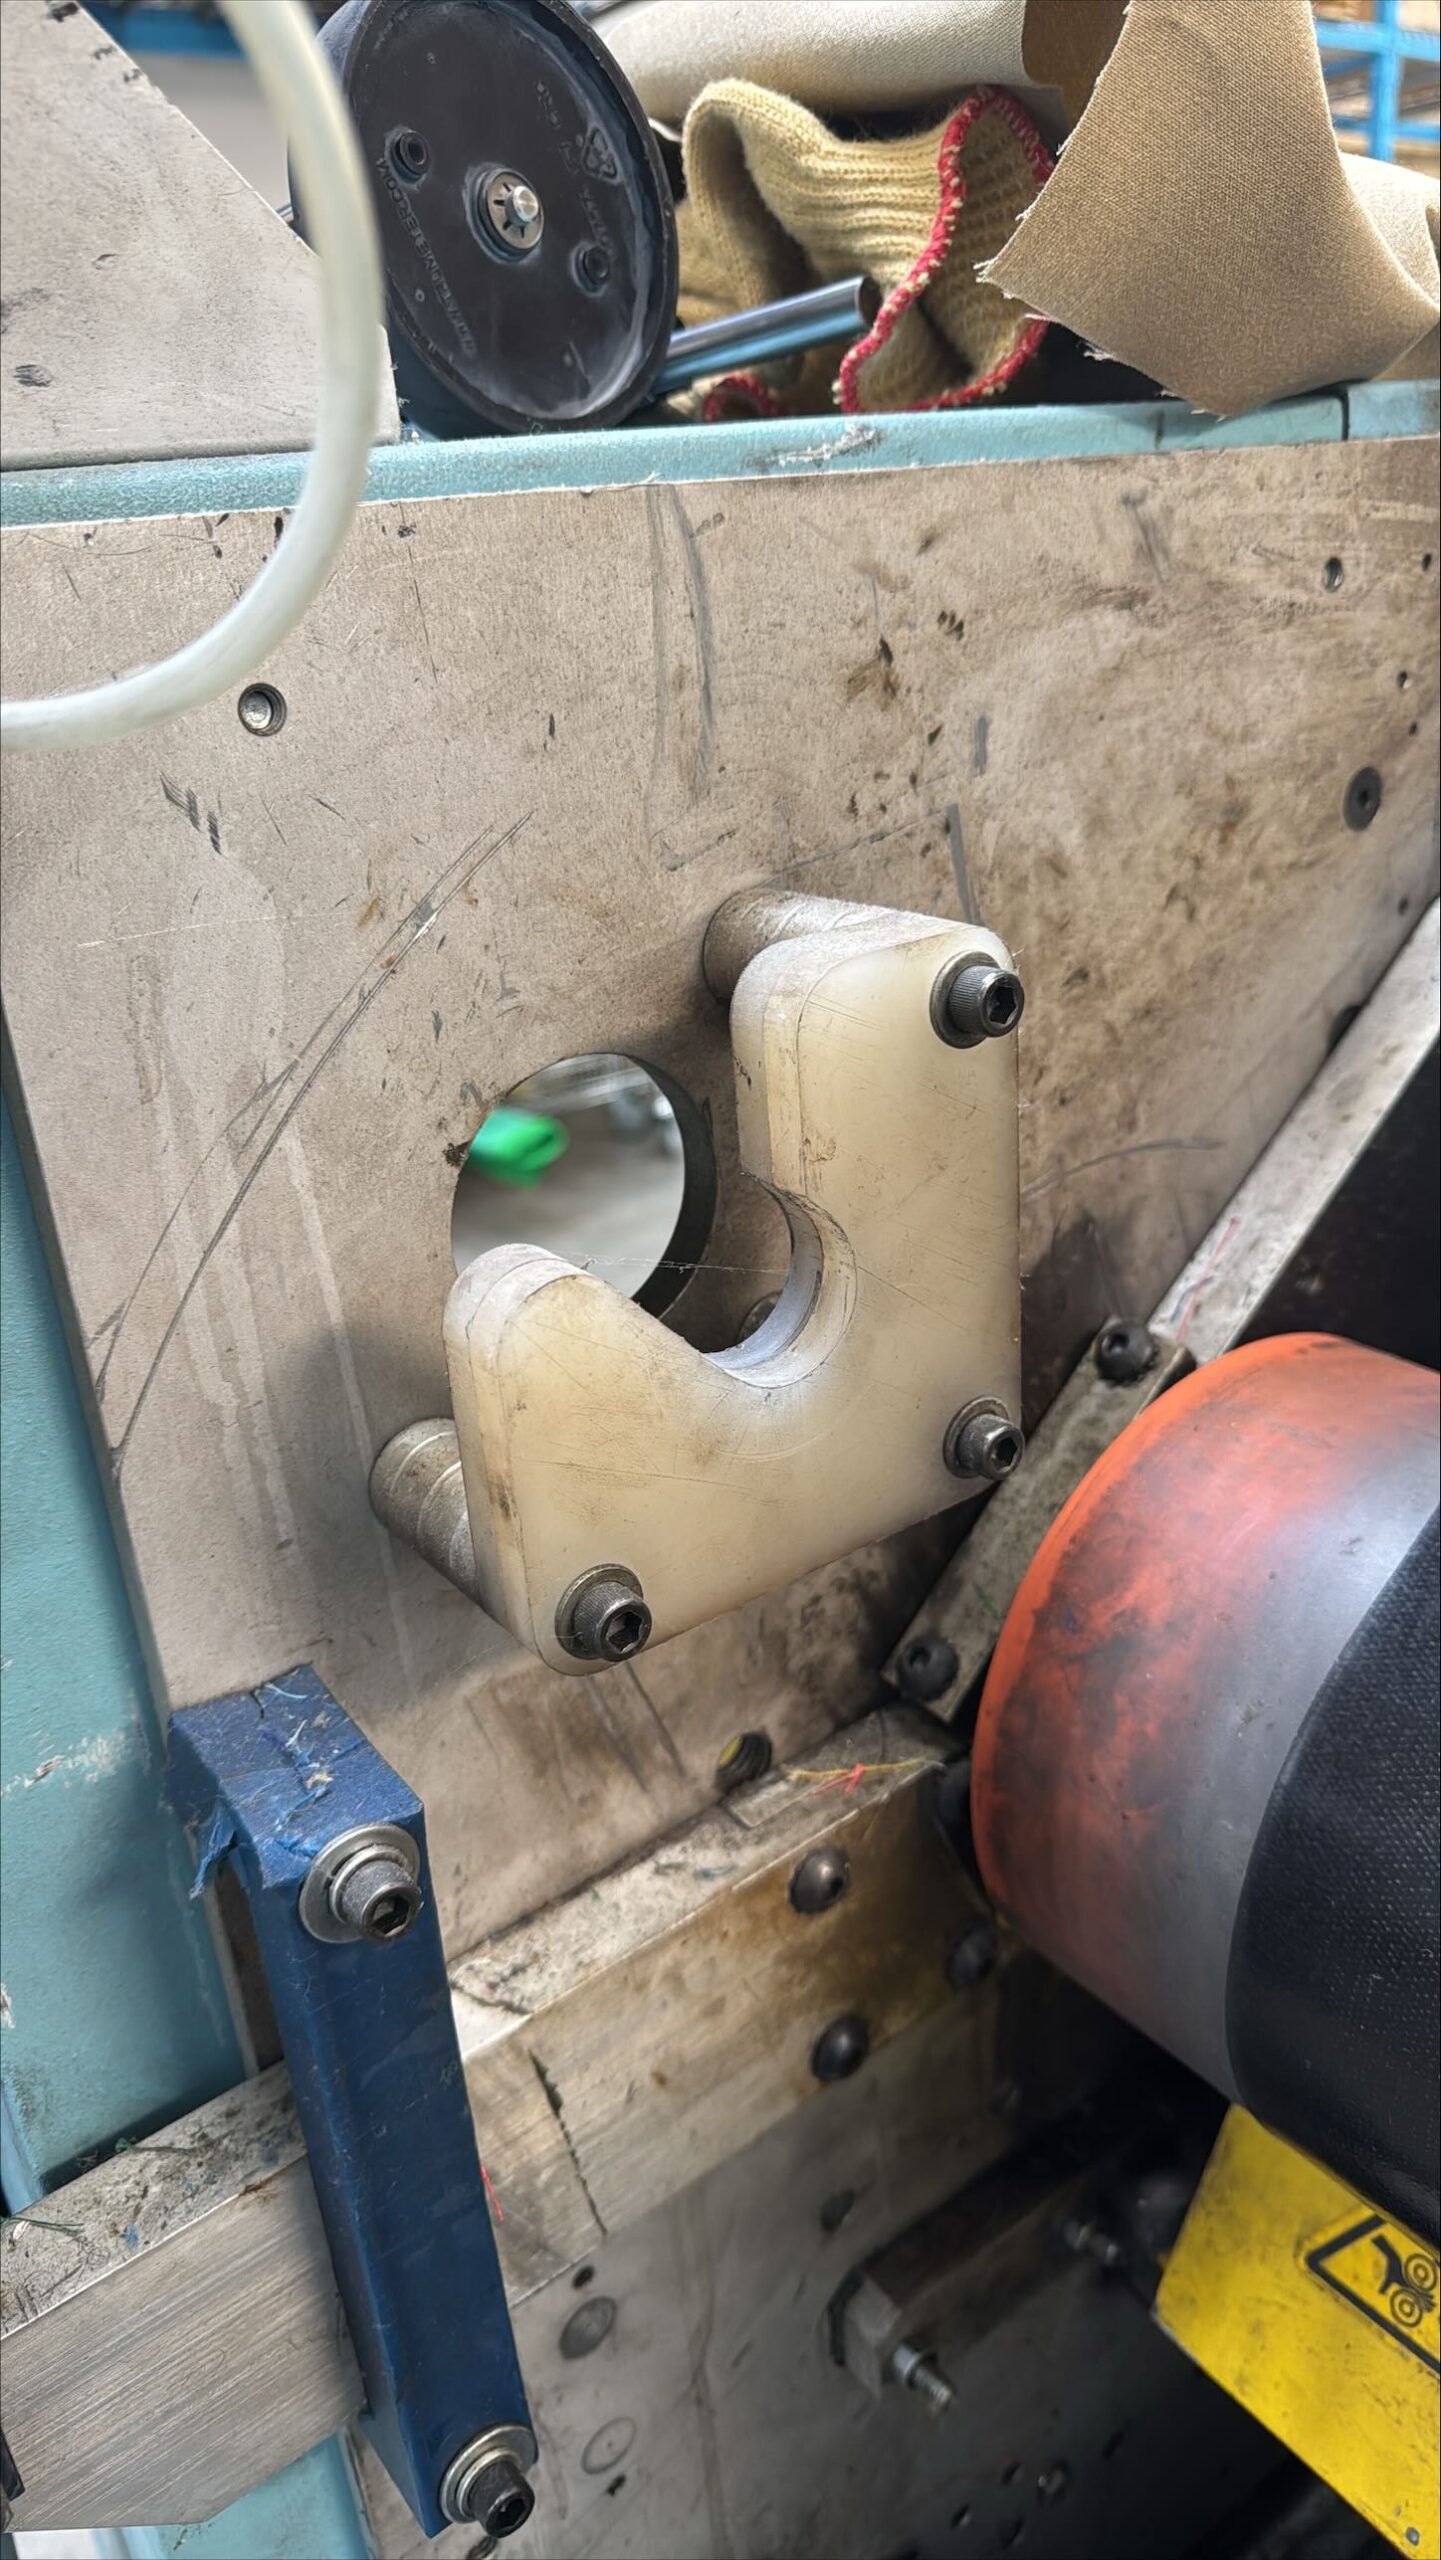
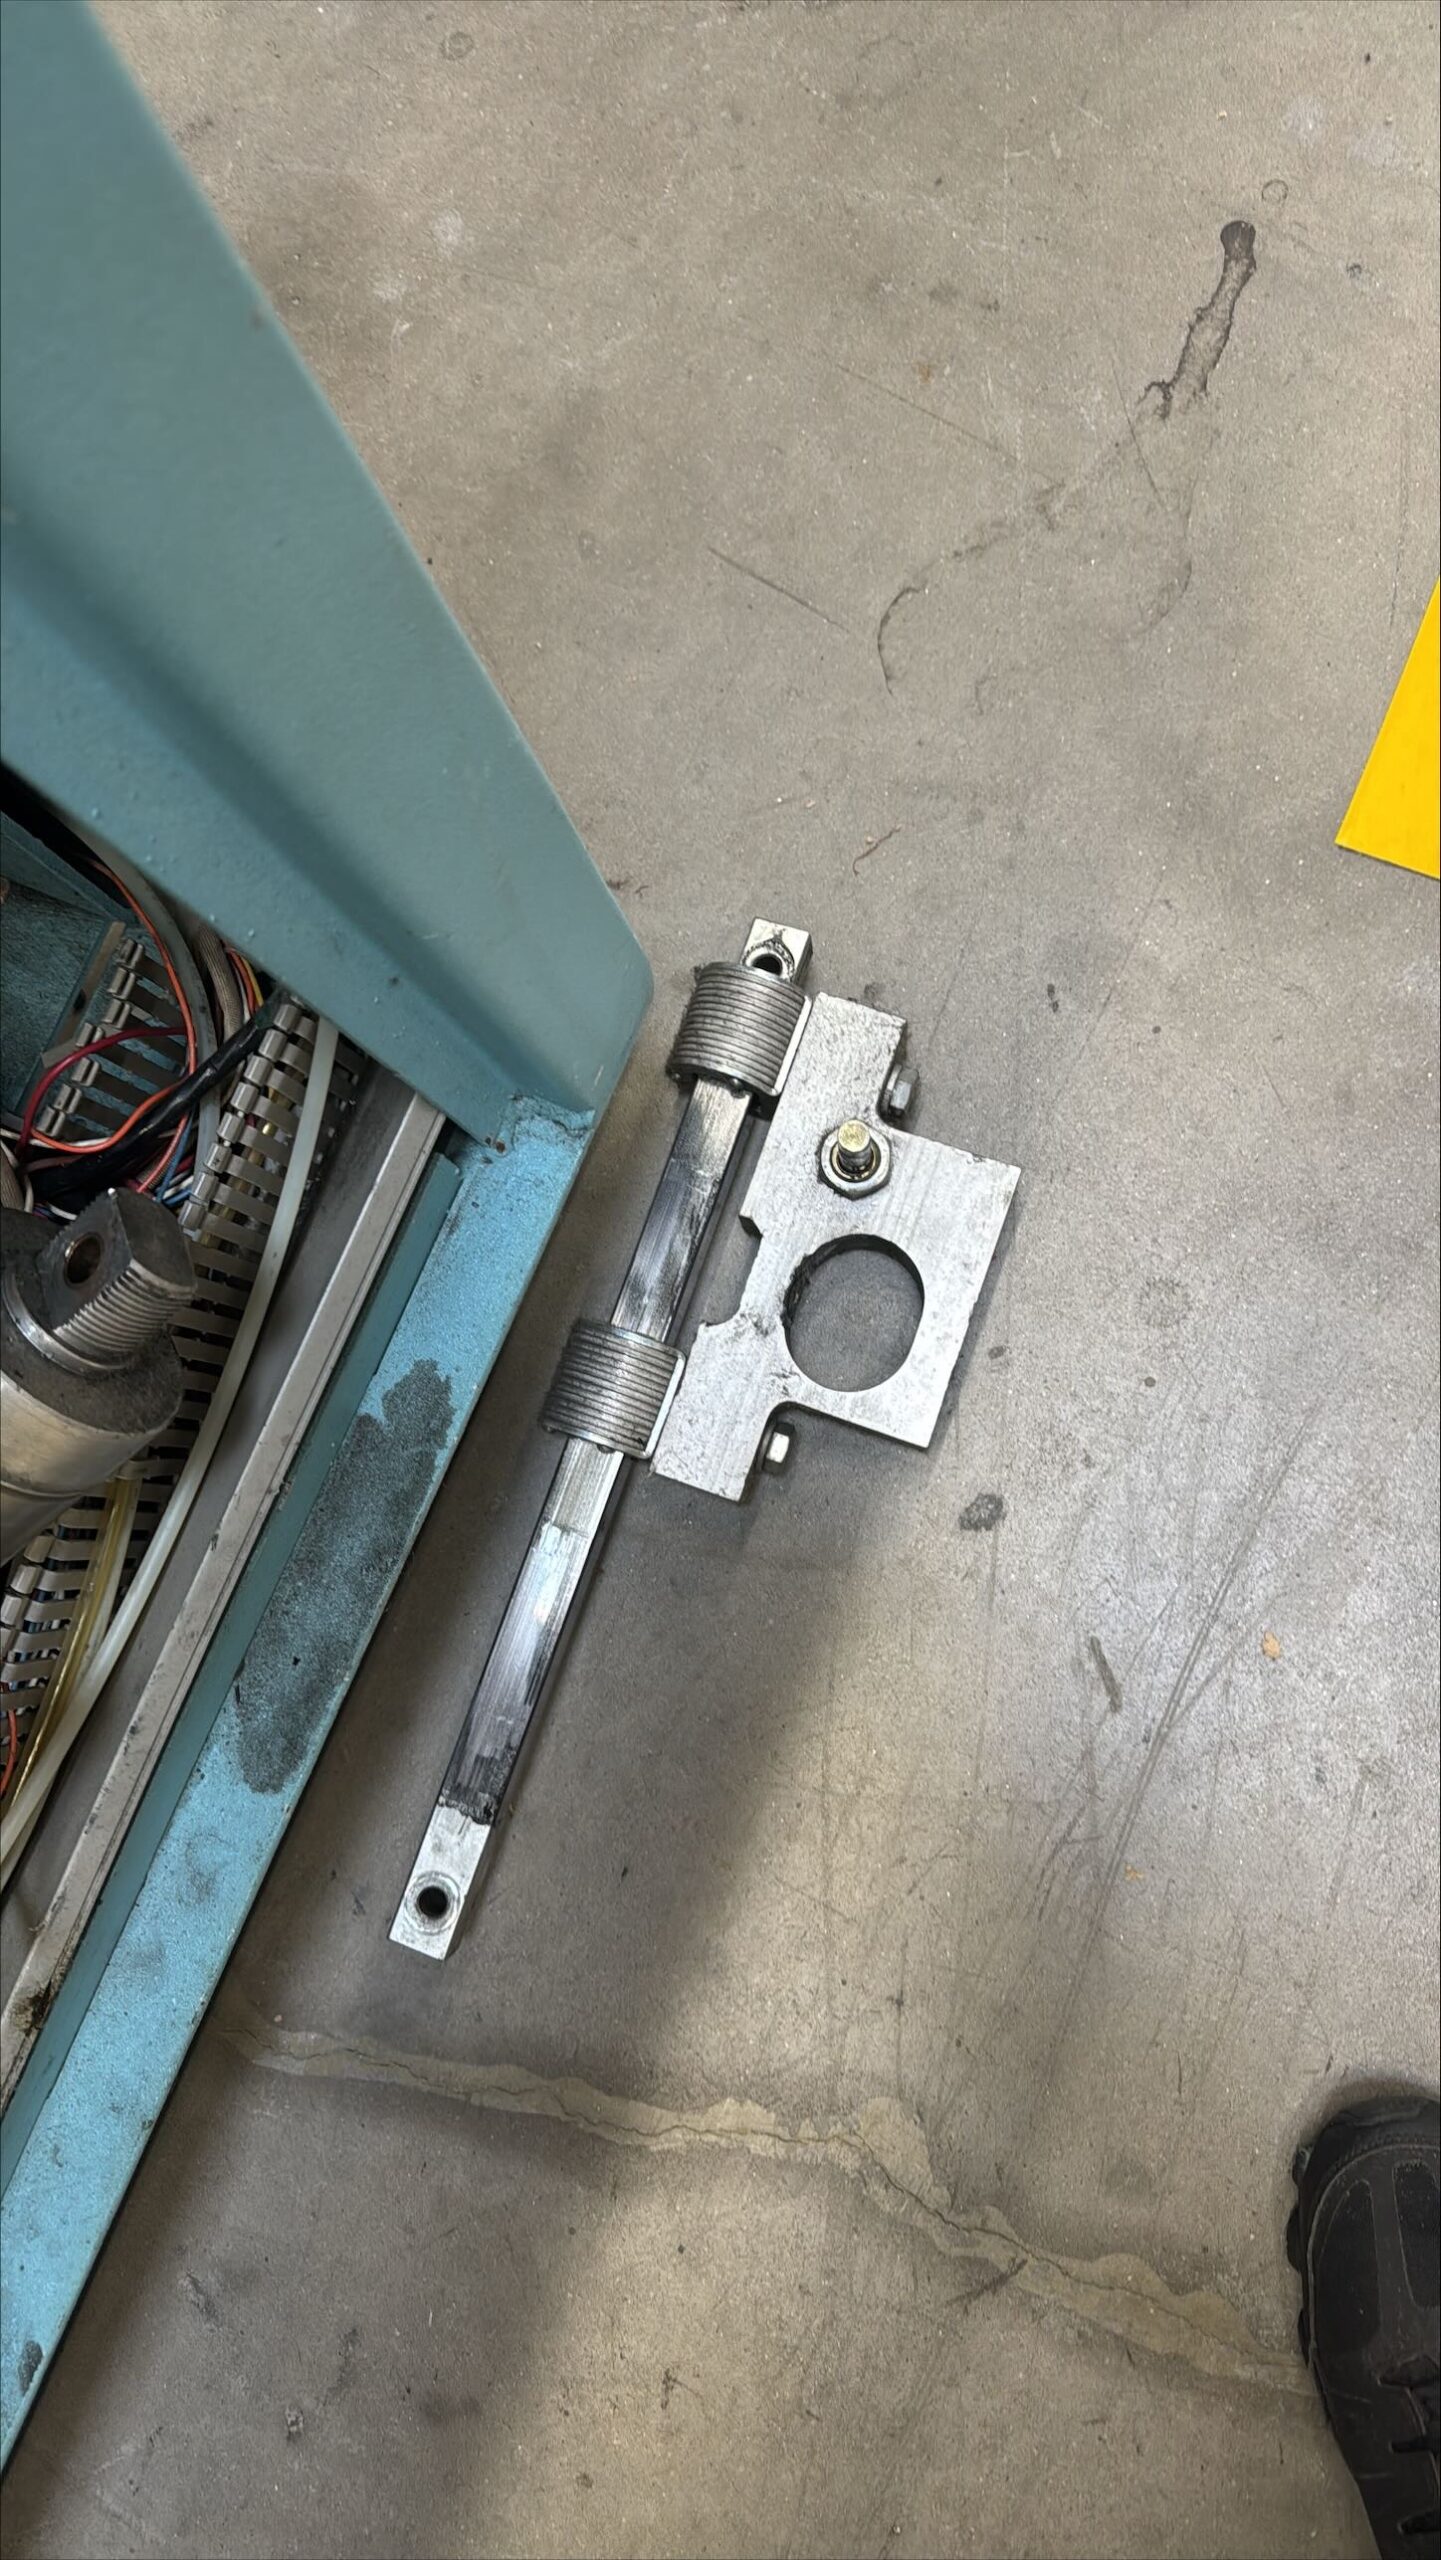 Tracking slide assembly removed.
 Remove tracking access covers. two or four 1/4-20 bolts with nuts
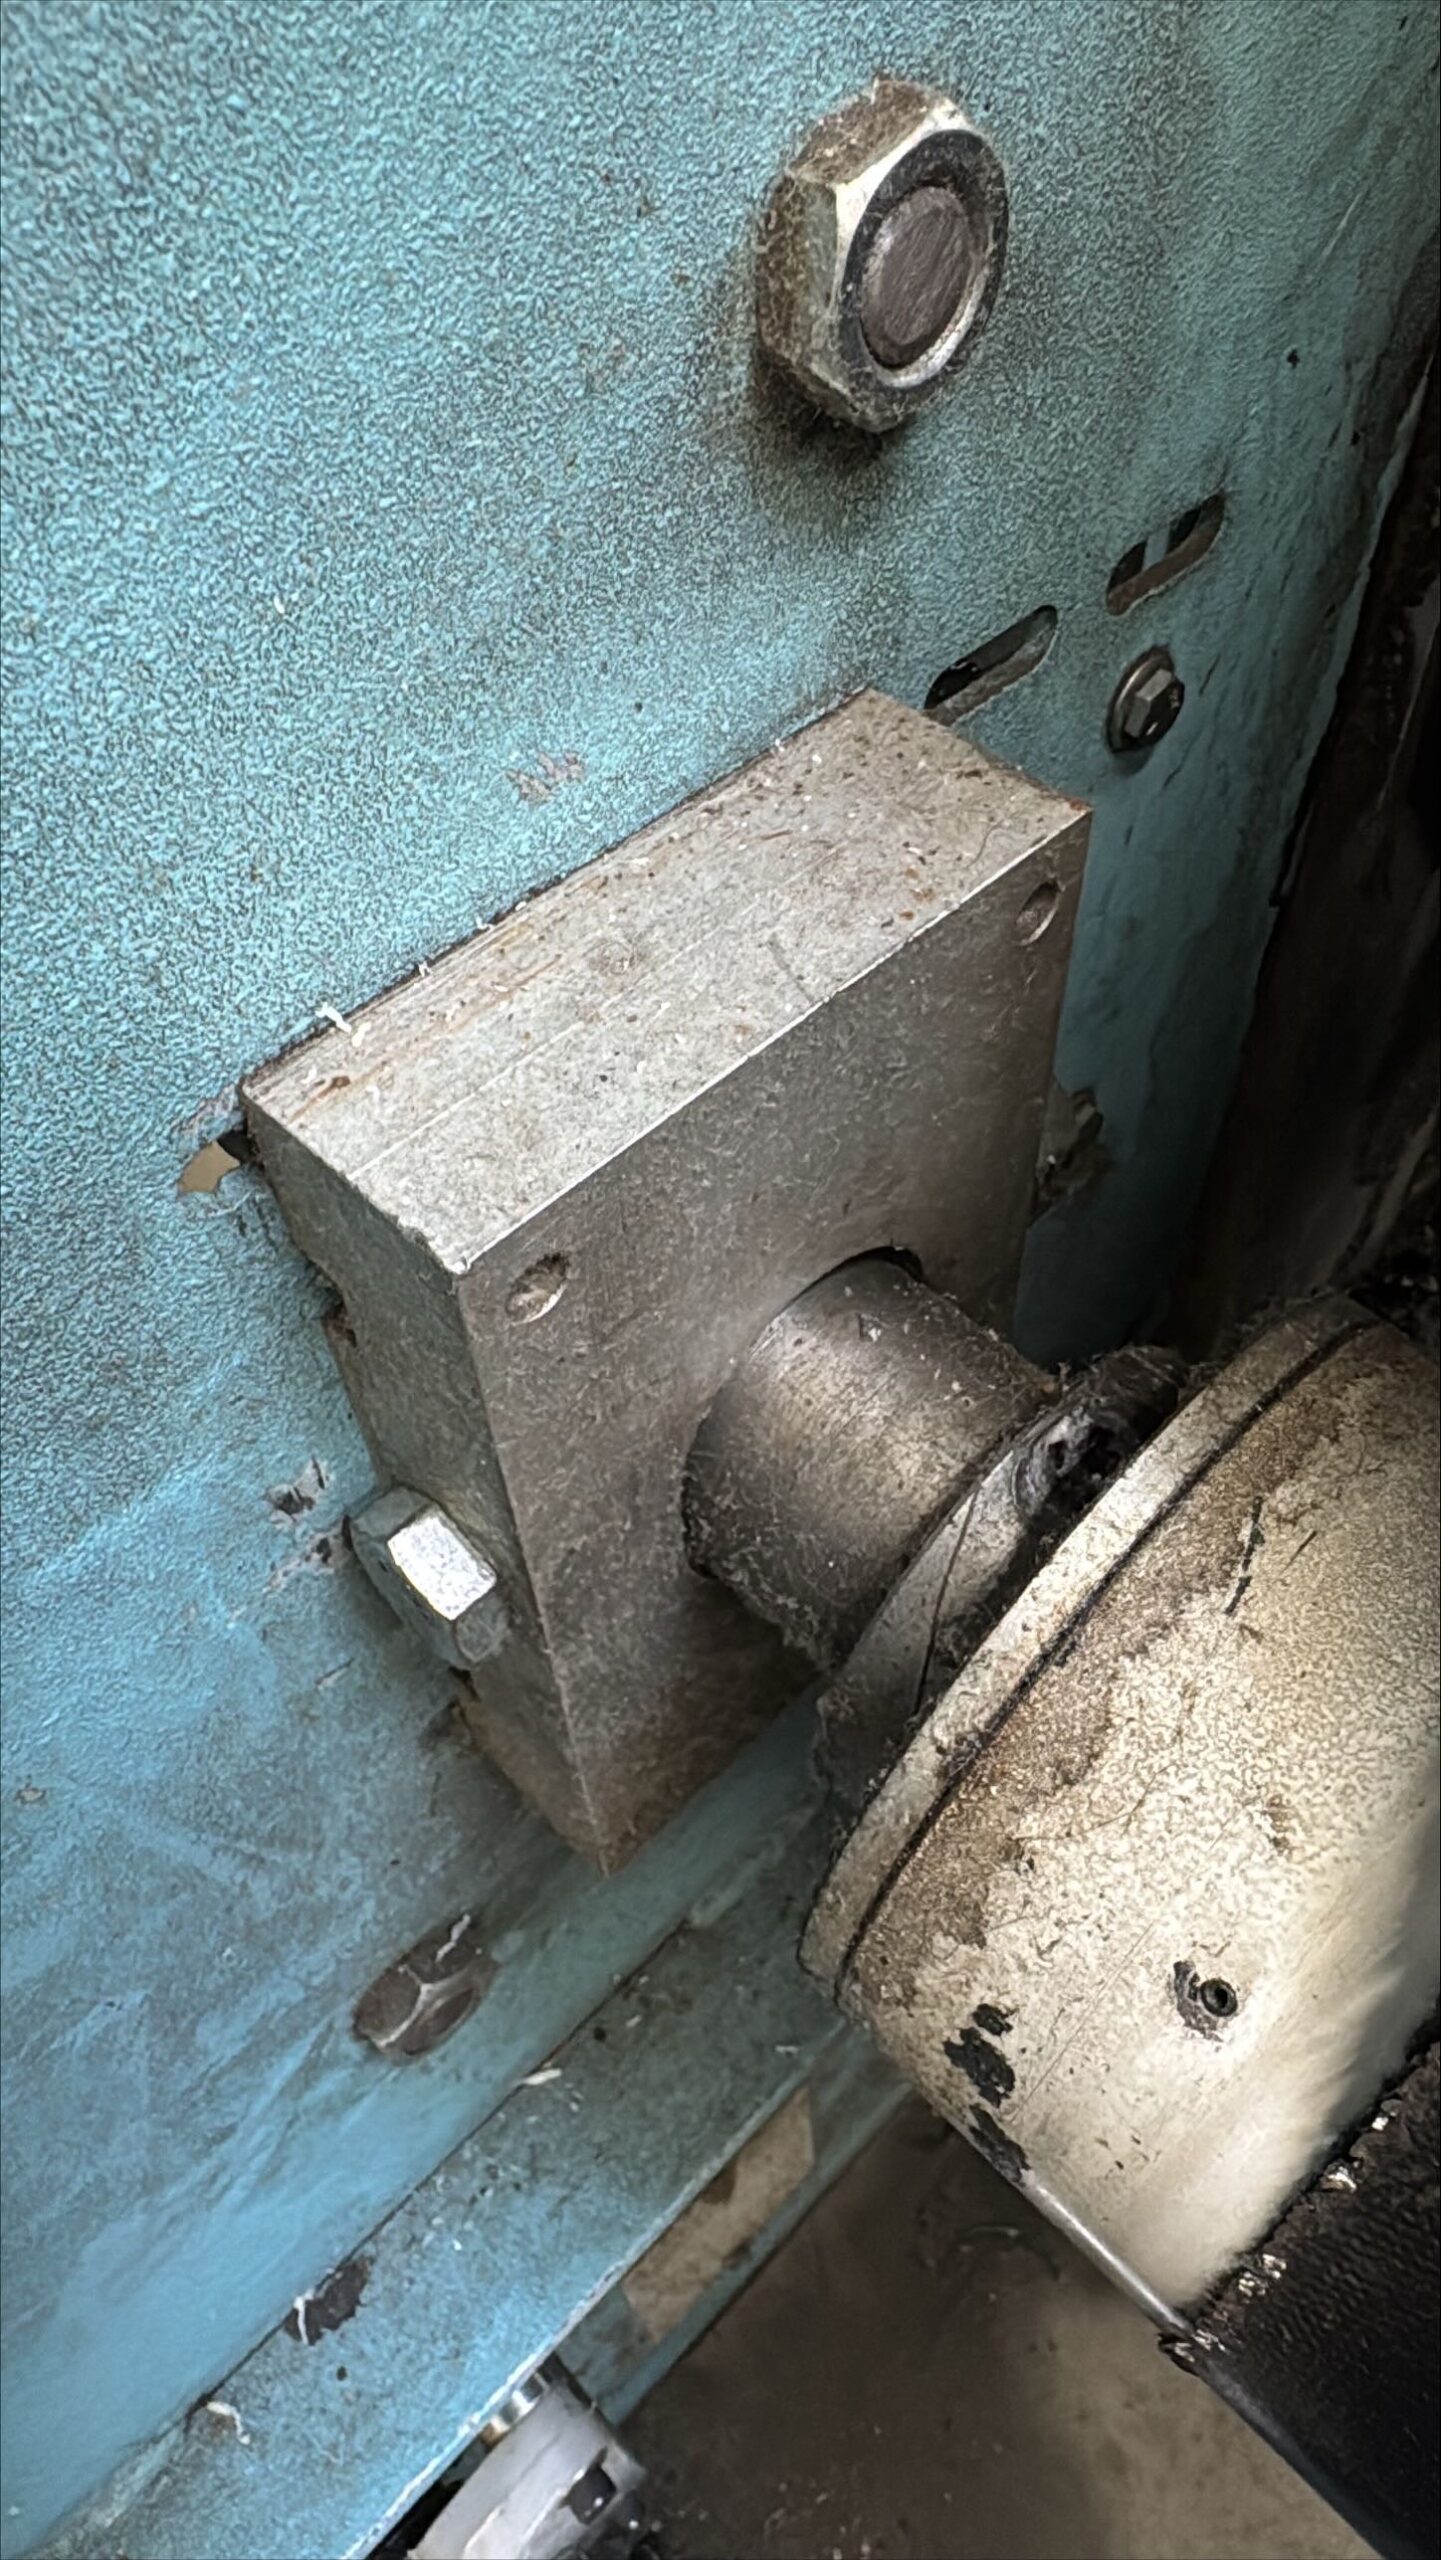 Remove large pivot bolt.
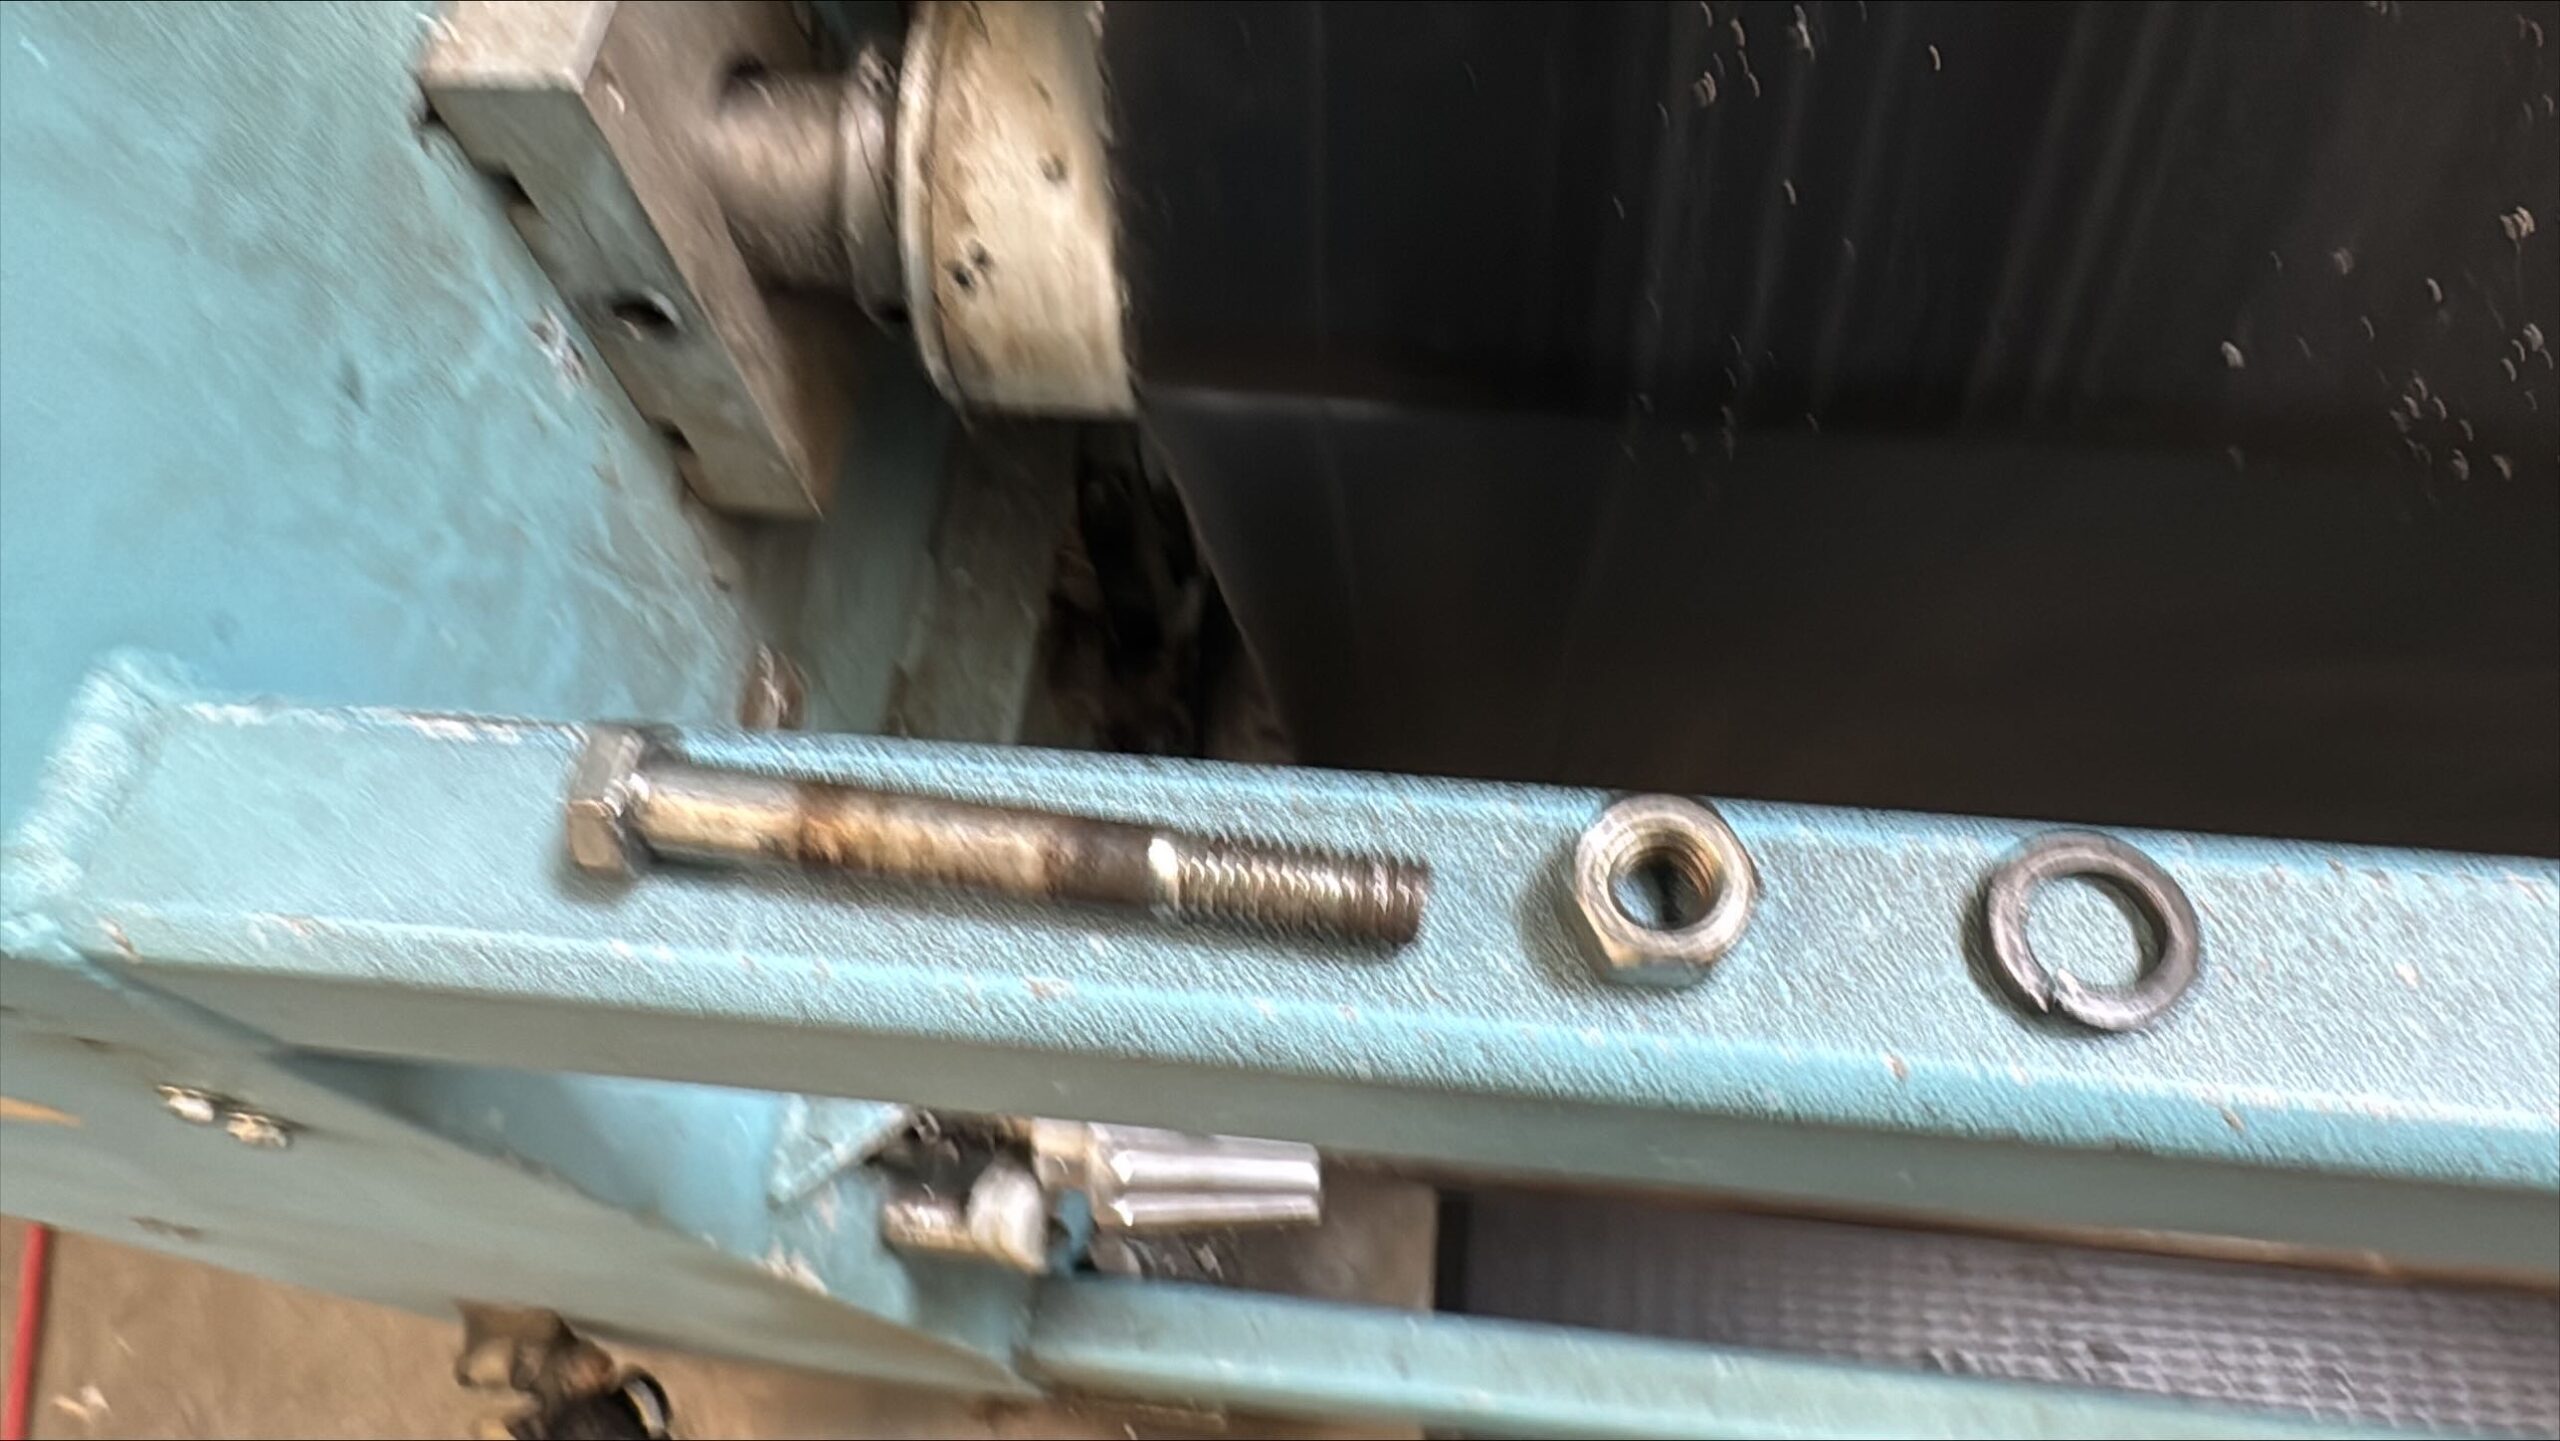 Large pivot bolt and nut shown.
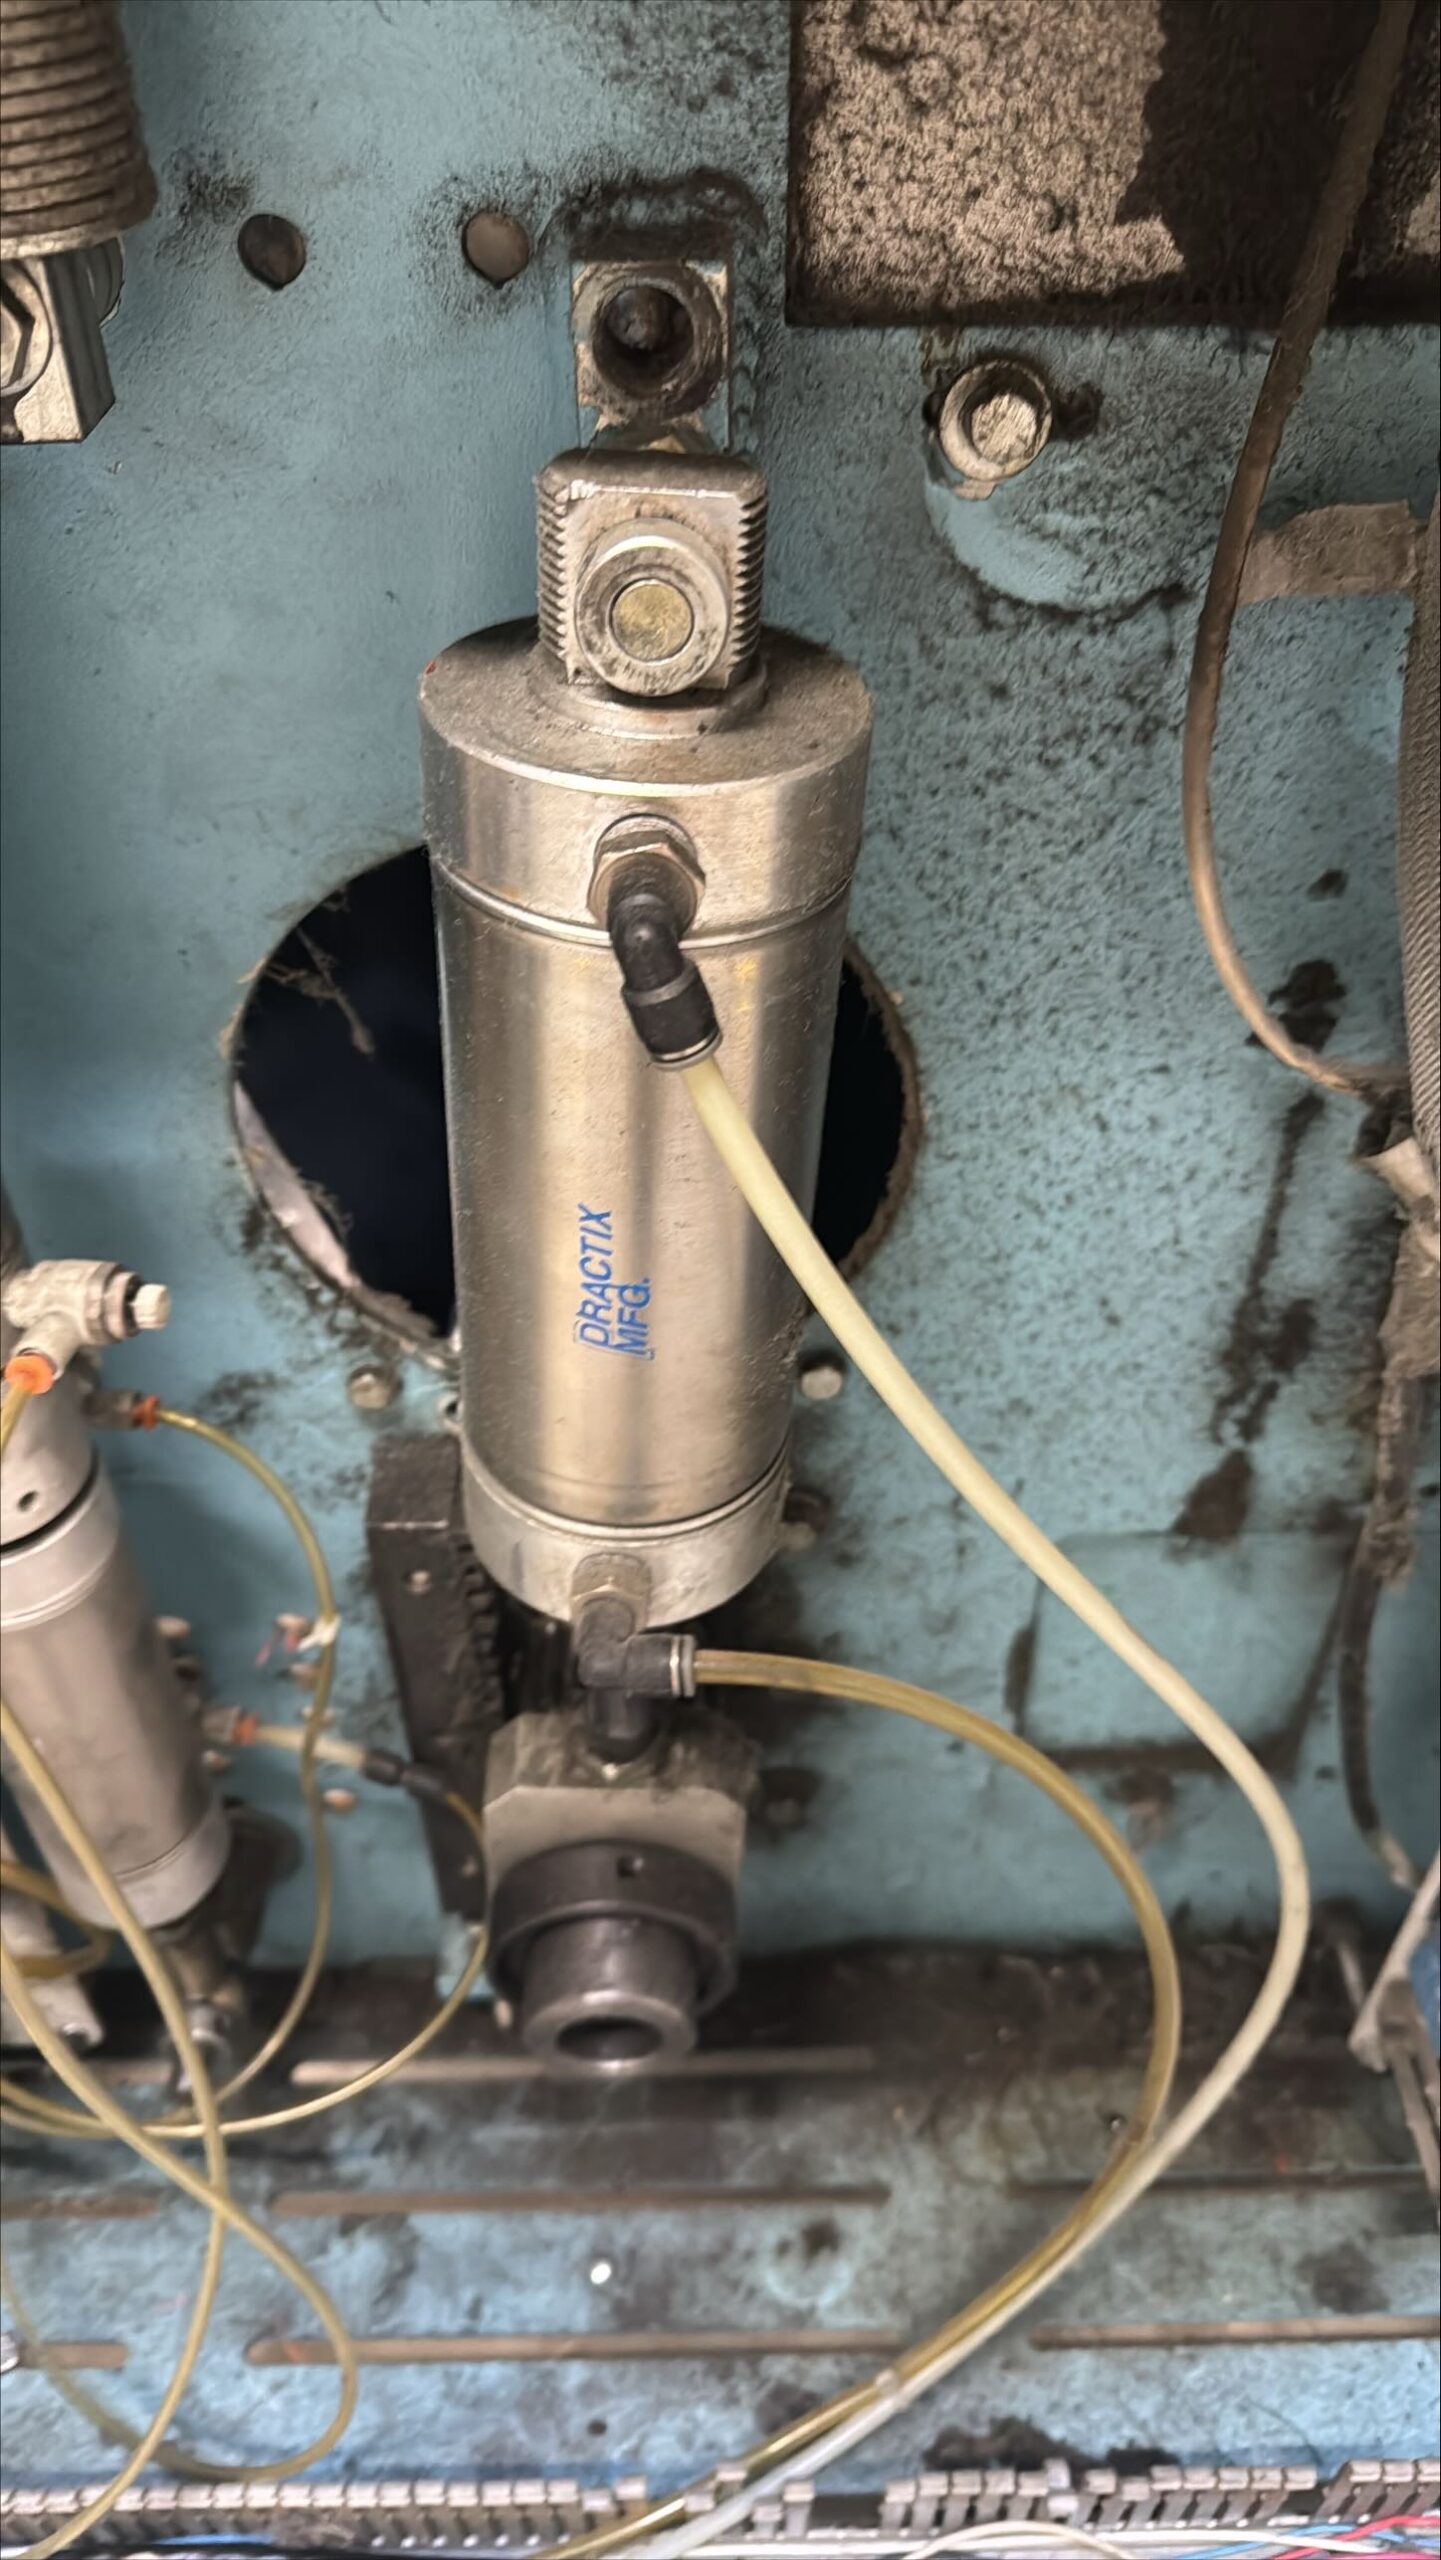
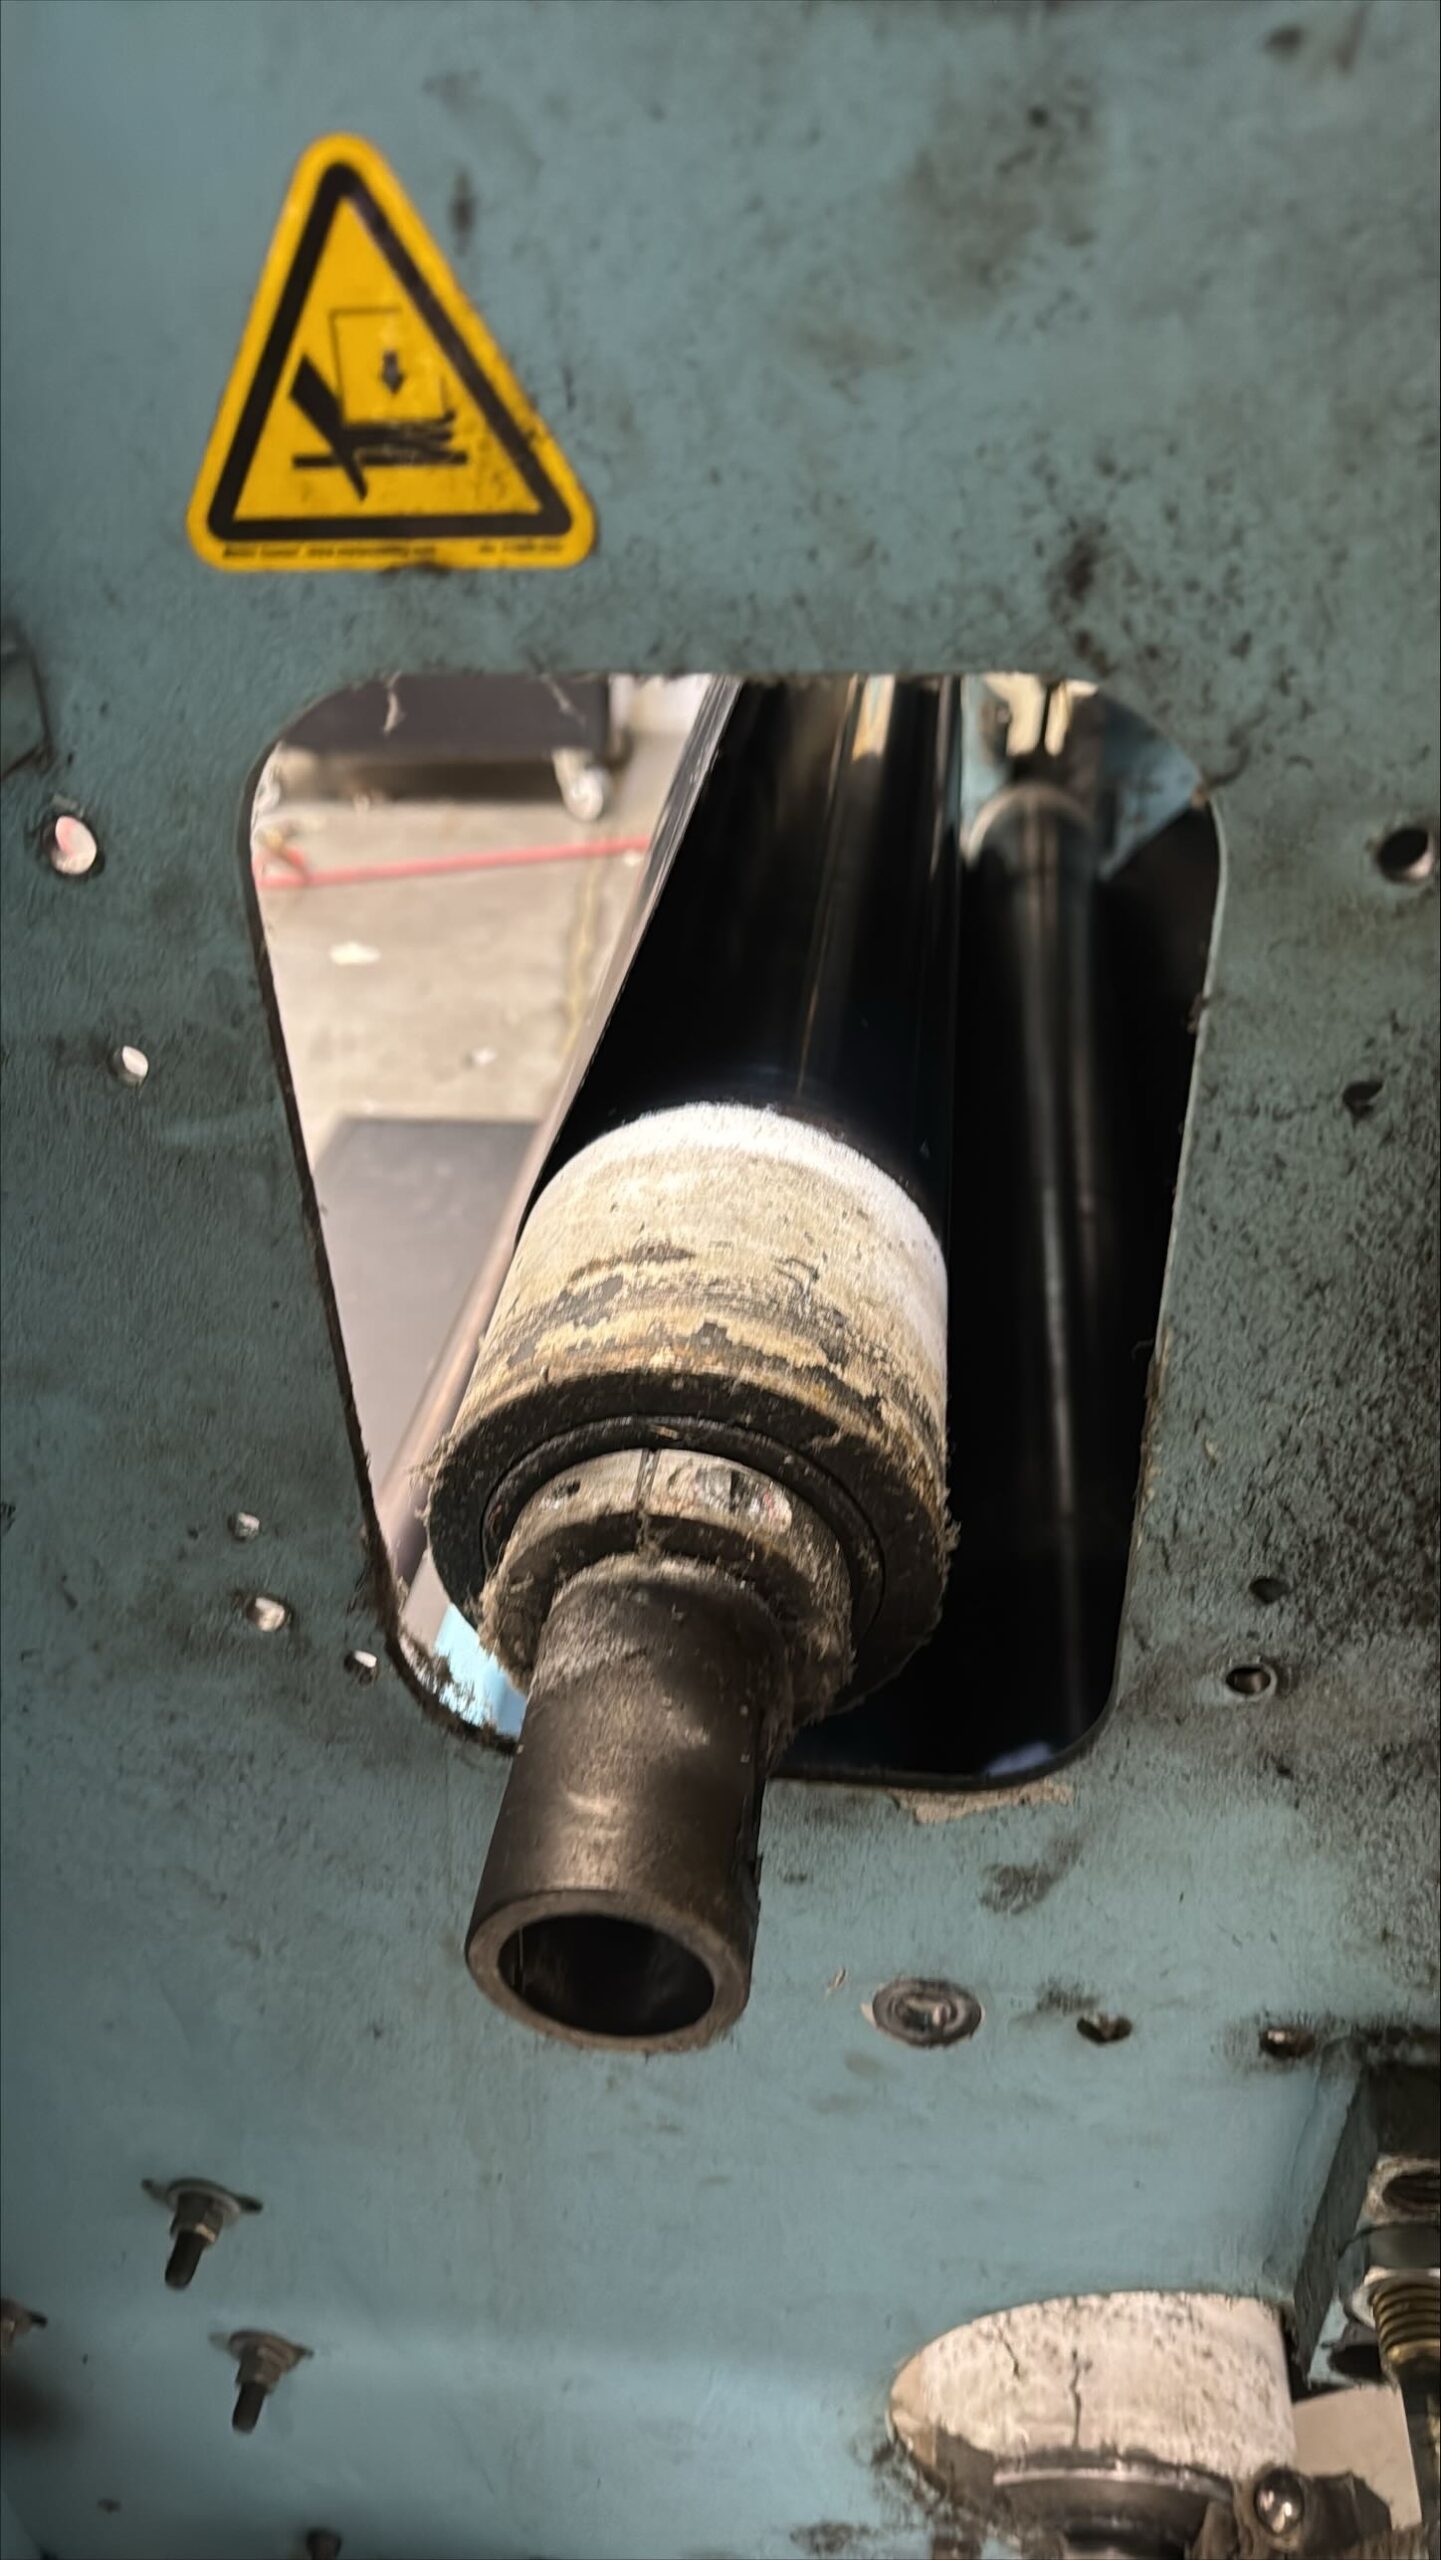
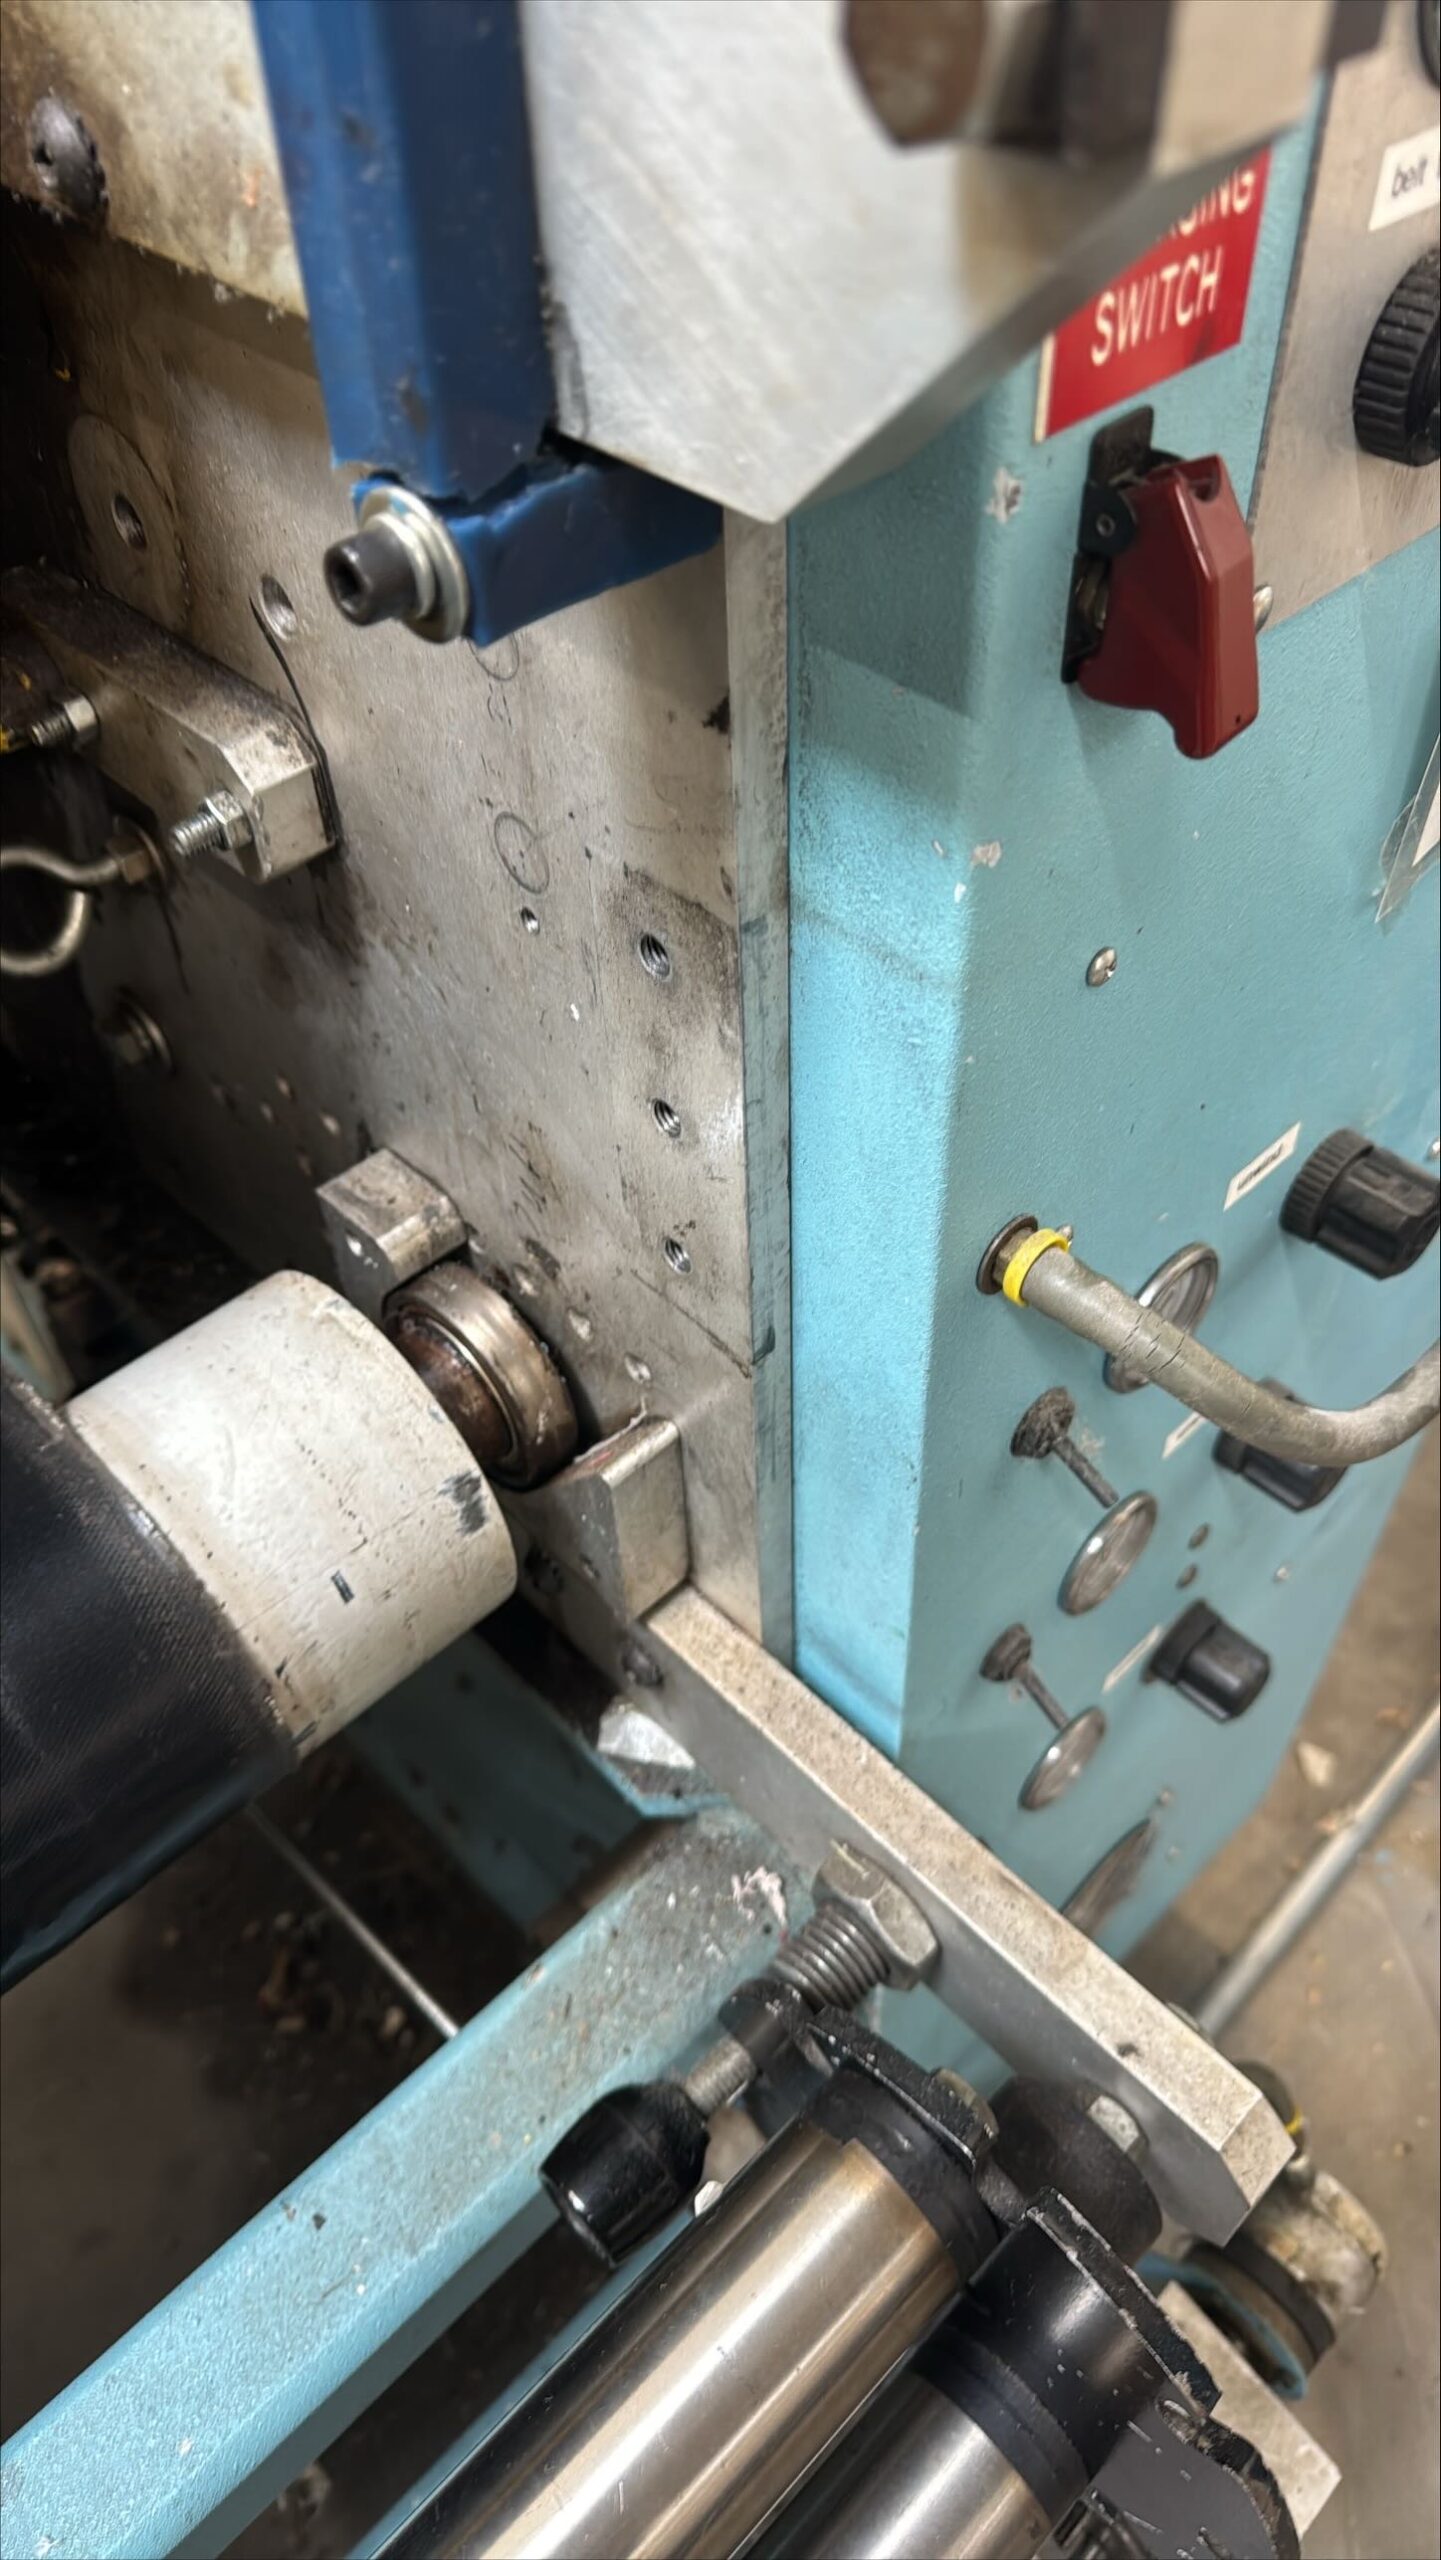
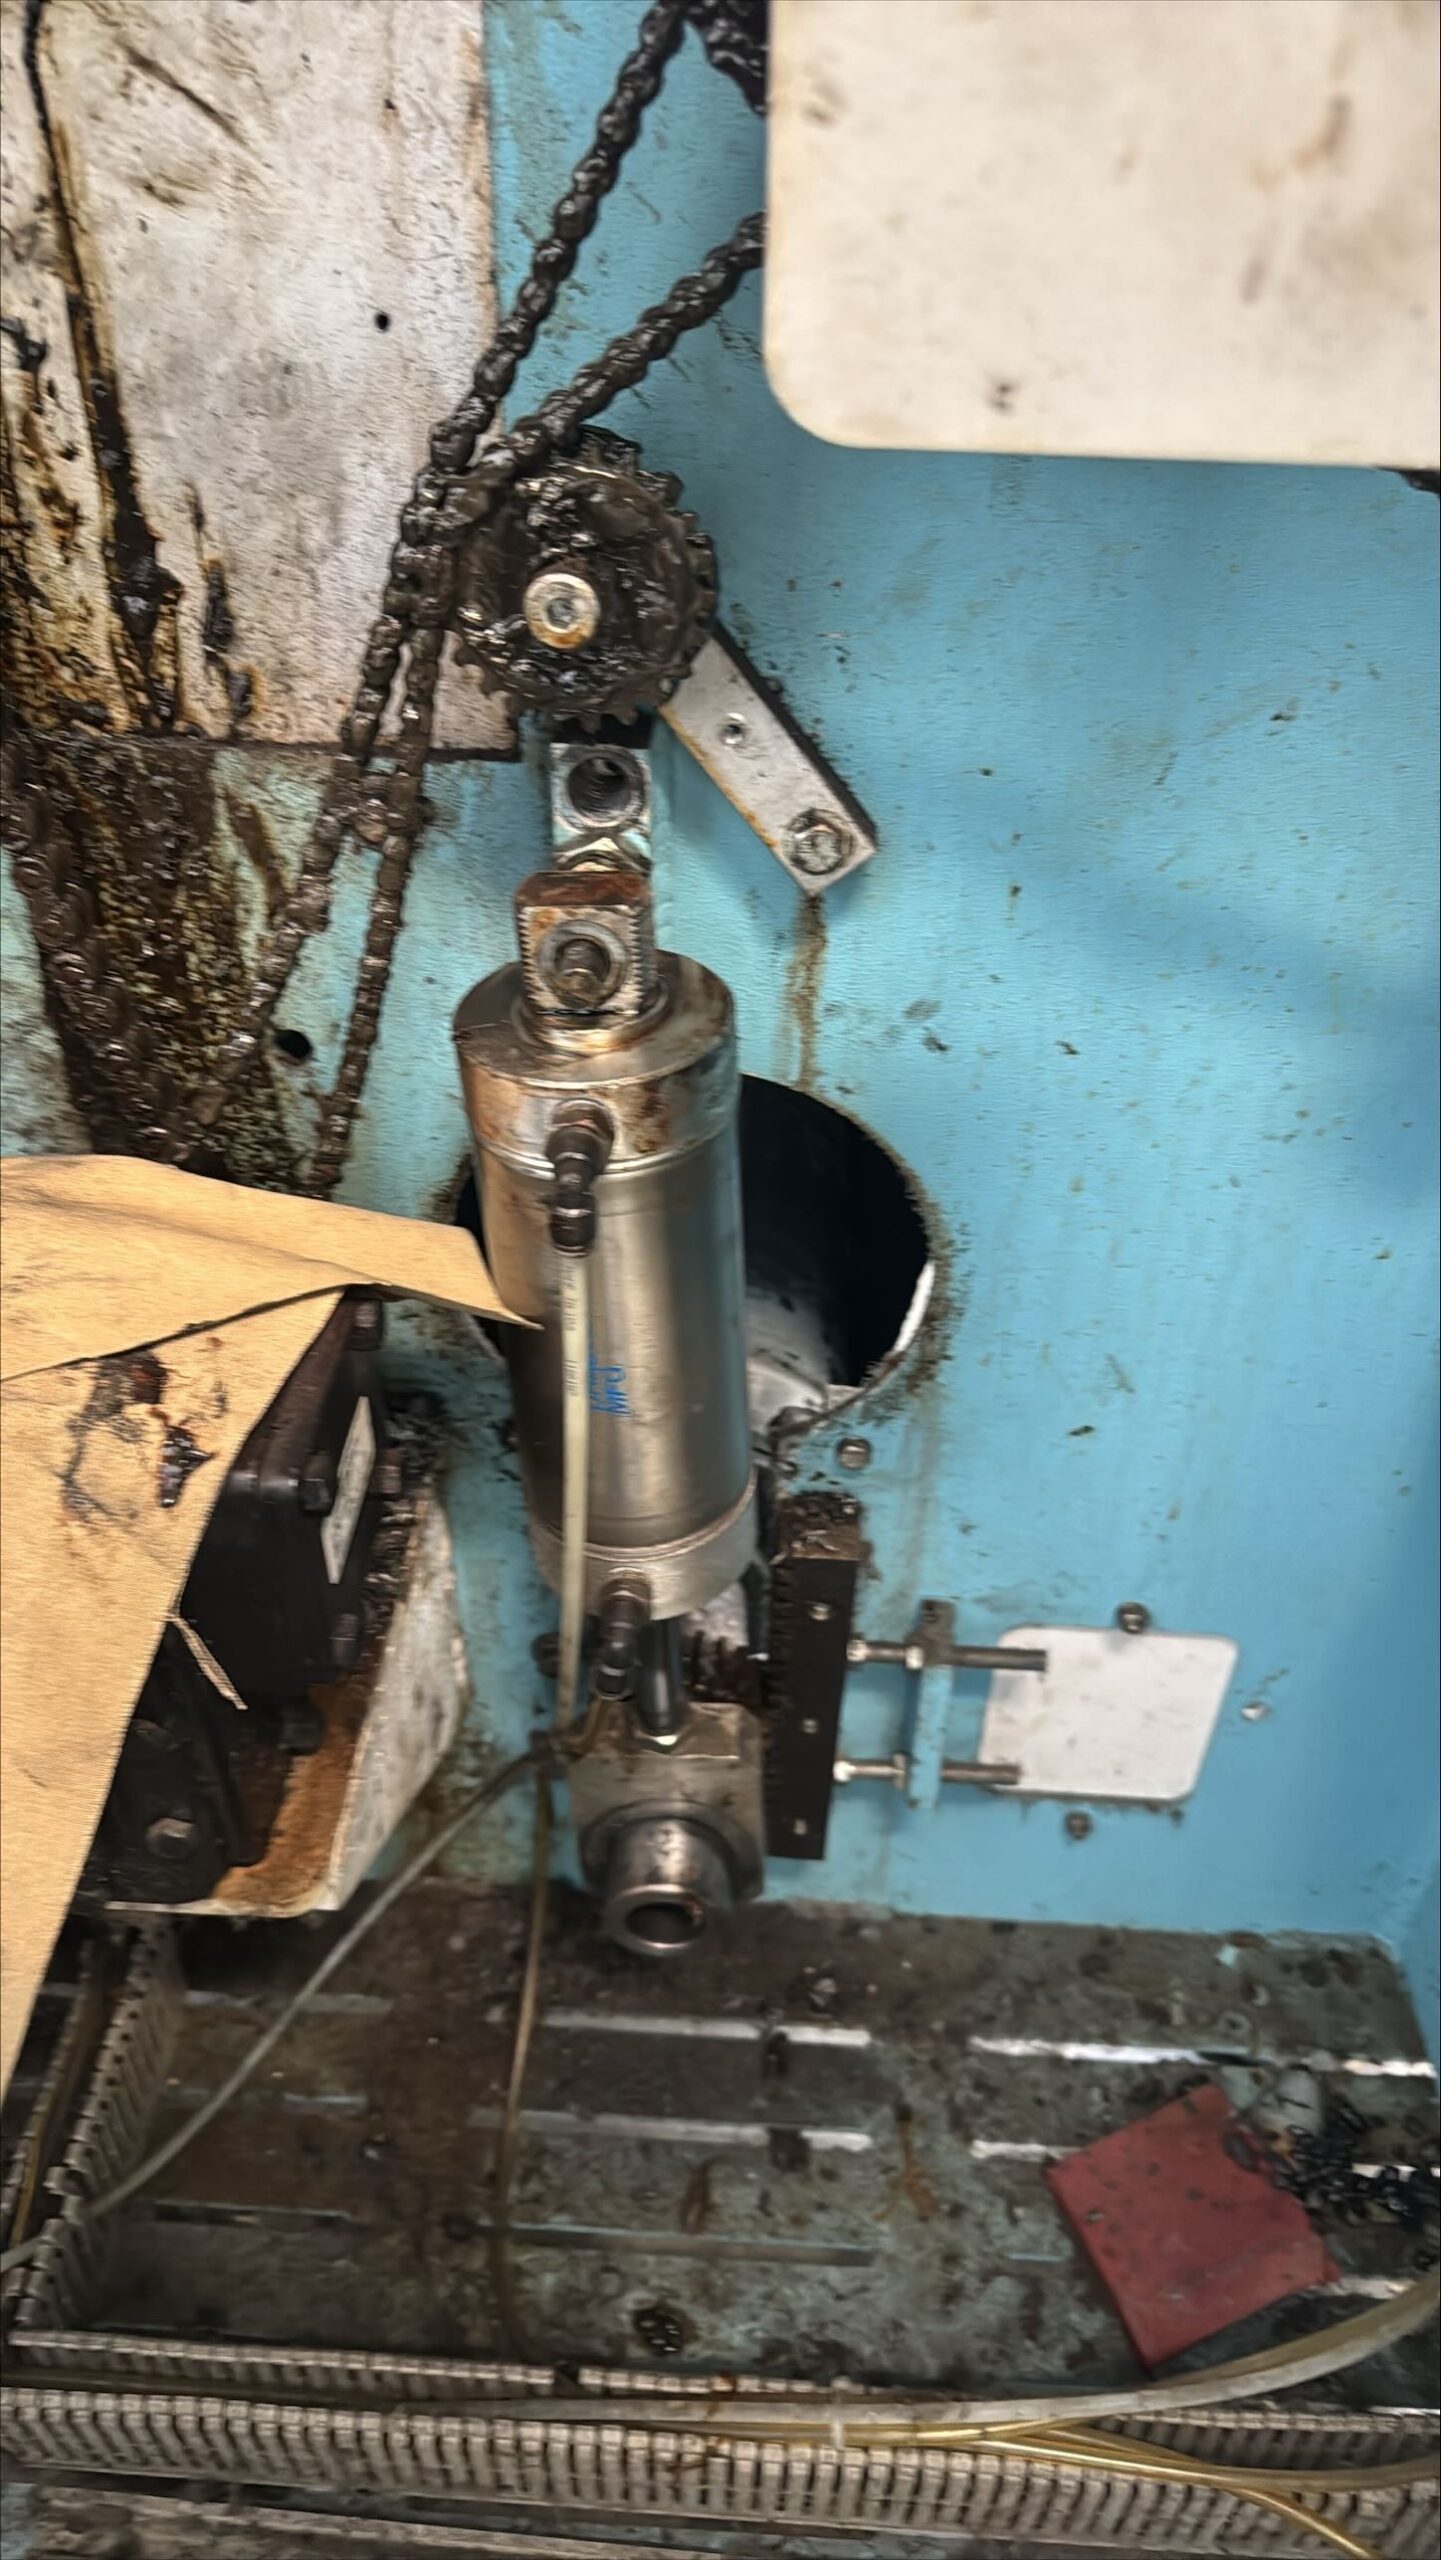 Tension cylinder on the drive side of machine.
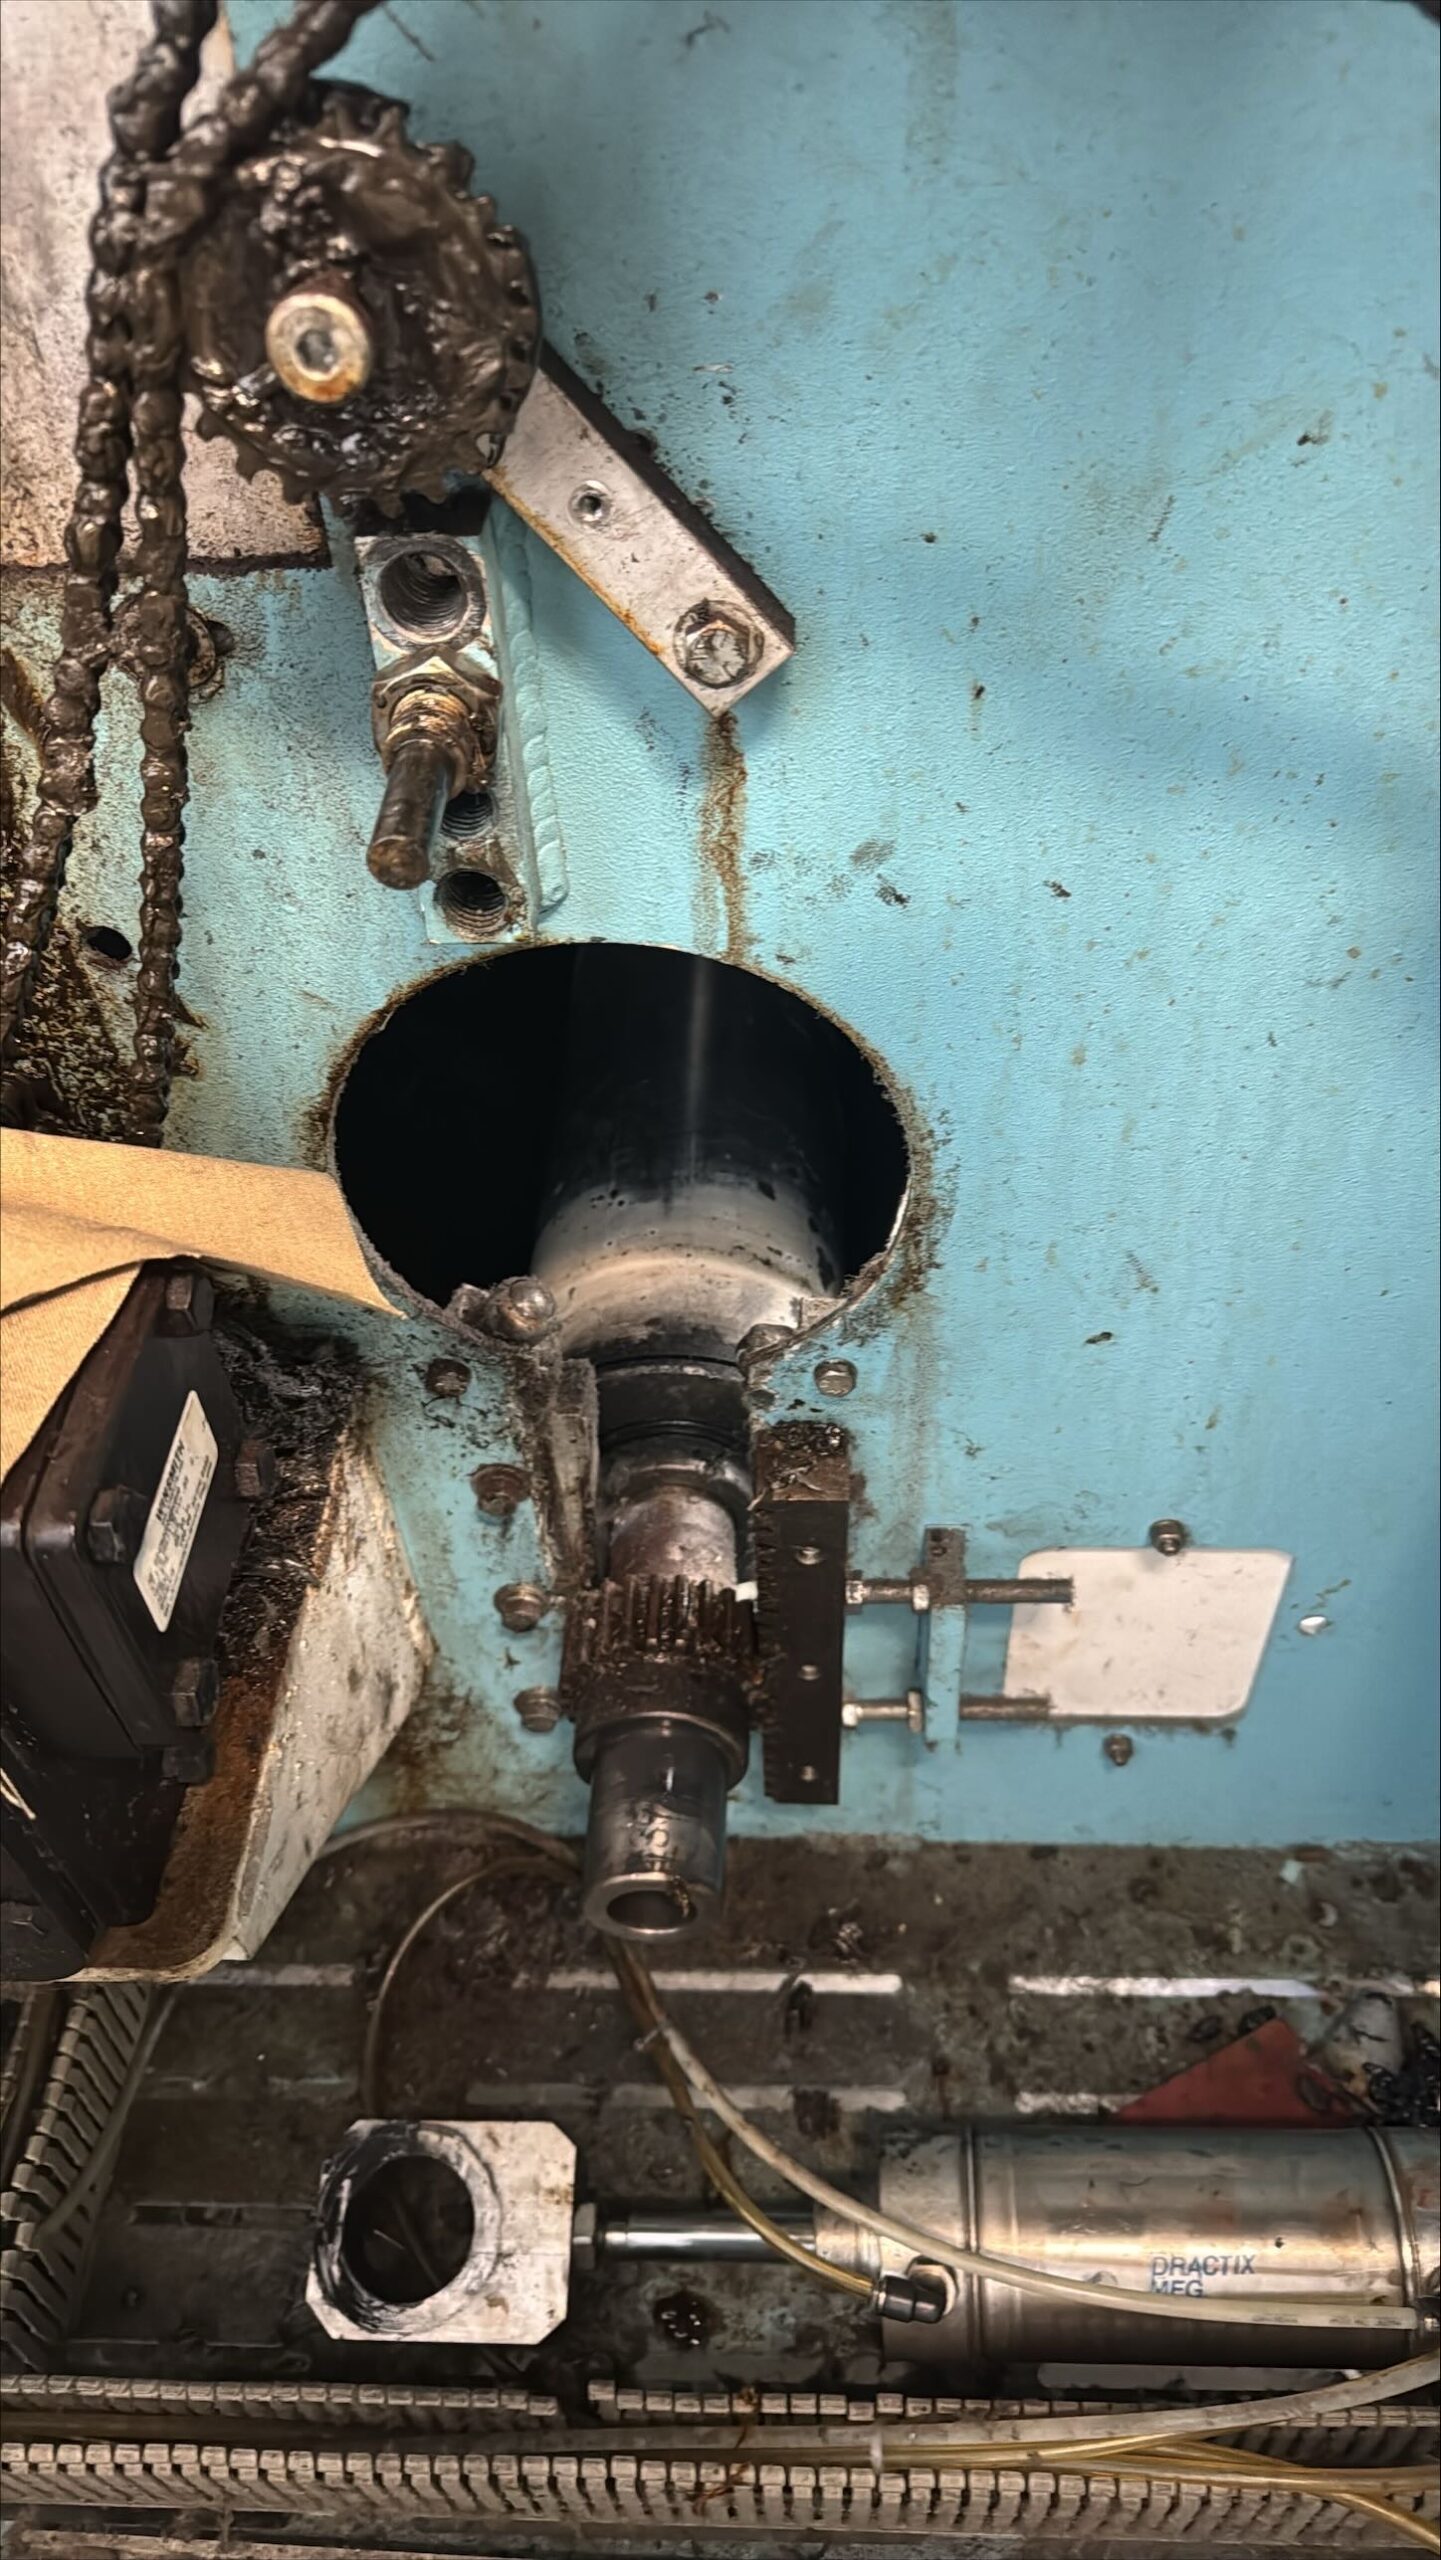 Remove shaft collars from end of cylinder and from 2″ shaft.
 Remove the left side paper unwind arm. Three 3/8-16 hex head bolts (9/16 wrench)
 Remove the right side paper unwind arm. Three 3/8-16 hex head bolts (9/16 wrench)
 Disconnect the air line from the paper unwind brake.
 Right side paper unwind arm removed.
 Upper left side rewind bearing
 Remove.
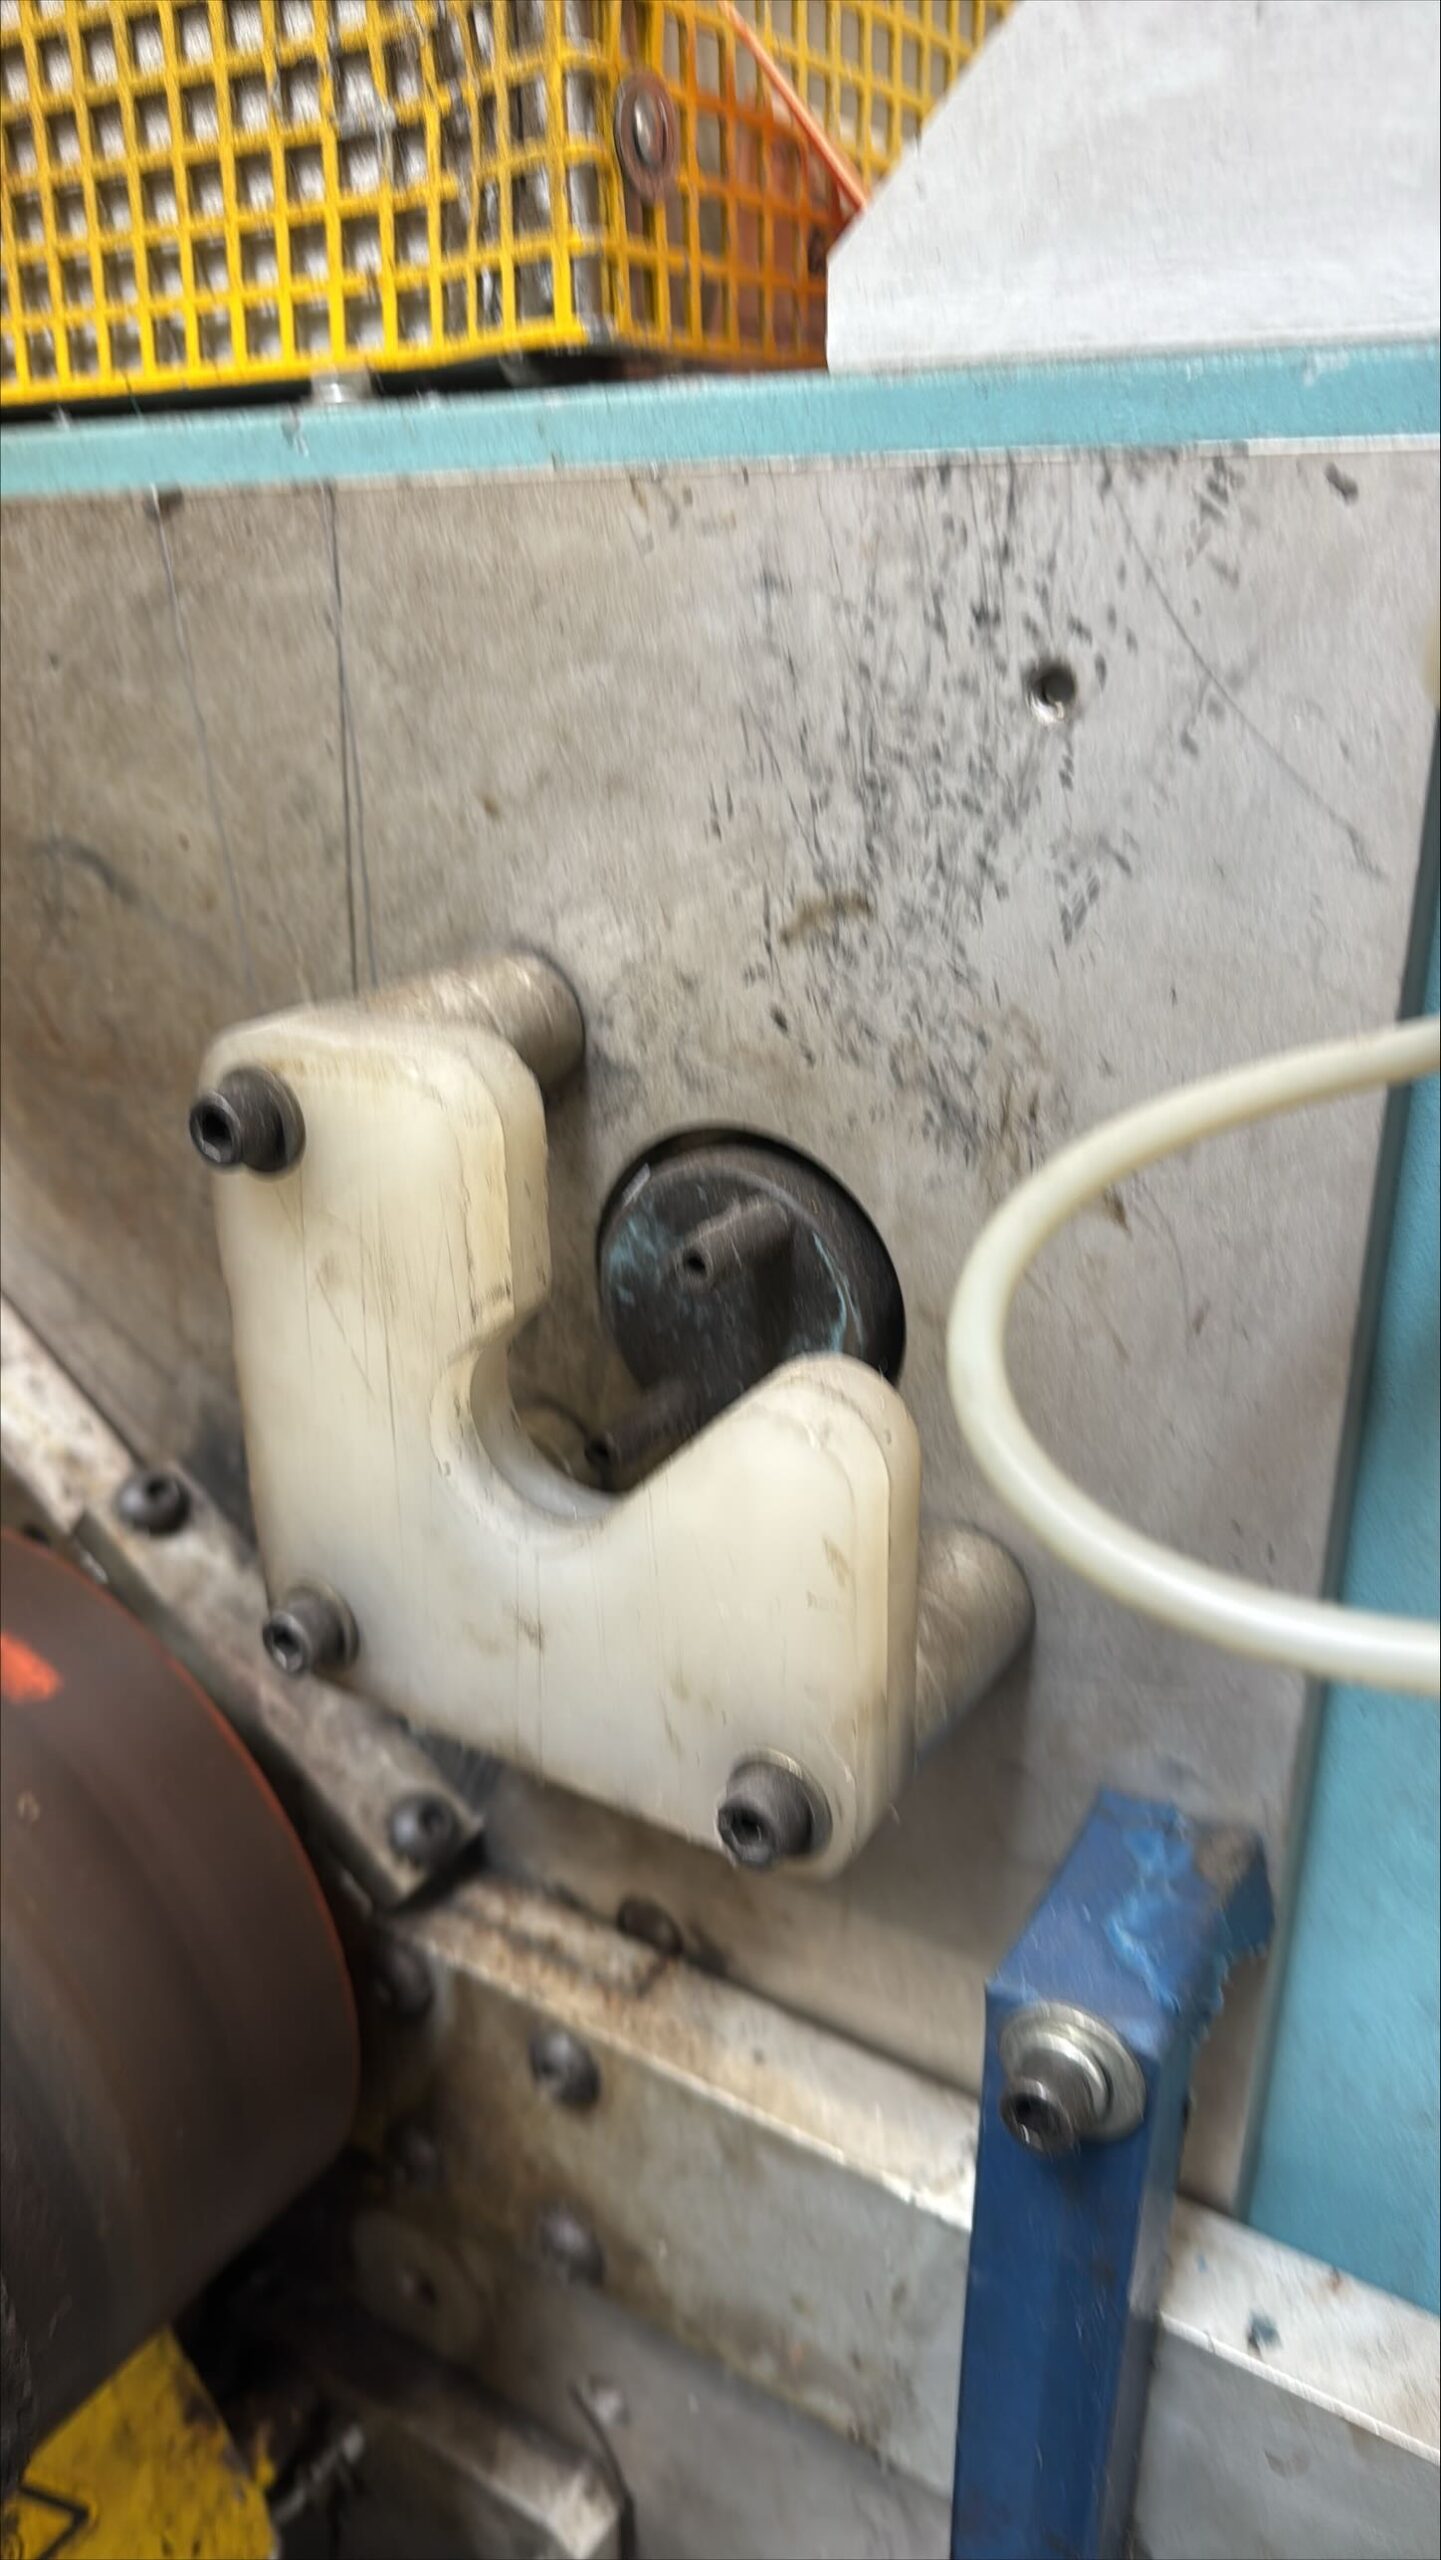 Right upper rewind bearing.
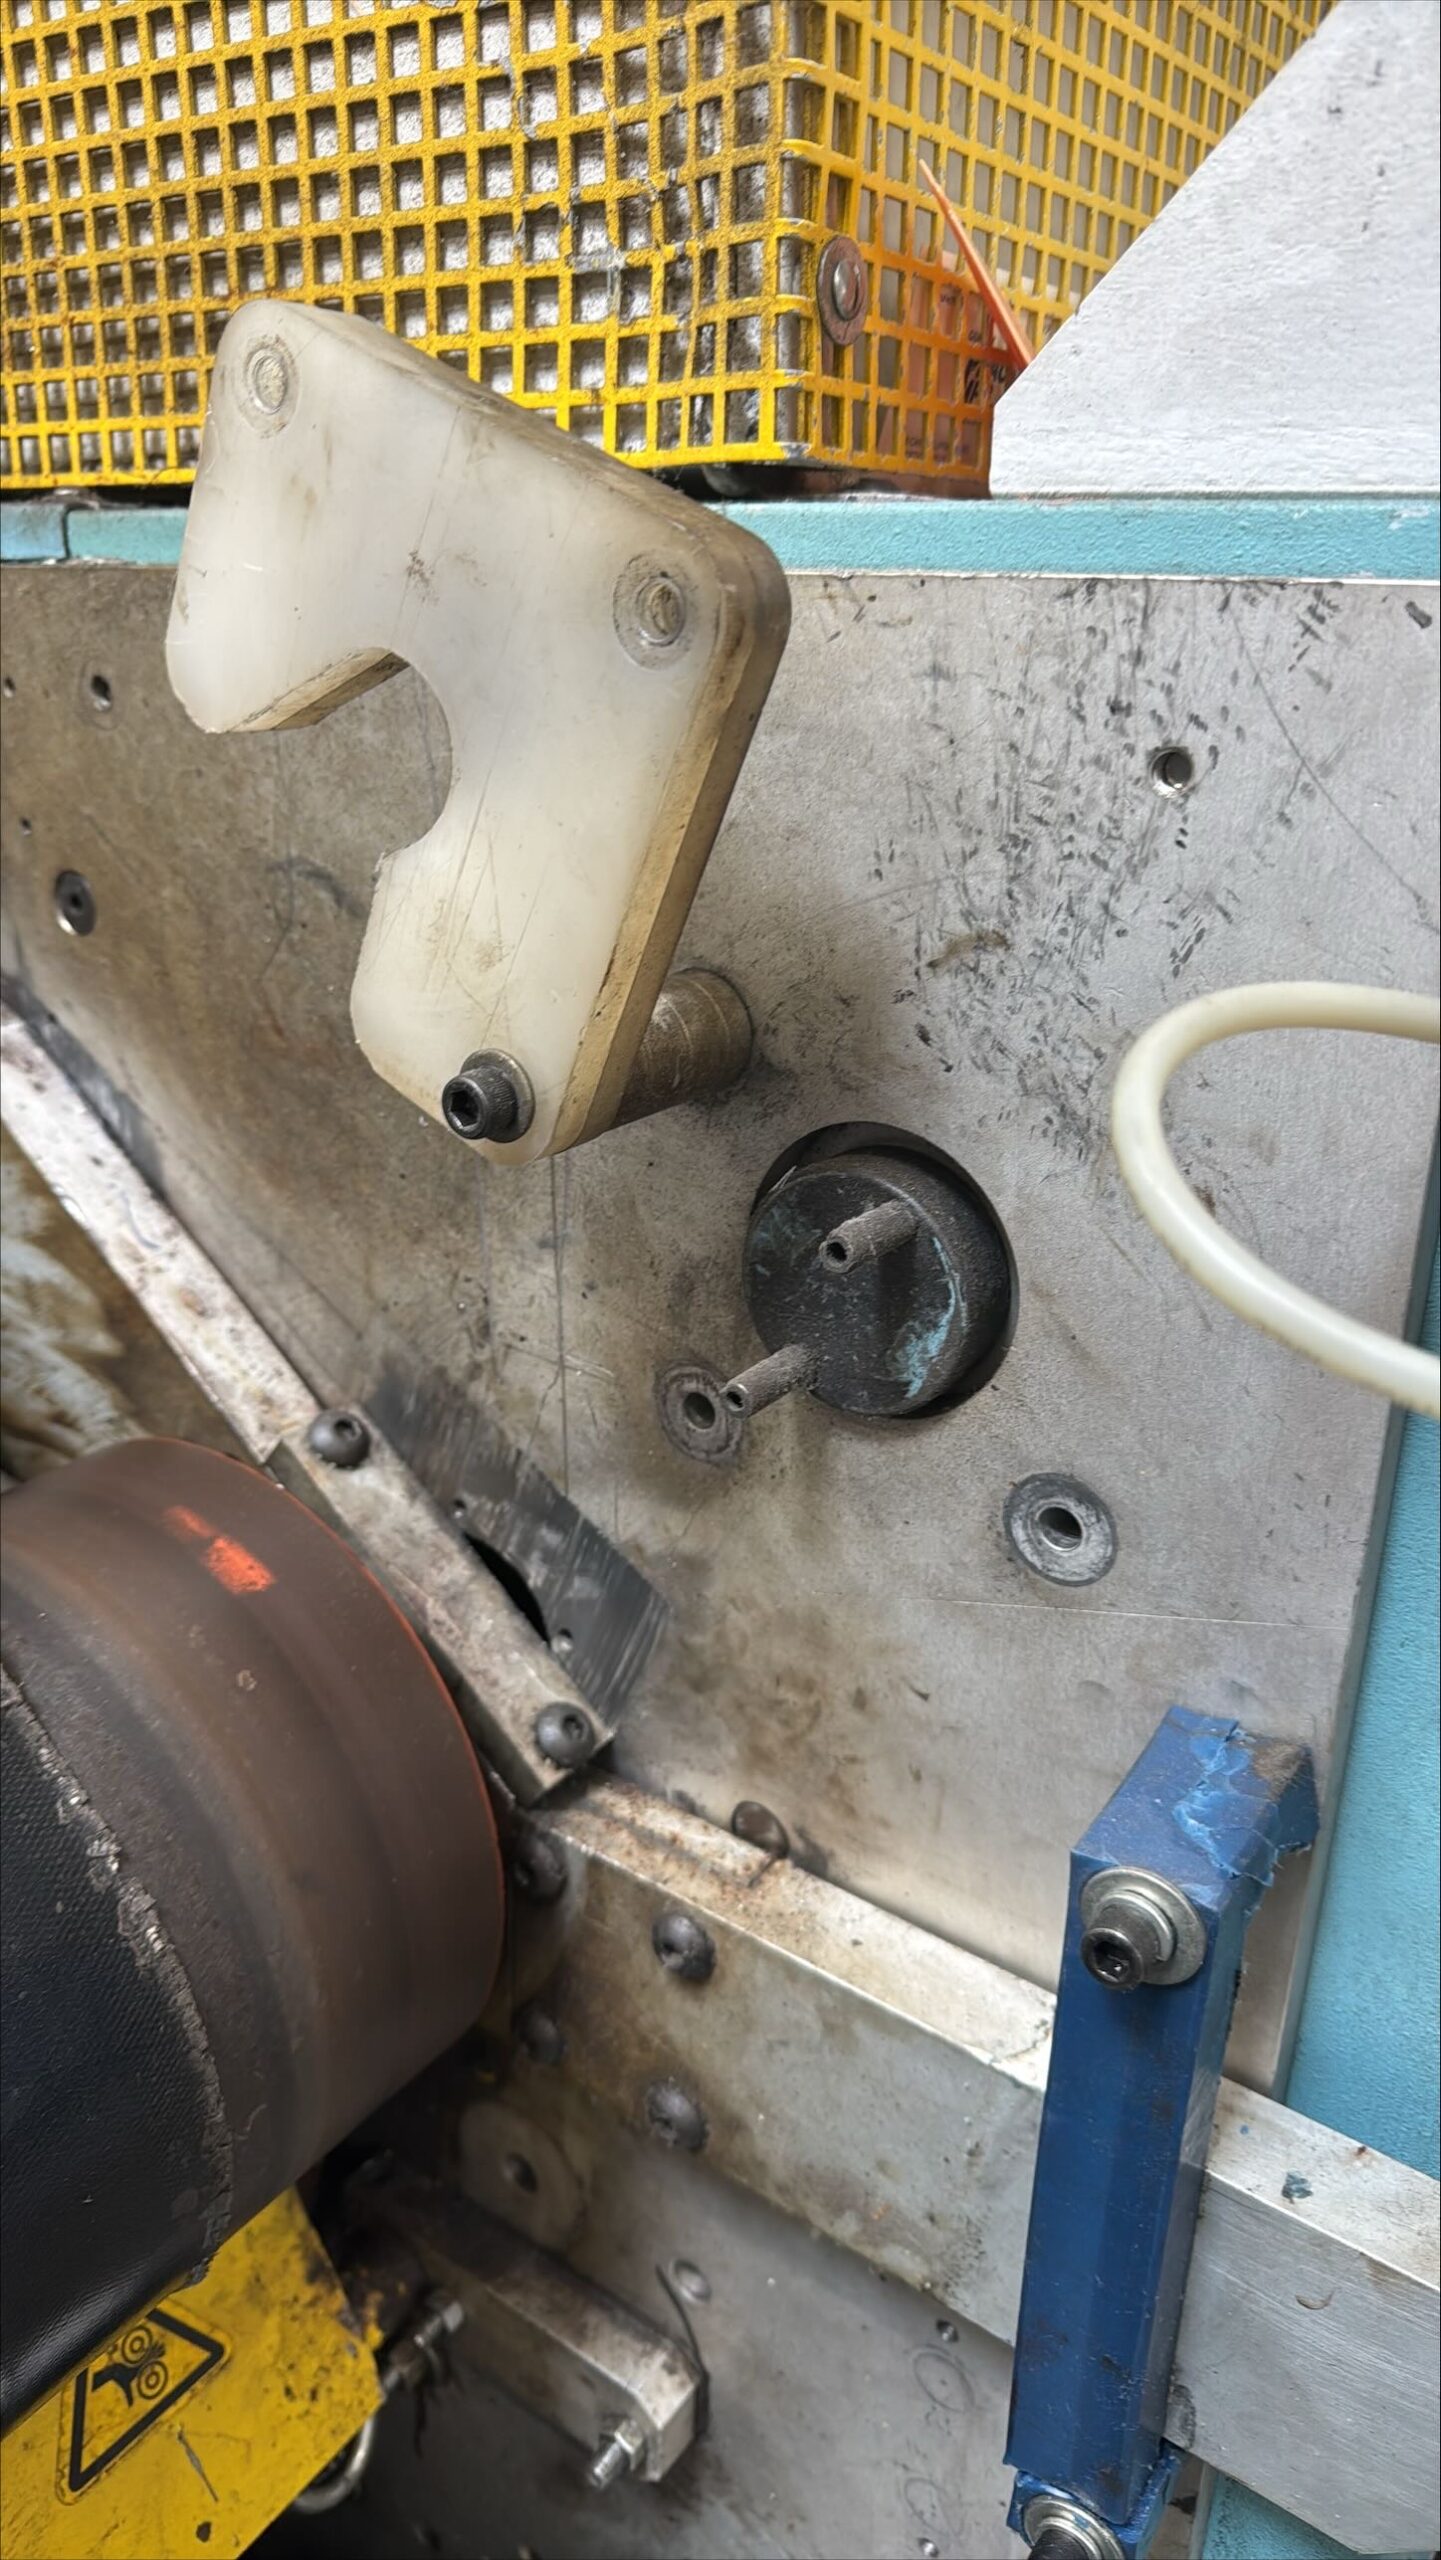 Remove lower two bolts and twist up. No need to remove all bolts. Is difficult to reassemble if all three bolts are removed.
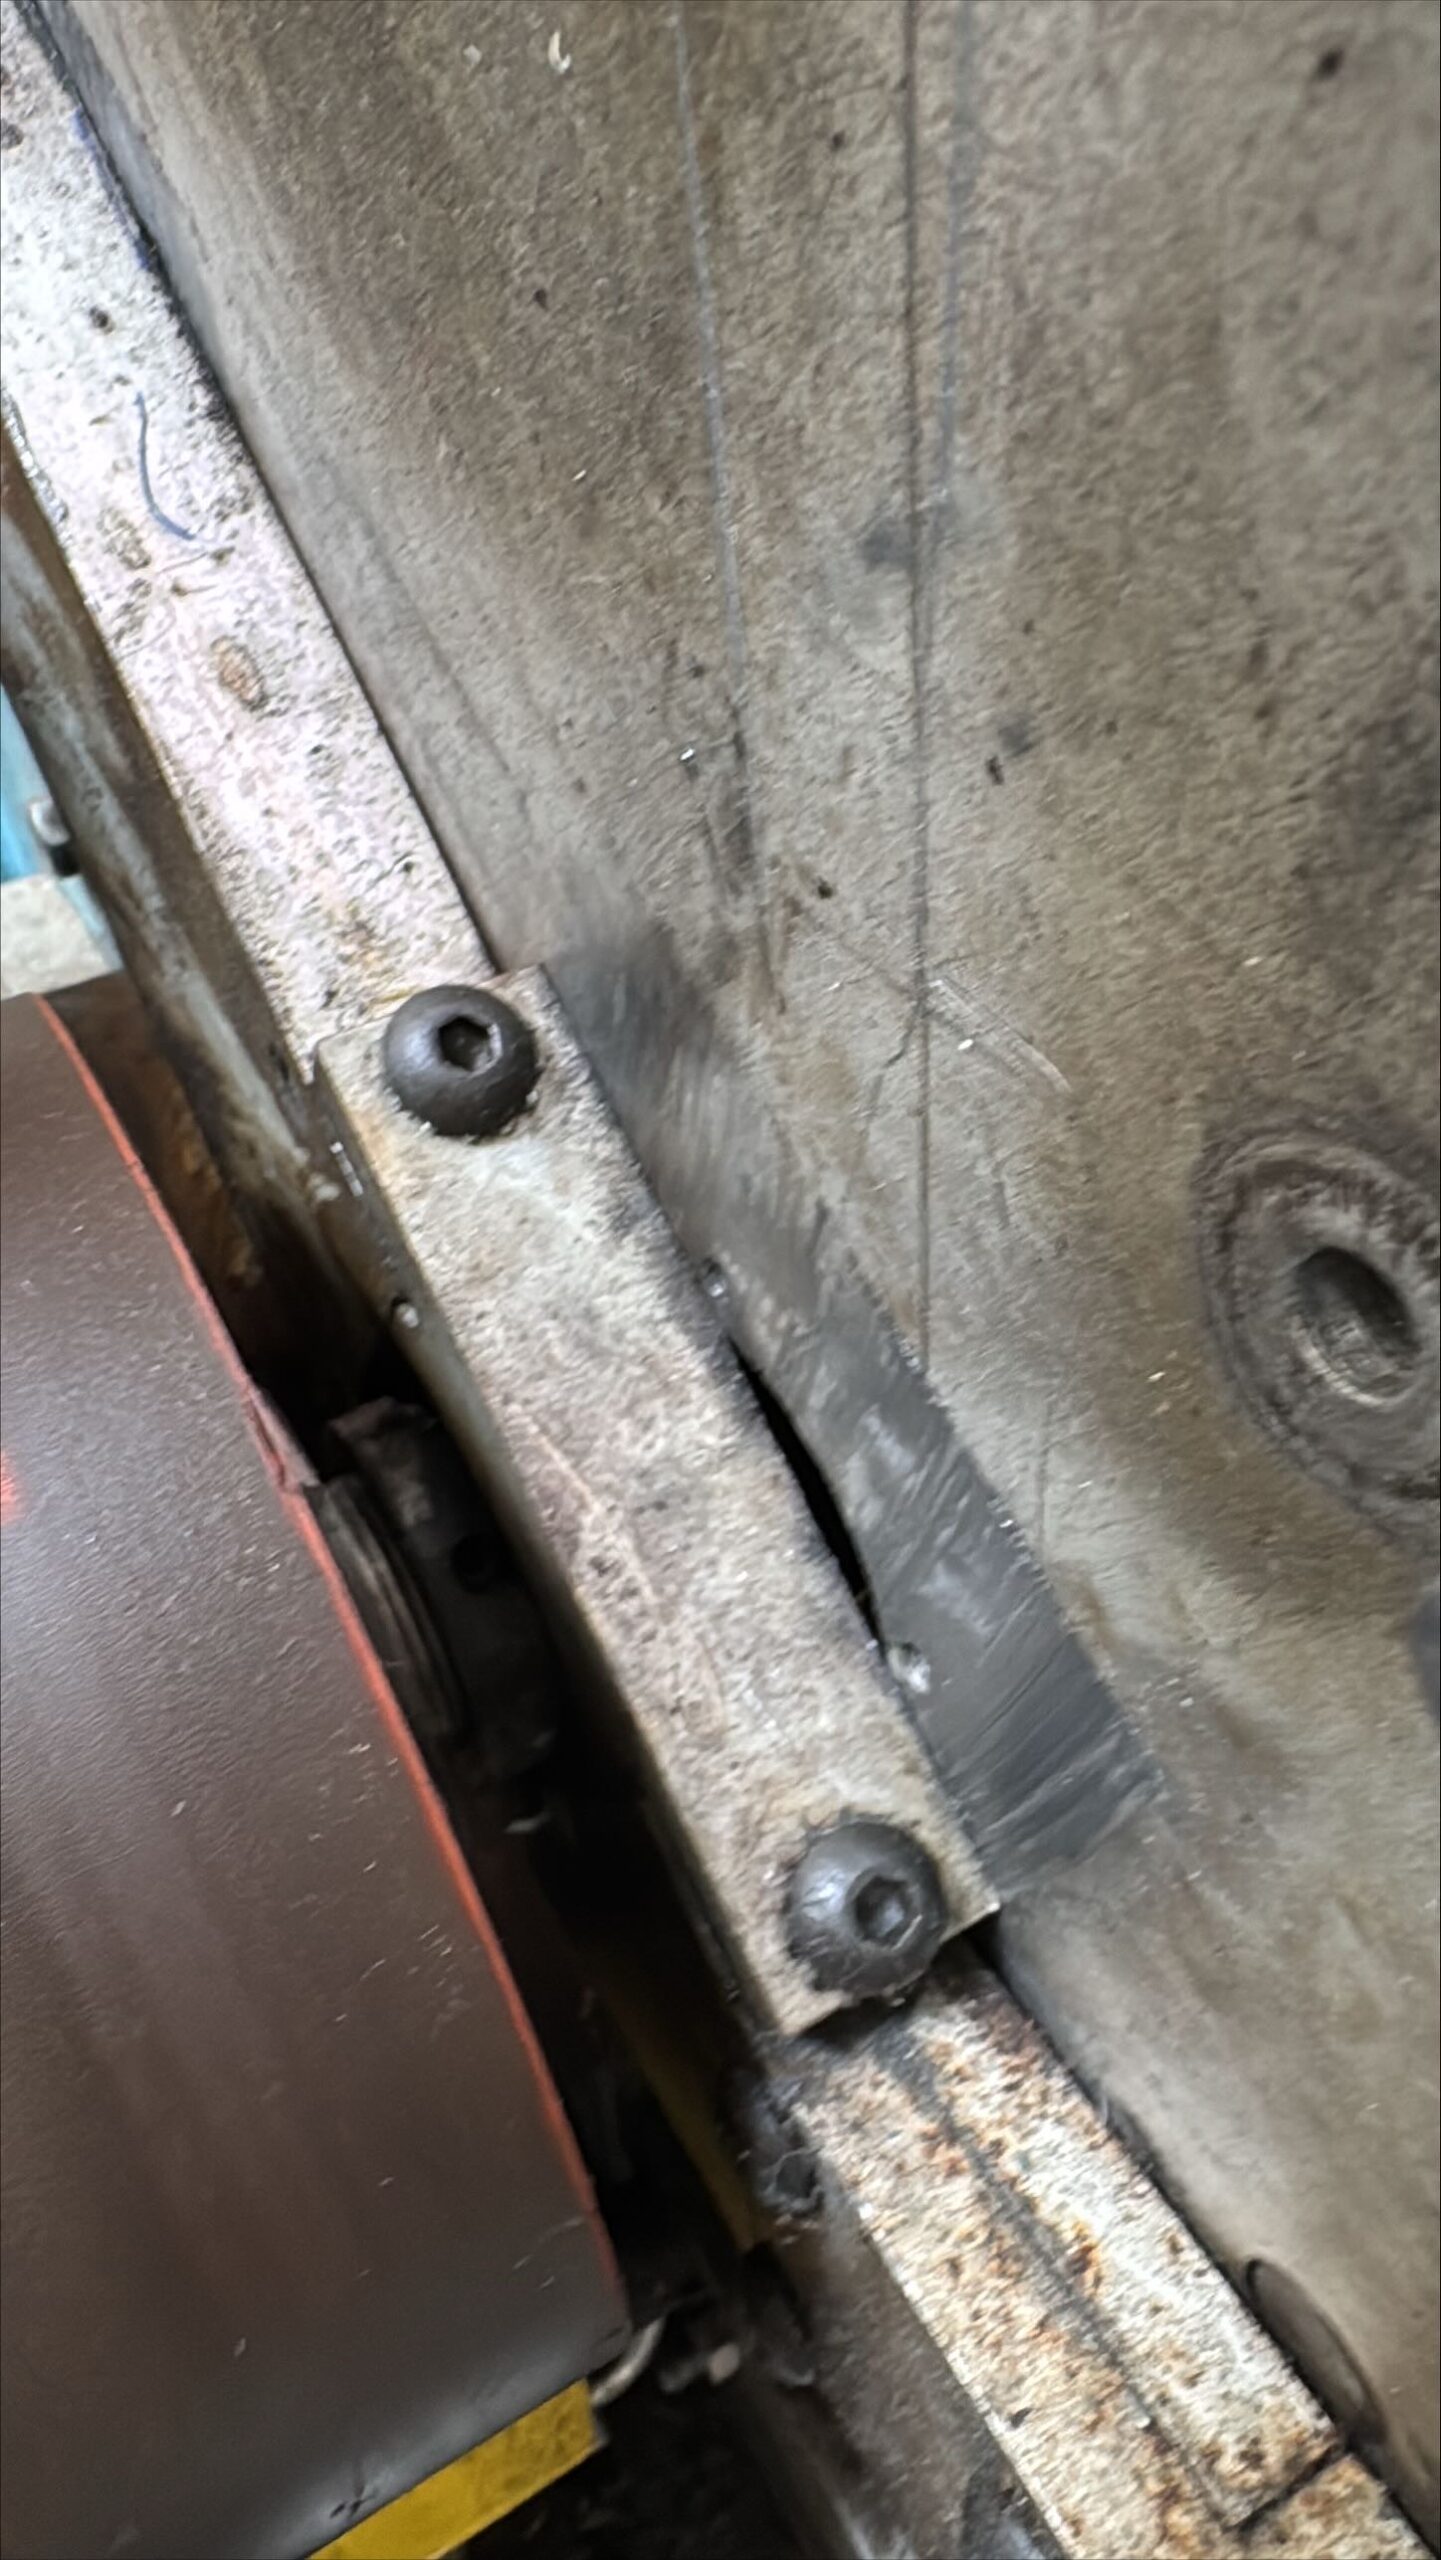 Nip roller arm cap. Remove two bolts.
 Nip roller arm cap
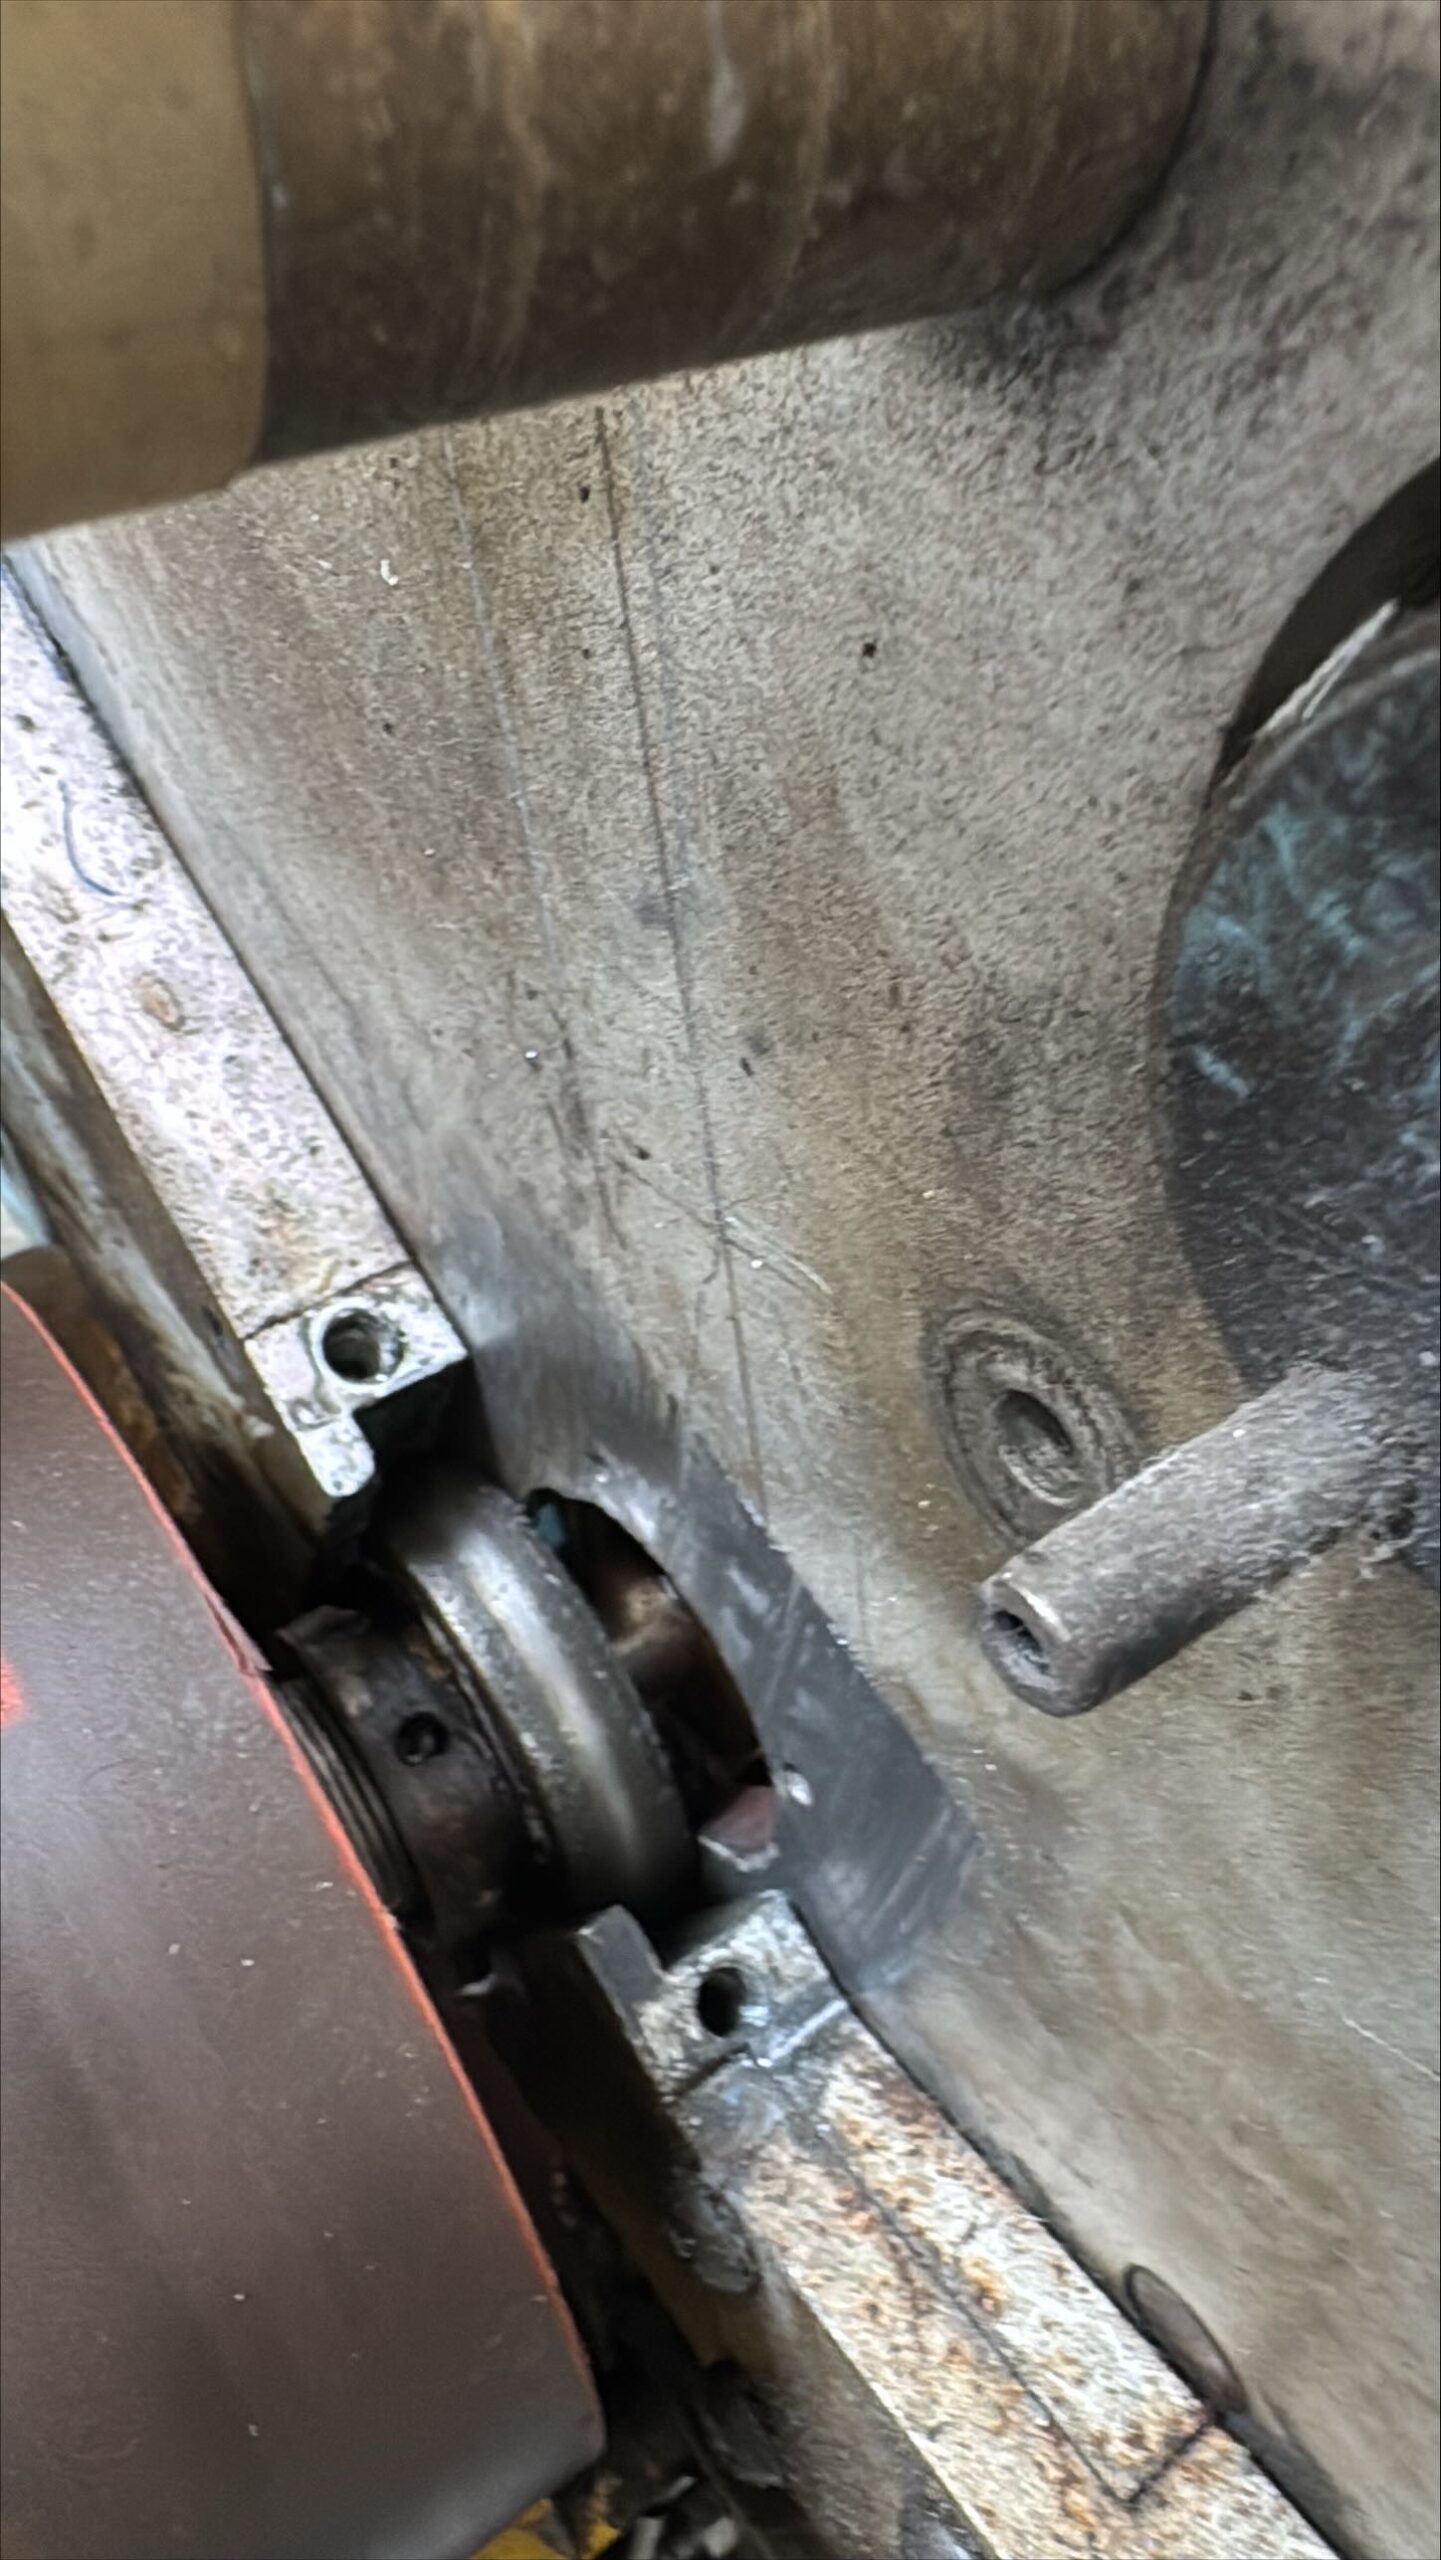 Nip roller arm cap removed.
 Nip roller arm cylinder. Remove bolt and nut on both side of machine.
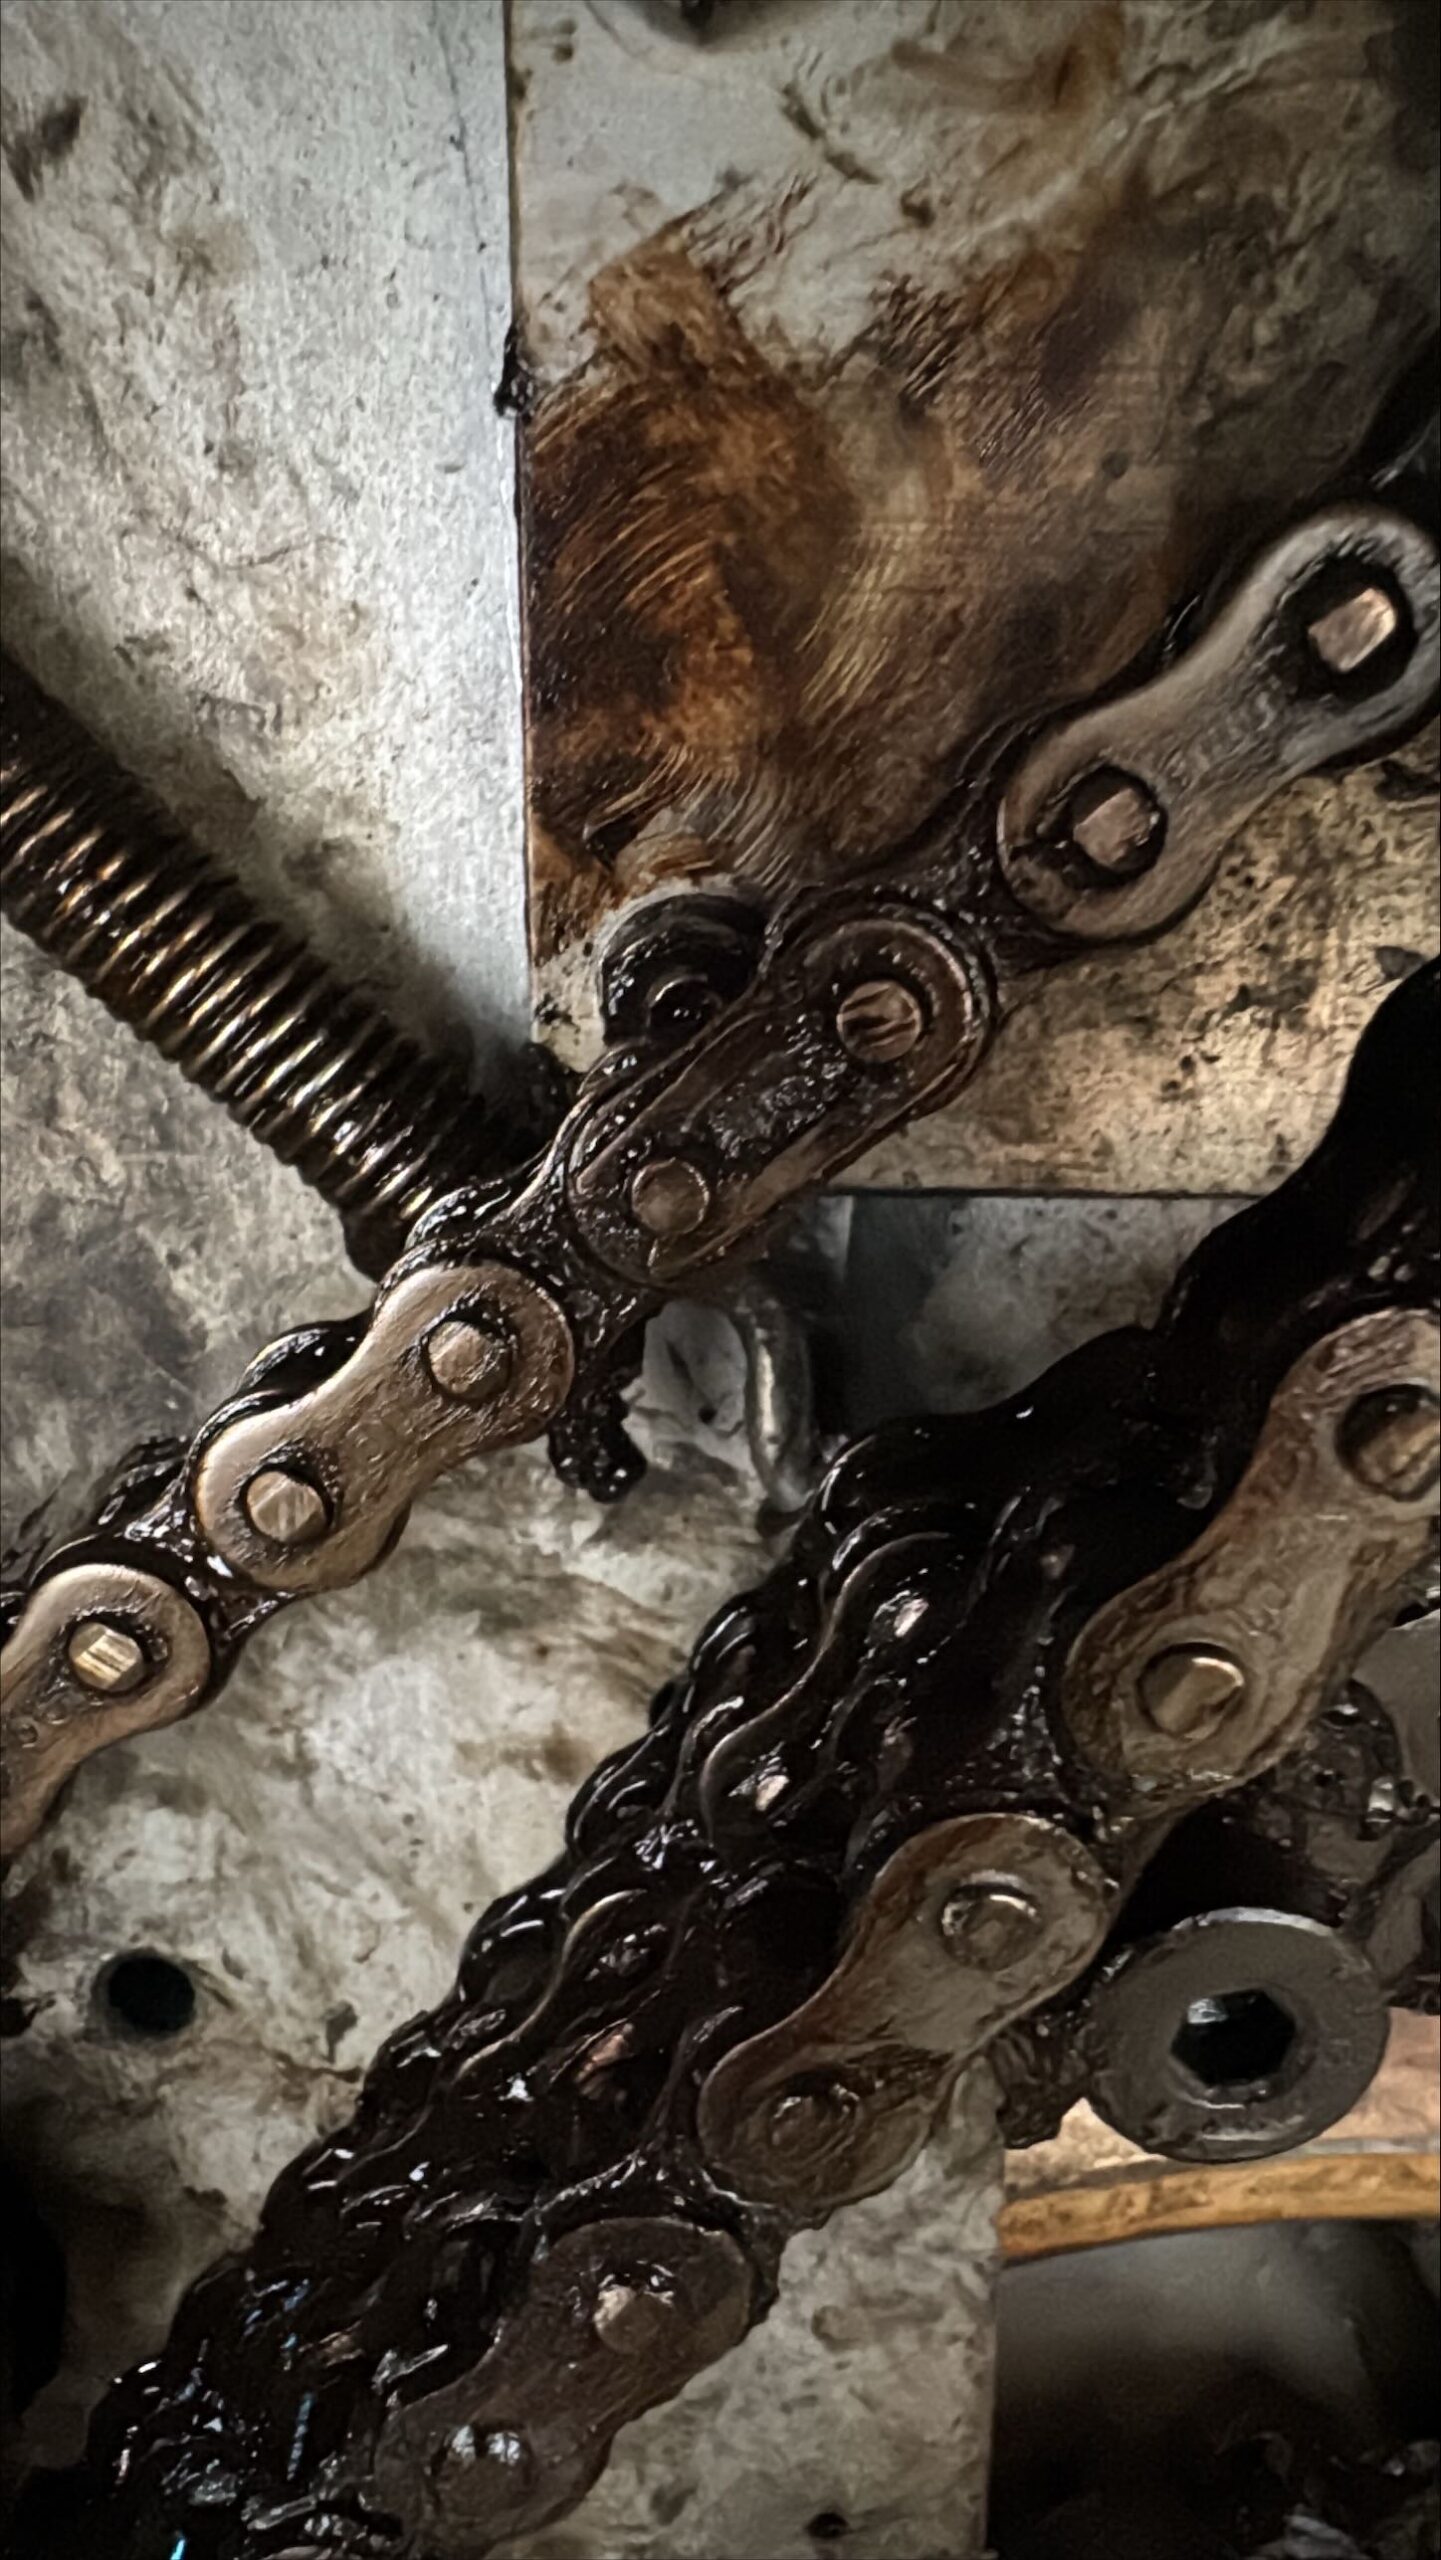 Drive (nip) roller chain.
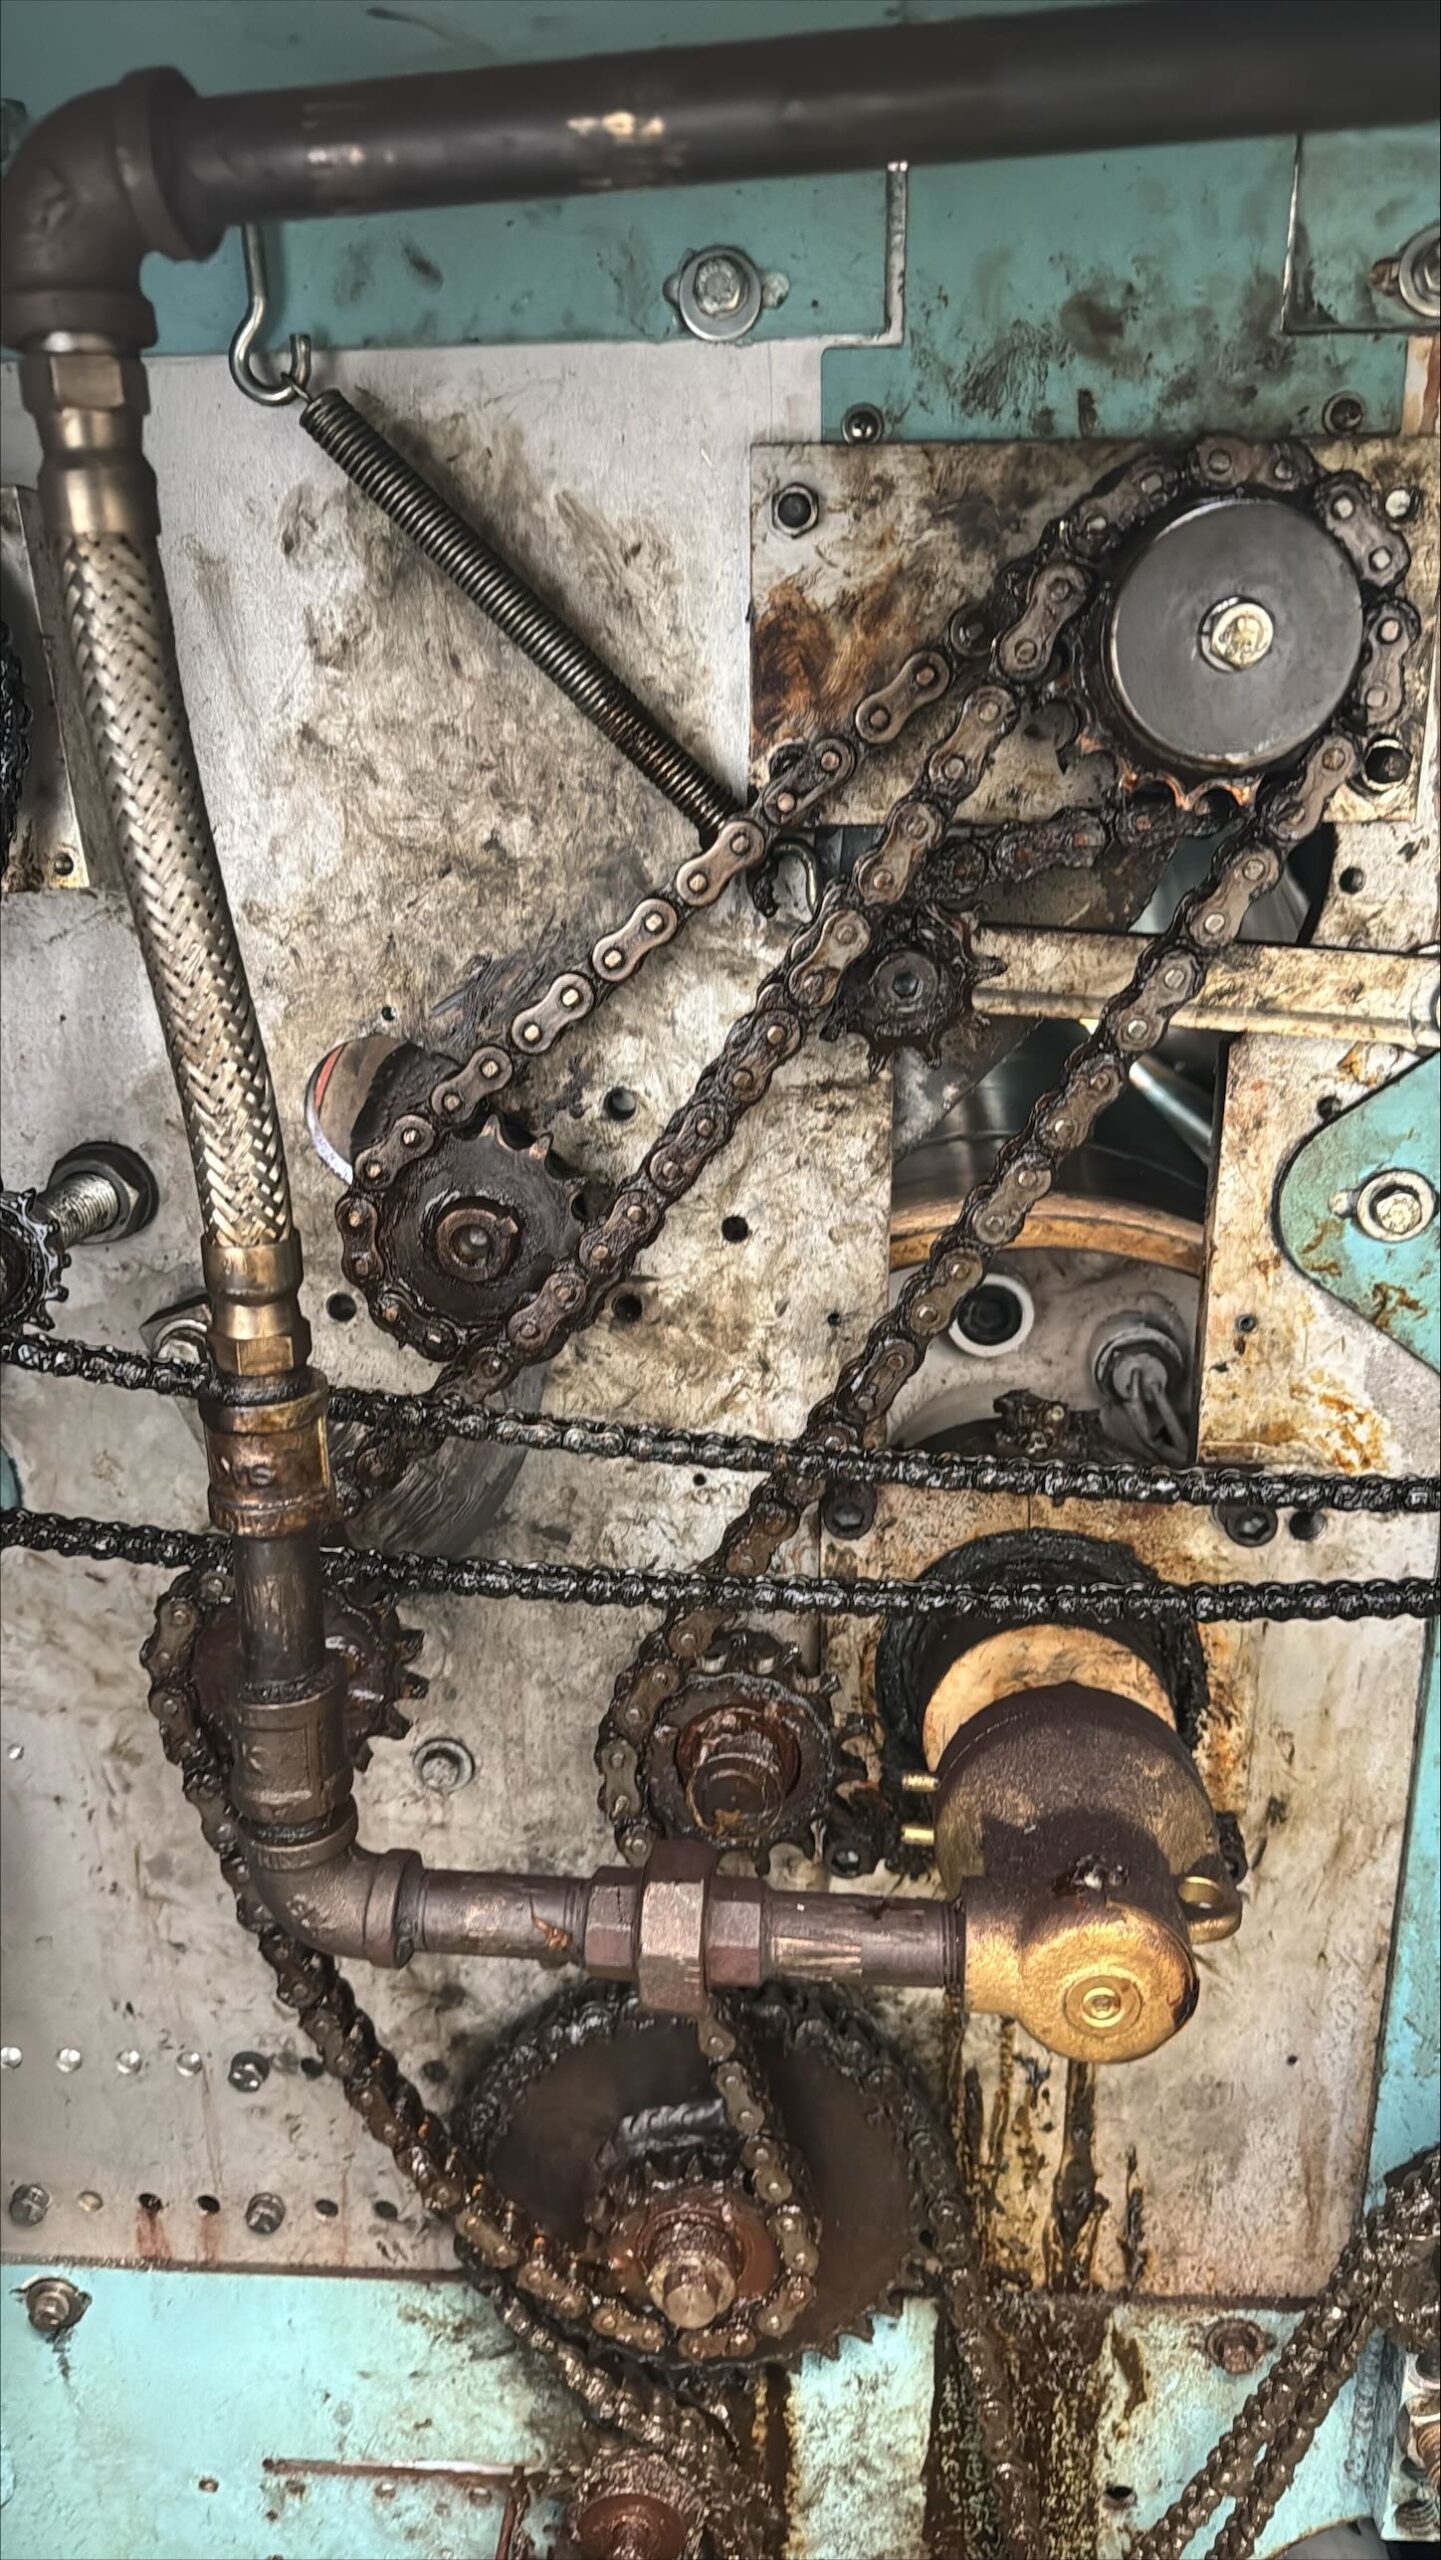 Drive (nip) roller chain
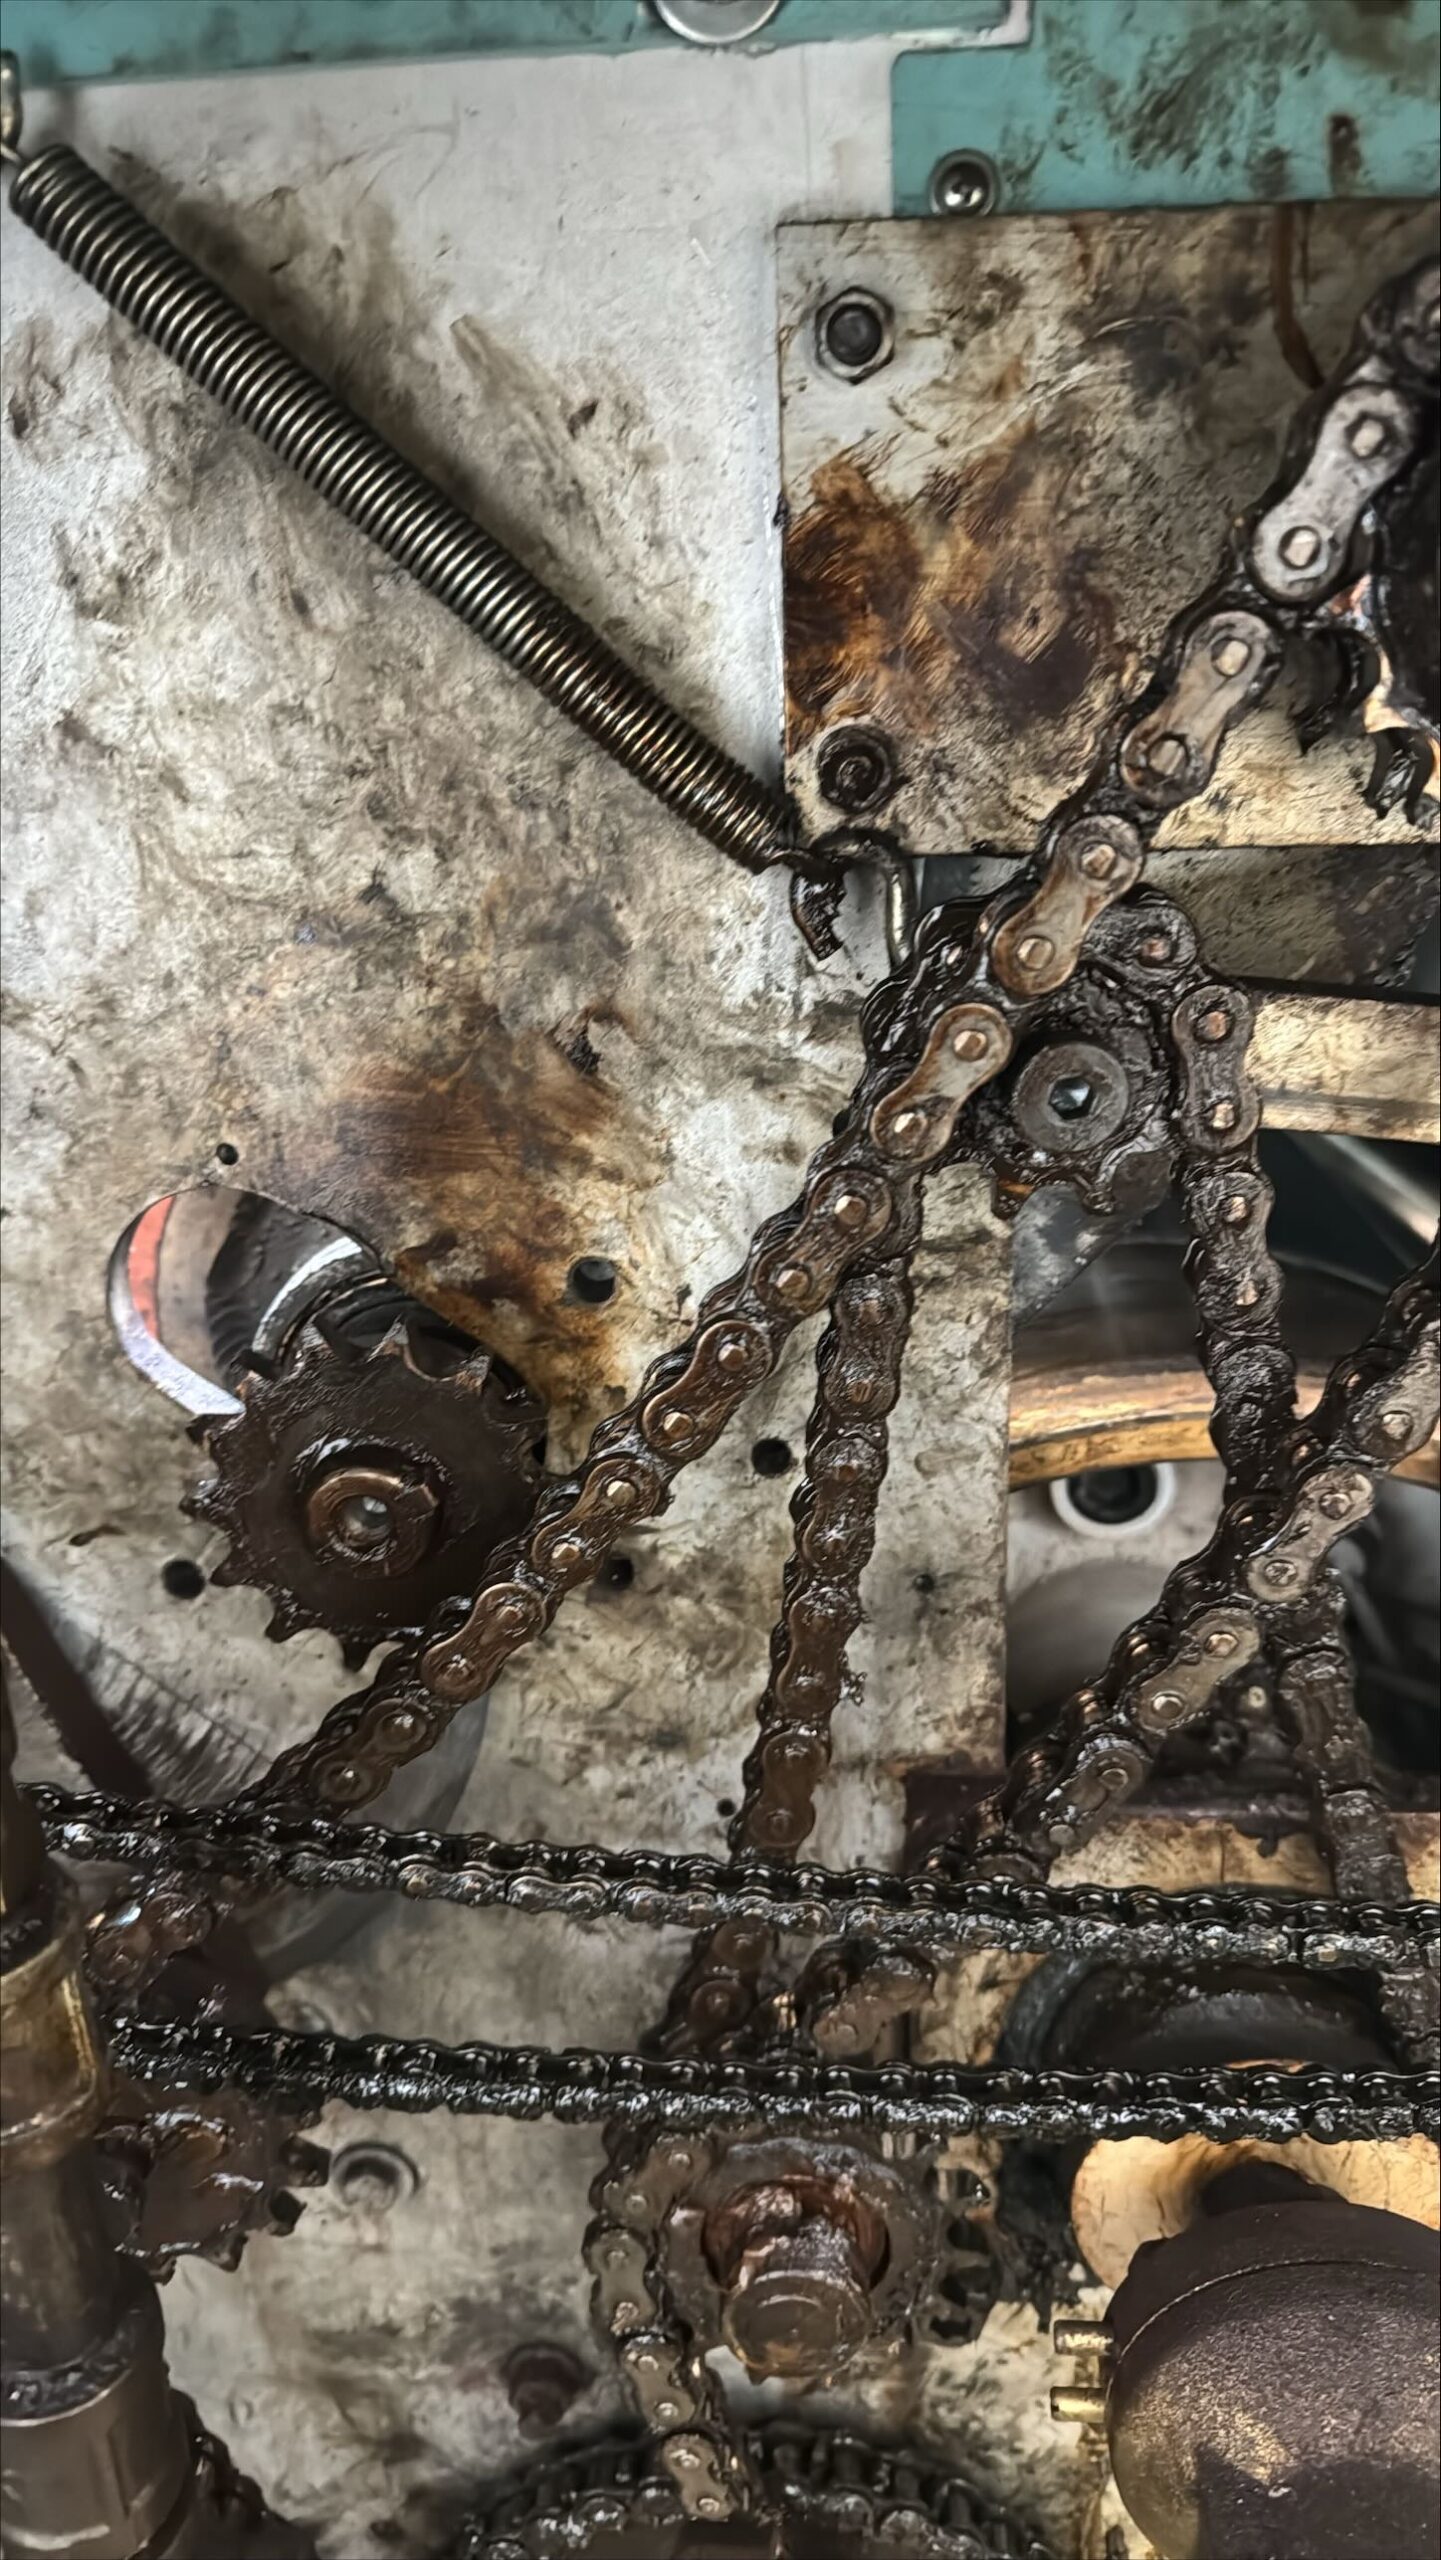 Remove drive chain
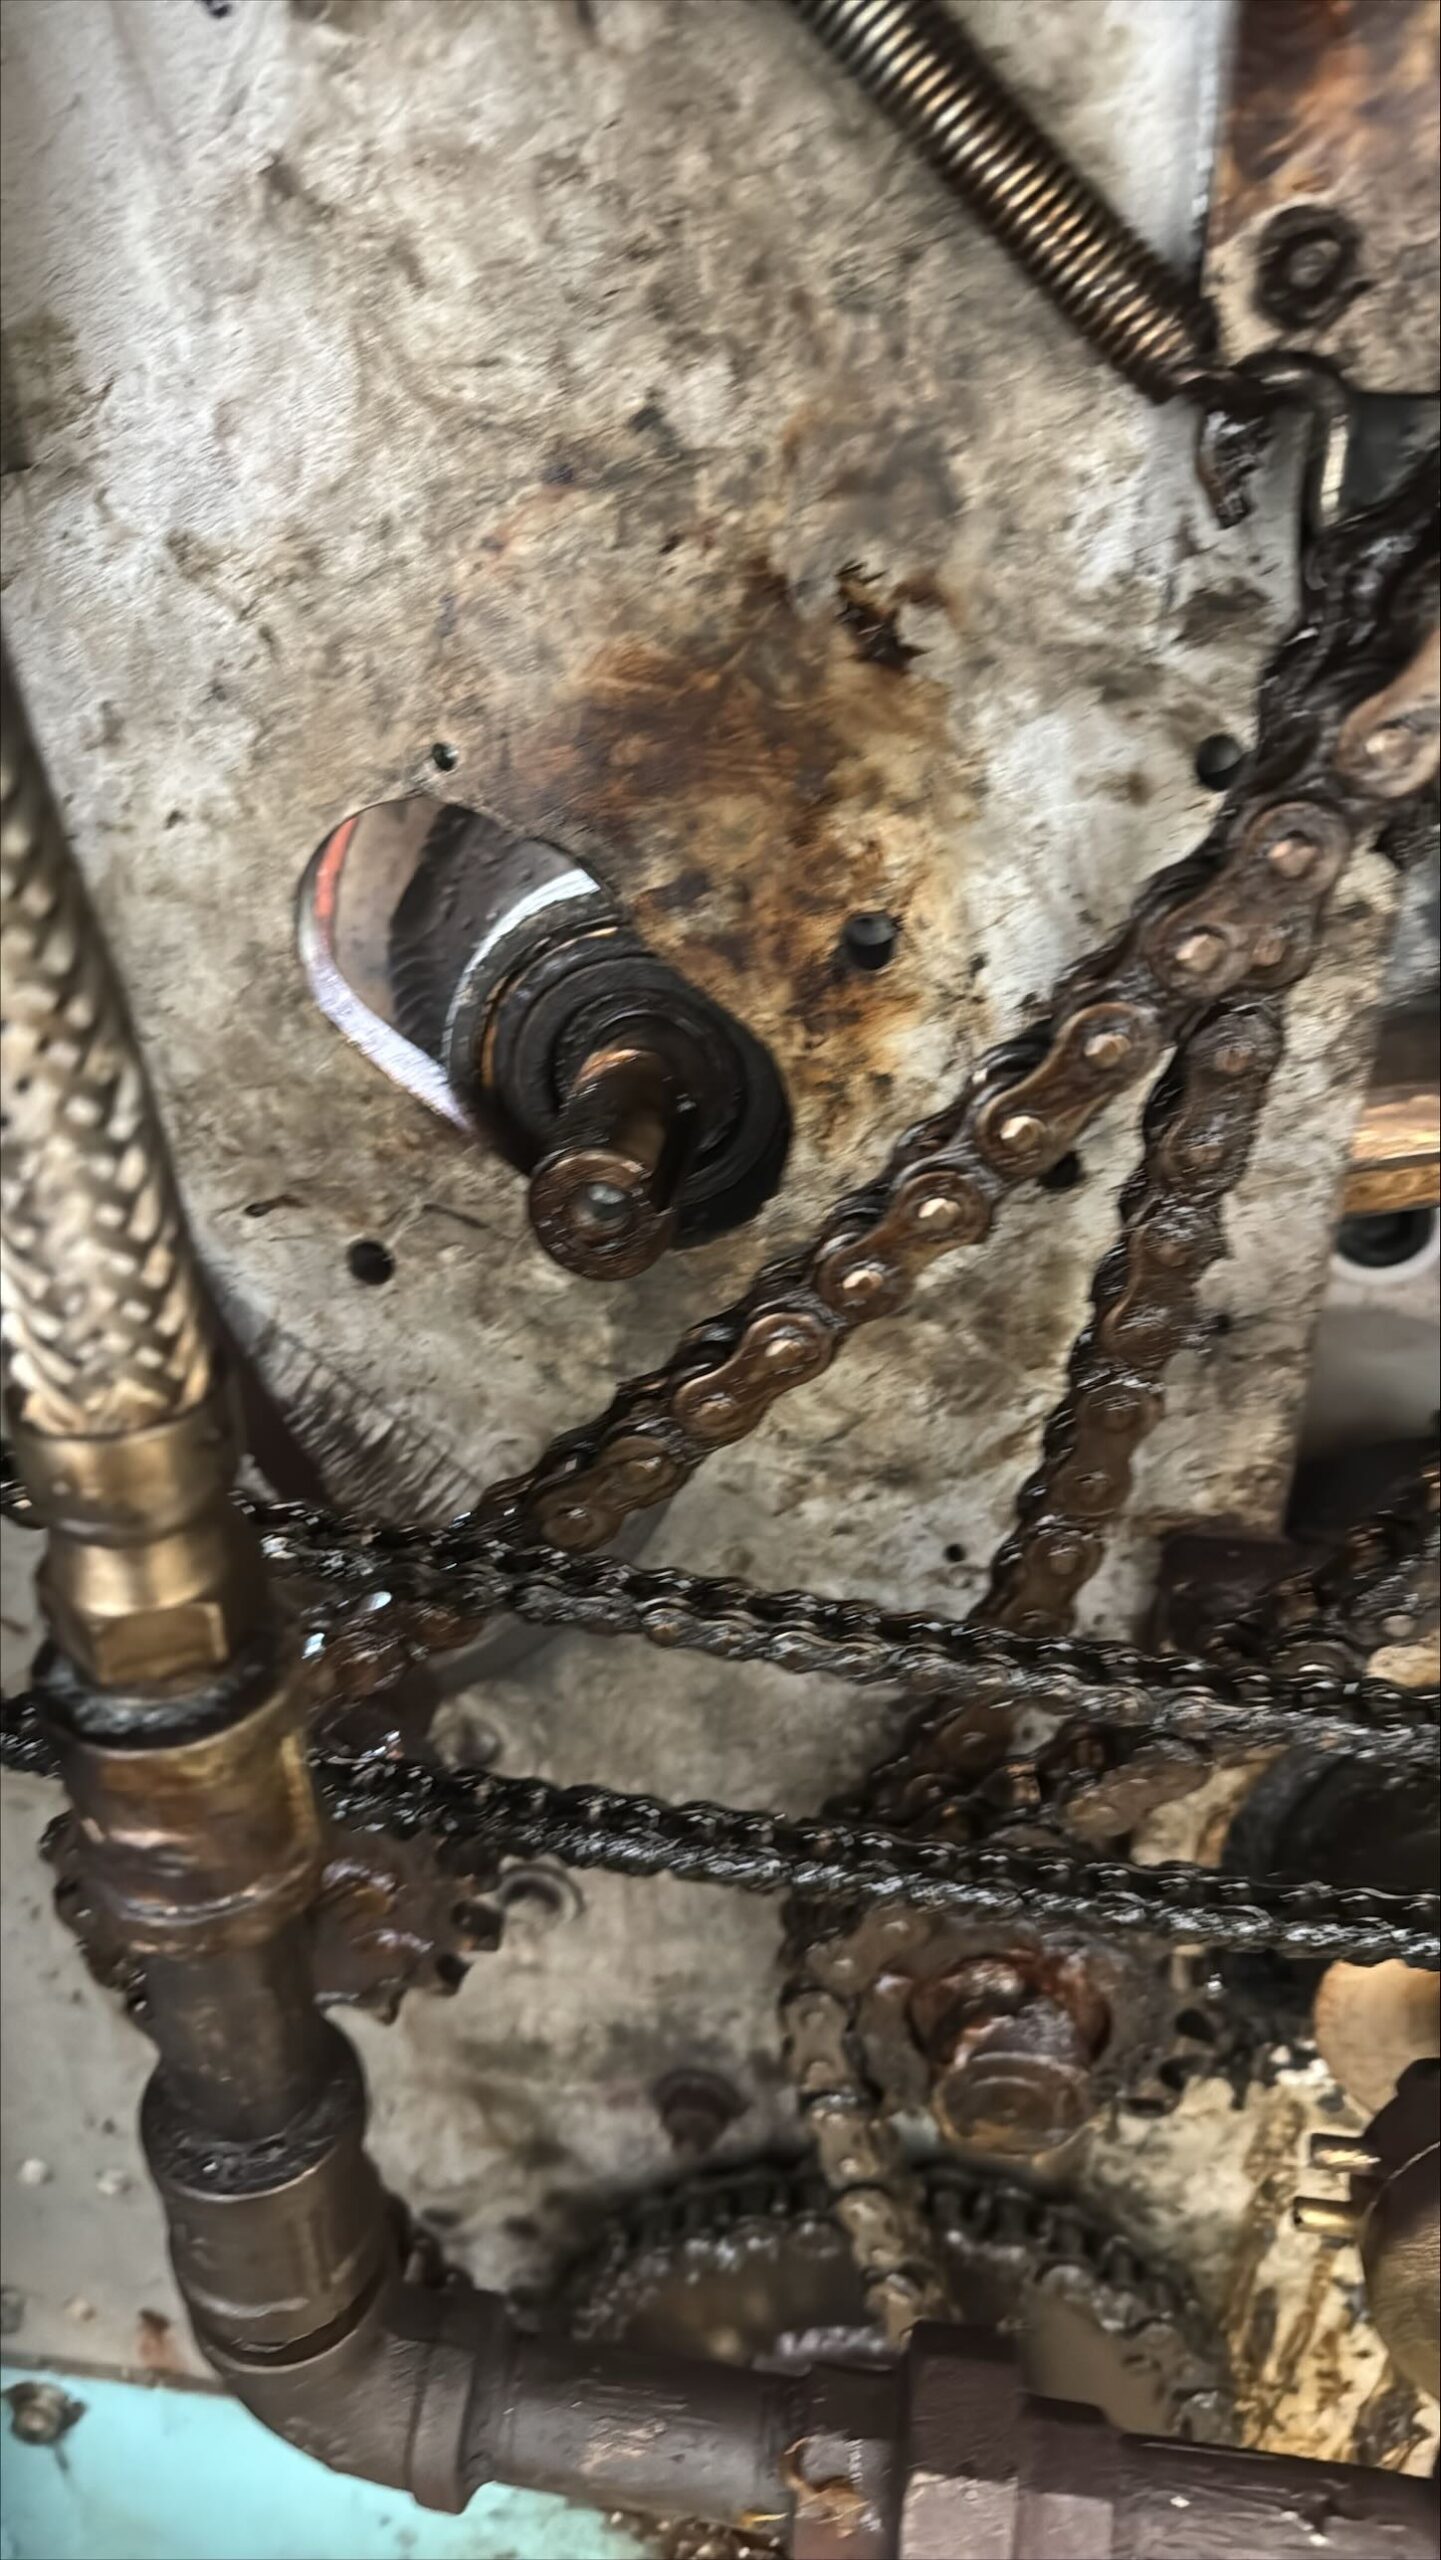 Drive roller shaft shown
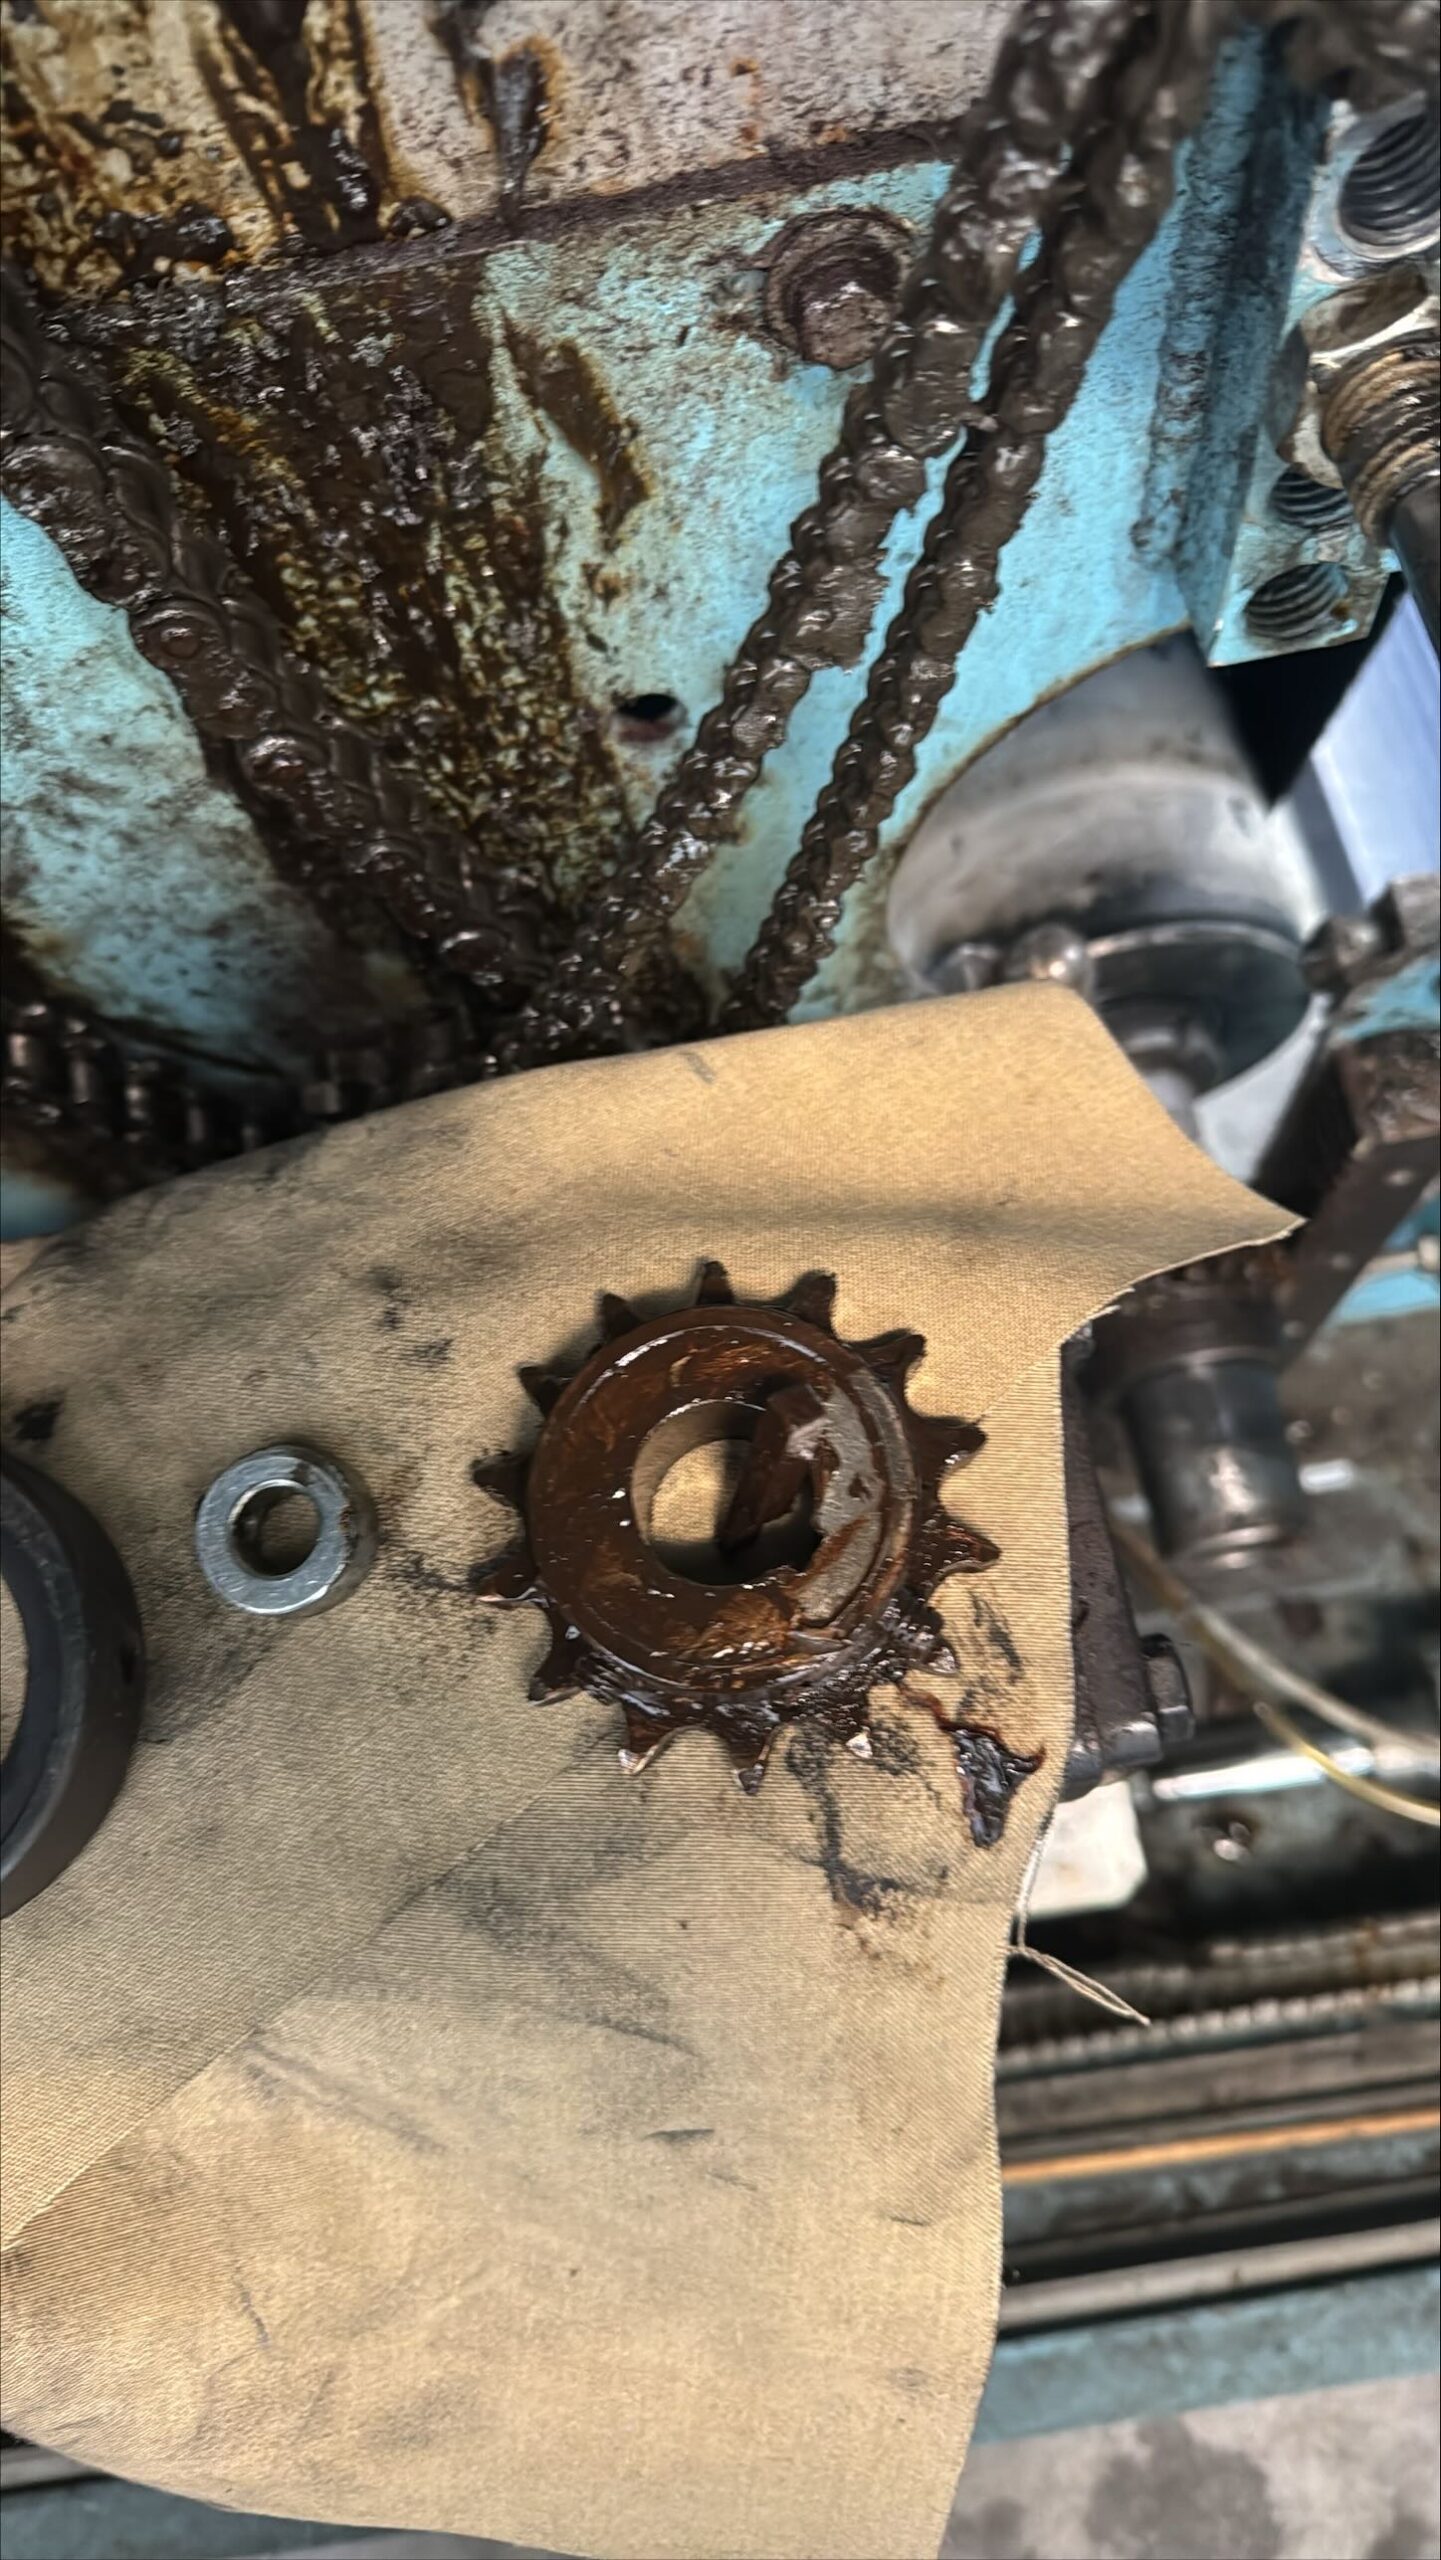 Drive sprocket removed.
Now the belt can be removed.
Remove the bottom (tension)roller from the machine. Lift this roller in center of roller with 2 x 4 and then slide through hole in the frame out of the belt.
Remove the rear tracking roller from the machine. Using three people, one person on either end and one in the center. Slide the roller out of the belt from the back of the machine.
Remove the top idler roller from the machine. Using three people, one person on either end and one in the center. Lift the roller out of bearing housing and pull to back of machine. Slide the roller out of the belt from the back of the machine.
Remove the bottom front roller from the machine. Using three people, one person on either end and one in the center. Lift the roller out of bearing housing and pull forward out of machine. Slide the roller out of the belt.
THE NEXT ROLLER IS EXTREMELY HEAVY. USE CAUTION!!!
Remove the front drive (nip)roller from the machine. Using three people, one person on either end and one in the center. Lift the roller out of bearing housing on the left side of machine and angle the roller forward. The right side has a drive shaft that is in the frame. When the left side of roller is clear of frame pull the roller to the left and then remove the right from the bearing housing. Slide the roller out of the belt.
Replace the belt using the reverse of the above procedure. Take care not to crease the new belt as this can cause the internal fabric to break.